 Ready to Repair
October 16, 2011
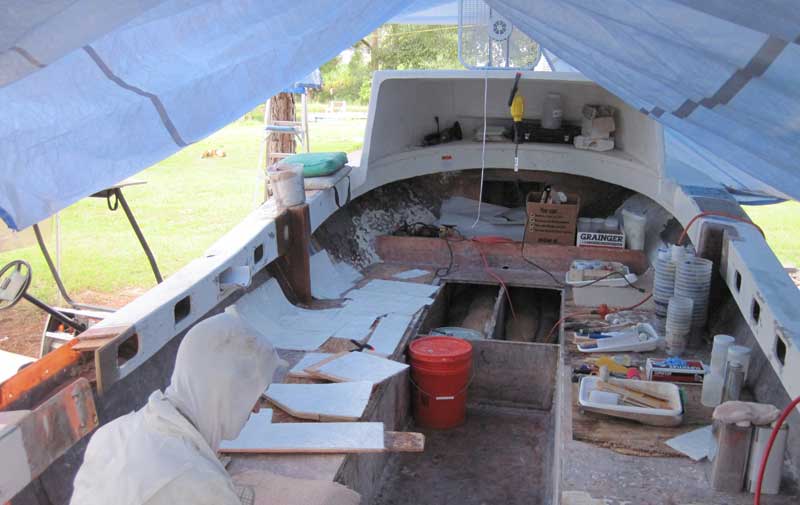
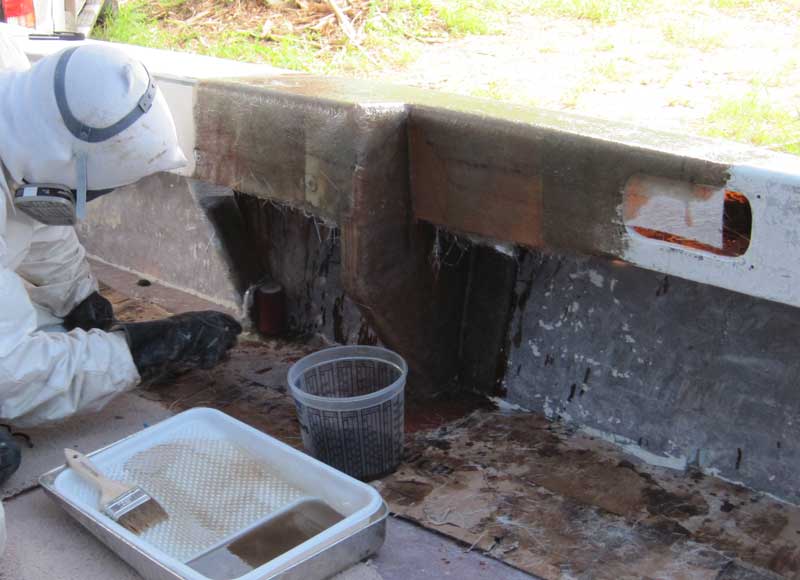
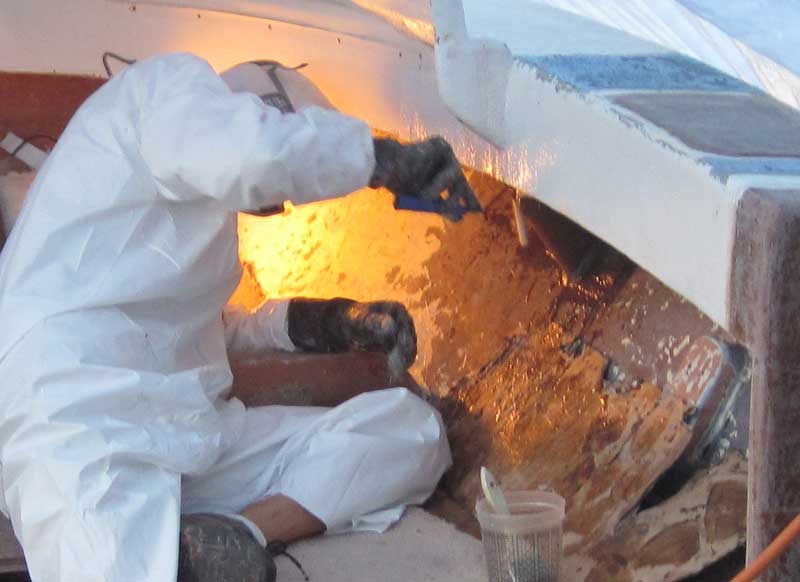
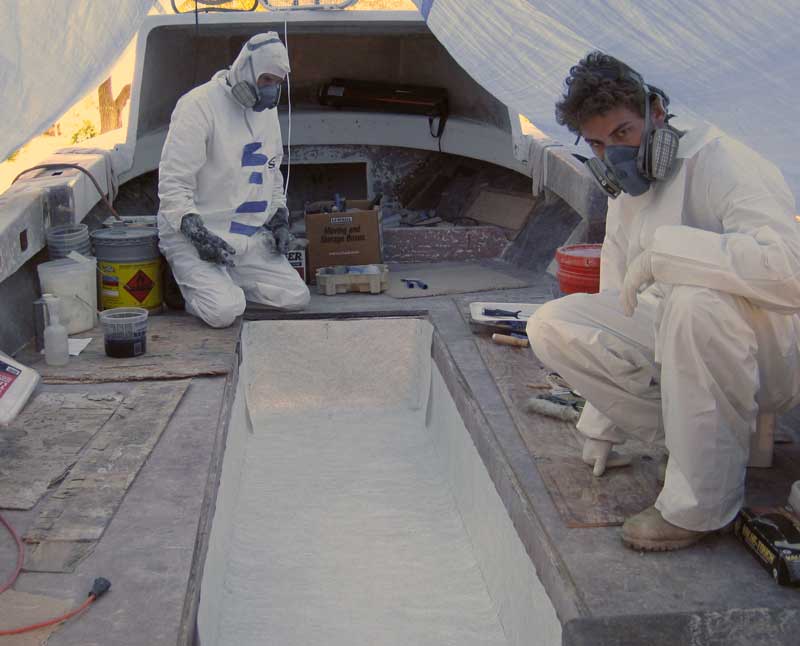
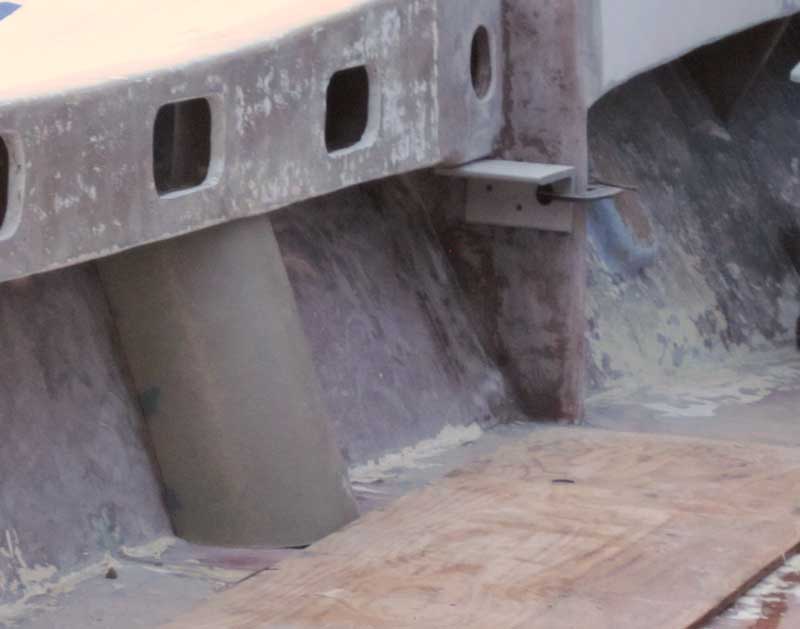
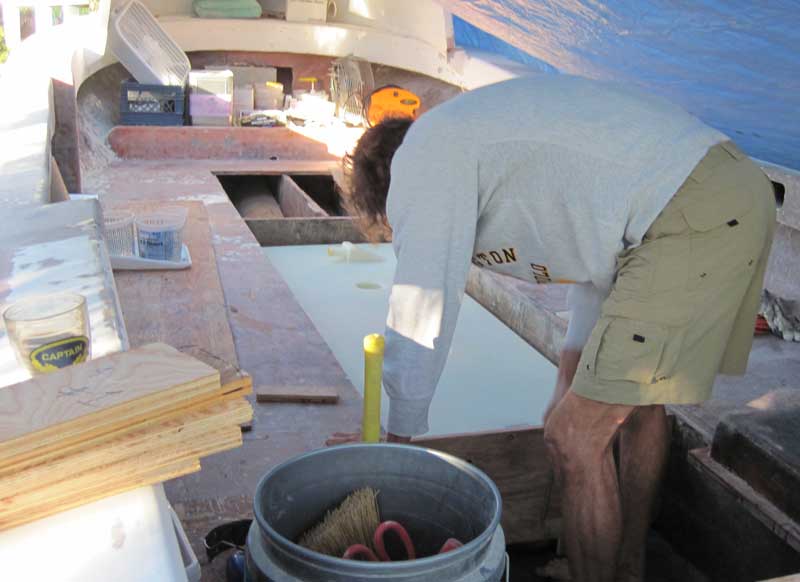
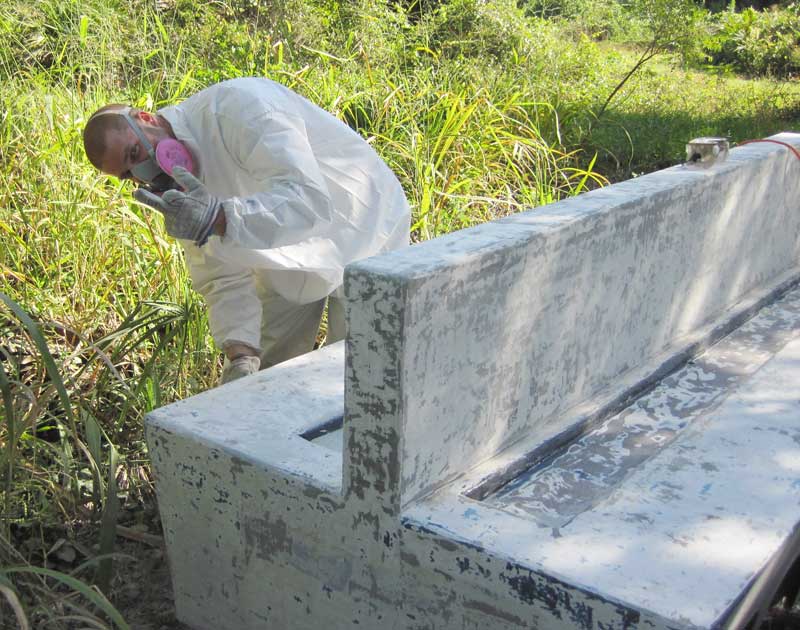
Repairing Port Side of Pec
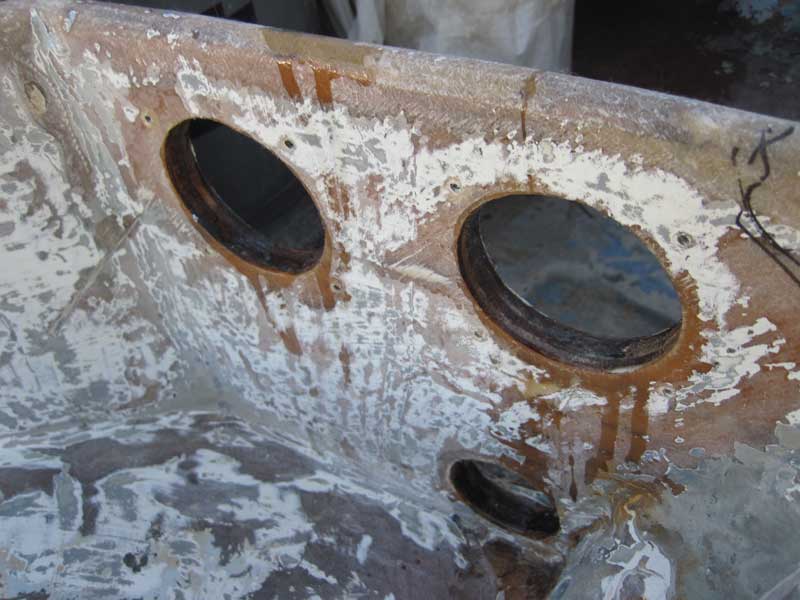
We started the day disassembling the repair that we dry fit the night before, then Gene went to work vacuuming the pieces of wood and solvent wiping the repair area while I gathered and organized all the fiberglass and other materials we would be using. All the fiberglass and wood pieces in the picture are organized according to where they will be used, from top to bottom and aft to forward. There are at least 60 individual pieces of fiberglass, including tabbing and skin for the gussets, 10 layers of new deck skin, and pieces to secure and waterproof all of the structural pieces. The starboard side of the boat is loaded up with resin, rollers, mixing pots, trays, and all the other needed supplies. It will be a long day.
 Starting Side Repair
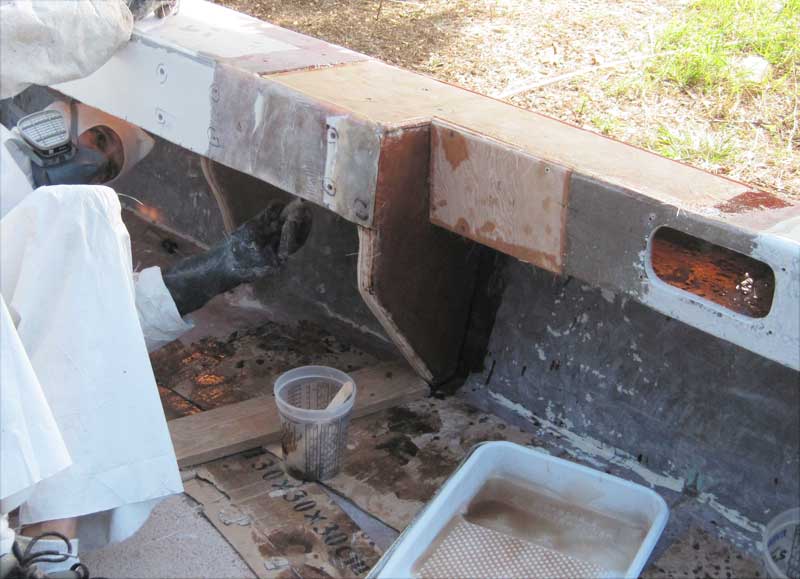
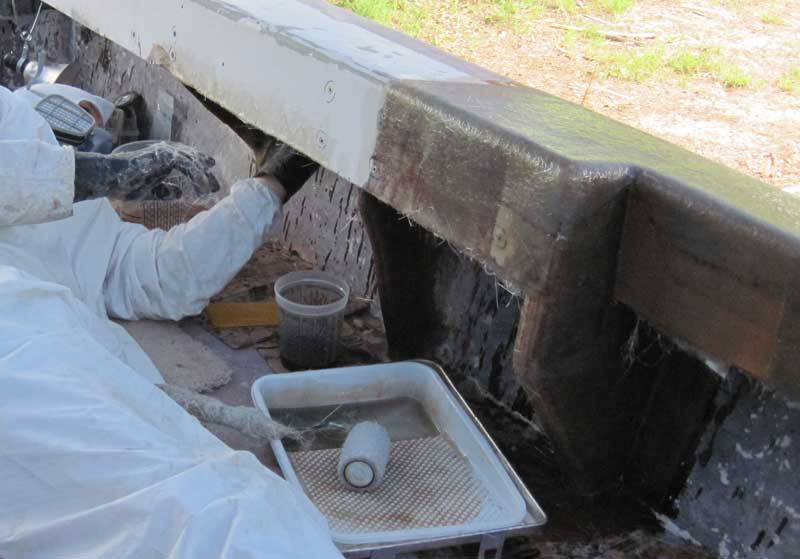
Assembly started with applying a skin layer or two to the underside and back sides of gunwale replacement parts and the new gusset, screwing the assembly in place, then tabbing the gusset to the hull sides and deck. The main tabs were three layers of mat enclosing a layer or two of biaxial cloth, while non-structural tabs were just two or three layers of mat.

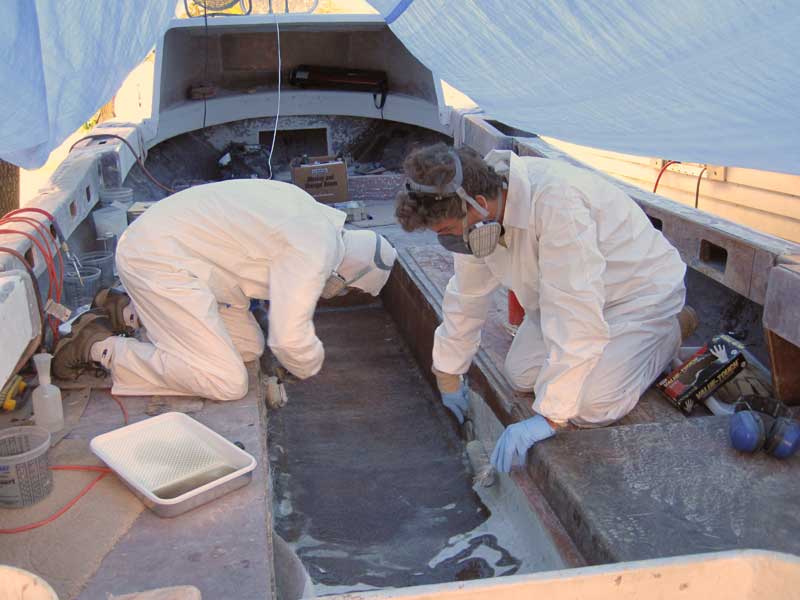
 Skin Piece Eight
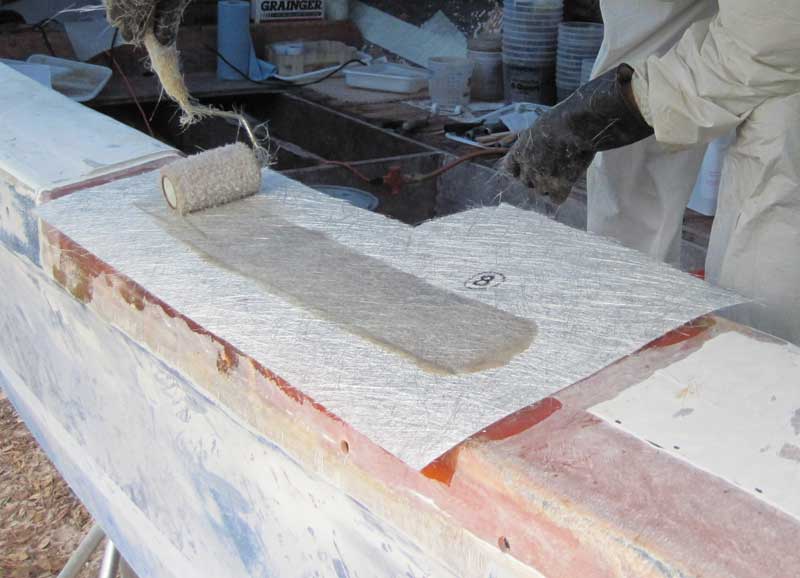
Once the gusset and core were secured from below, we started laminating in the replacement deck skin. The first piece was made exactly the same size as the replacement core, and each successive piece was about half an inch bigger all the way around. In the picture at right, Gene is wetting out piece number 8, the first one to curve and run a significant distance down the sides.
 Skin Piece Ten
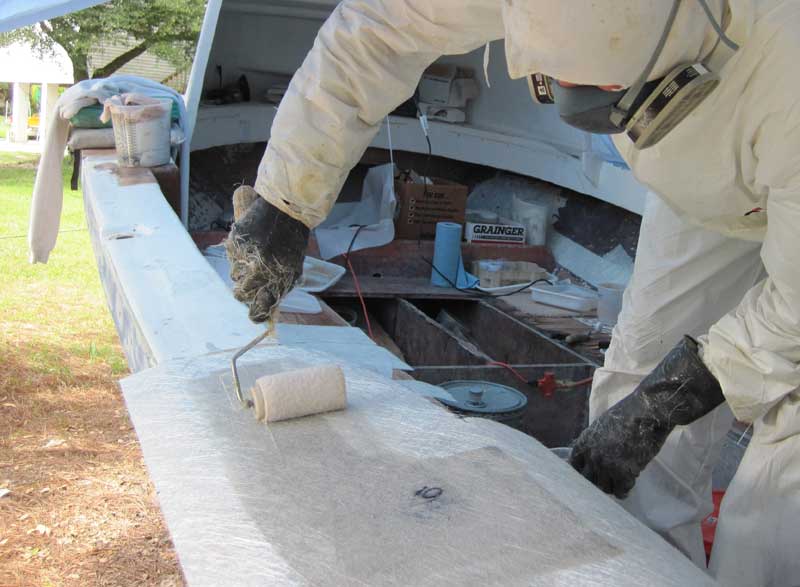
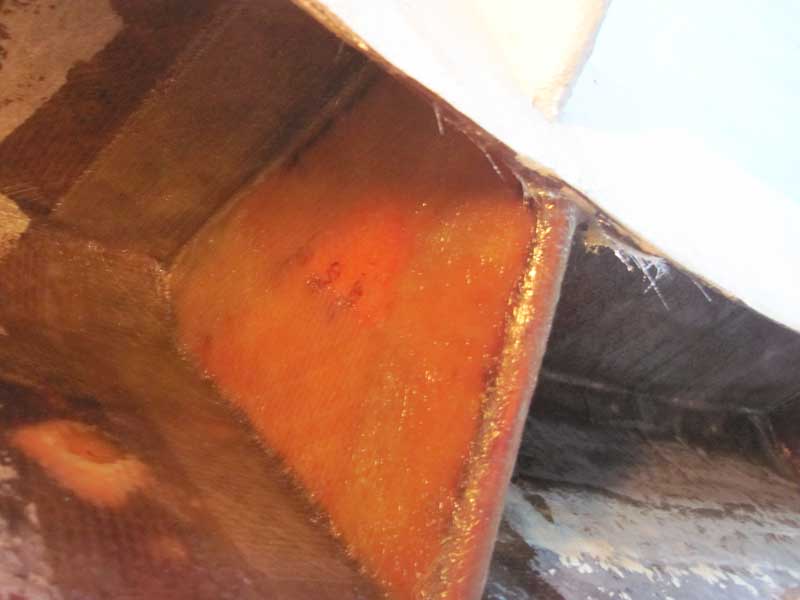
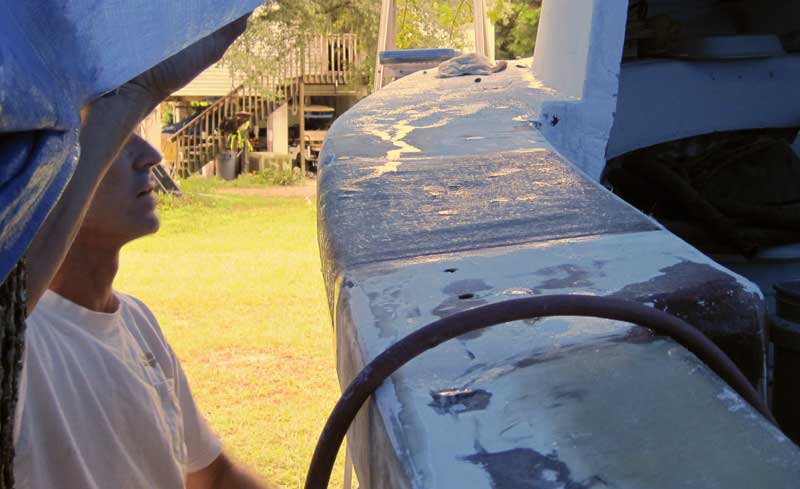
By piece number ten, the repair pieces have run the full 4 to 5 inch bevel that was ground into the old skin on top and the edges wrap over the inside and outside edges by several inches. When it was smoothed and bubble rolled in place, the repair was what I would call "not very noticeable for a workboat" which is our highest standard of cosmetic quality. I was pretty proud of it.
 Reskinning Old Gusset
The existing smaller gusset aft of the new one was in good shape, but the exposed edge of it had been battled by the ladder and dive gear over the years and the fiberglass skin was worn away. In the picture at right, Gene is wrapping a new skin around the face of that gusset.
 Retabbing Old Gusset
Some of the old tabbing on existing gussets left a bit to be desired, even by work boat standards. I do not mind looking up underneath an old repair and seeing an ugly tab, but some of them were not even really connected to anything important. Gene pointed out that many of these repairs were performed on a tight schedule using whatever limited materials might come to hand in the Dominican Republic, which is true enough, but no excuse for leaving out the common sense element.
 Tabbing Port Mini Gusset
October 17, 2011
Mini Gussets and Ladder Board Installation on Pec
The new mini gussets that we made the other day were our top priority this day. These were covered with a fiberglass mat skin and then tabbed to the hull side, the underside of the deck, and the inside of the fiberglass face where the hard dodger attaches to it. Although small, each one used 24 pieces of fiberglass.
 Port Mini Gusset Tabbed
The port side tabbing to the deck above required a bit of extra trimming and relief cutting to allow for the scab board we used in the deck repair.
 Tabbing Starboard Mini Gusset
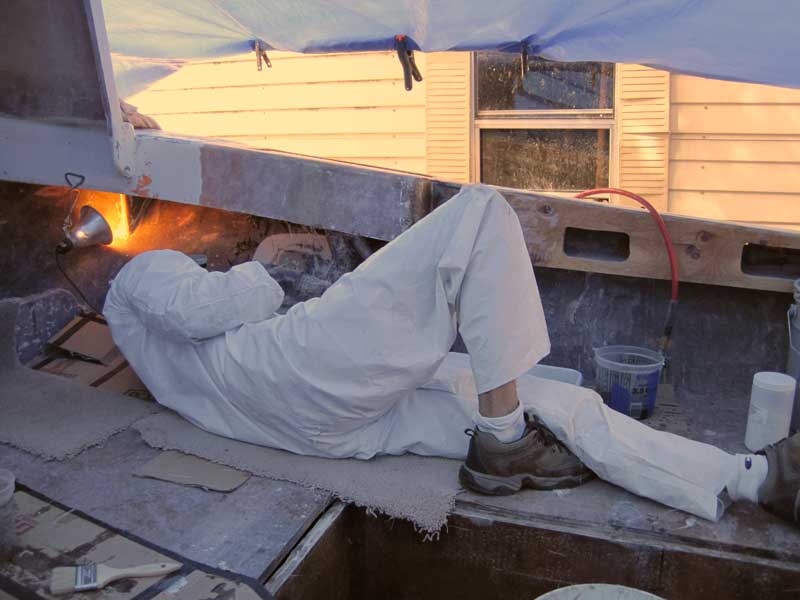
The one on the starboard side was awkward for a right-hander to laminate and Gene wound up laying down with his feet forward at one point when trying to reach the aft inside face.
 Starboard Mini Gusset Tabbed
Cutting and laying in the tabbing was much easier without that darn scab board in the way.
 Ladder Box Board Installed
The ladder board that will provide support for the ladder box was screwed to this fiberglass face with a layer of wet mat in between. When we tightened down the screws, it squeezed out excess resin through the screw holes and the box mounting holes. More resin flowed down the excess mat hanging out at the bottom. This one will not rot out or fall off any time soon!
 Fiberglass Cutting Table
October 18, 2011
Cutting and Grinding Fiberglass, Apparently...
I do not remember what we were doing this day, but I only took two pictures. The one at right is my fiberglass cutting table and I see that I have a roll of biaxial cloth on the table in addition to the roll of mat hanging above. Cutting fiberglass for hawse pipe deck areas, I suppose.
 Day Of Grinding
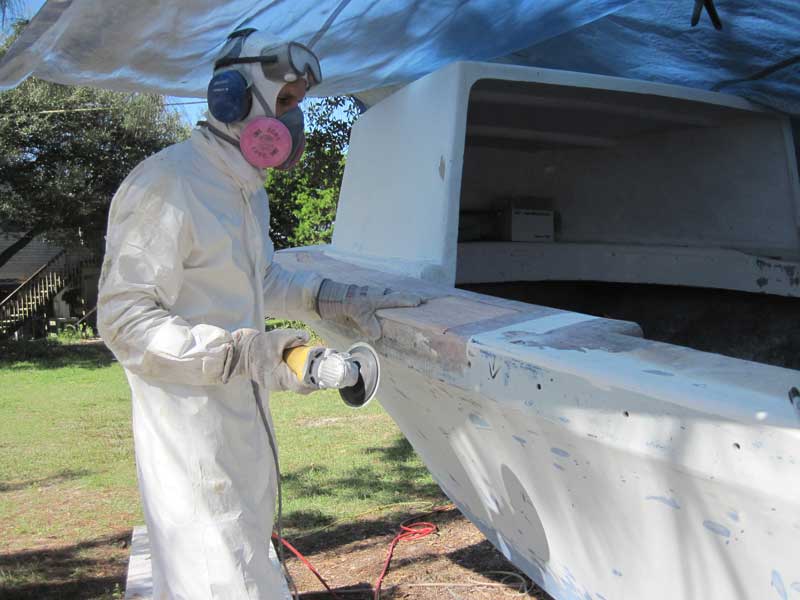
It's pretty obvious what Gene was doing all day. In the picture he is grinding the hawse pipe deck on Pec but one of my notes on the table references the same area on Fluke so it is likely he was grinding on both boats.
 Scott with Sander
October 19, 2011
Team Sanding, Some Filling and Cutting
Scott came back to help out some more, and was promoted from Grinding Troll to Sanding Goon, but the upgrade from working under the boat to working around it did little to improve his attitude.
 Homer Sanding
In other news, this was the first day Gene brought in some hired help. Homer showed up and knocked out a lot of sanding very fast.
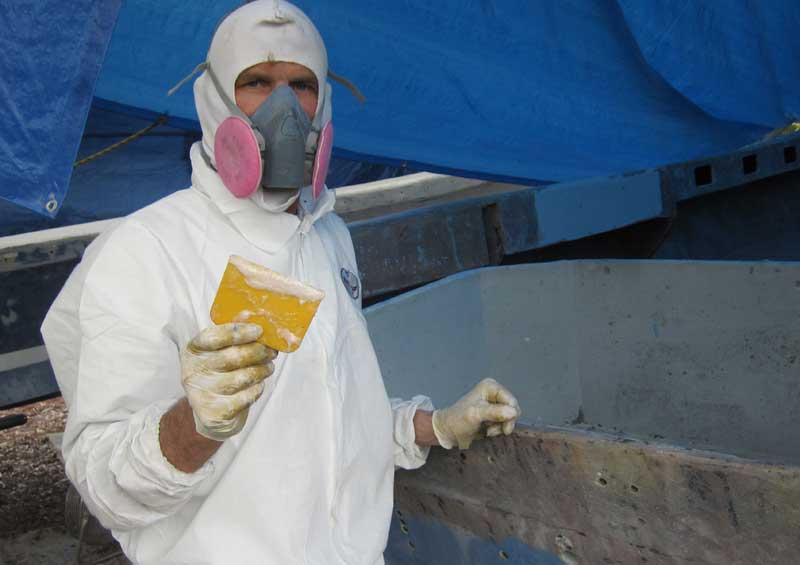 Epoxy Putty
I am not sure what else Gene may have accomplished on this day, but when I caught him with my camera he was patching small holes in the bilge where previous bilge pumps had been mounted. A couple of pictures indicate that I was cutting fiberglass to line the fuel tank wells and cutting pieces for a few more repairs. At the end of the day, Homer was blowing off the sides of Pec with compressed air.
 Colton Helping Fiberglass
October 20, 2011
Fiberglassing Fuel Tank Well, Patching Scratched Deck
We got some more hired help this day and put him right to work. At right, Colton is helping Gene put a new fiberglass skin in the fuel tank well on Fluke.
 Colton Rolls Resin
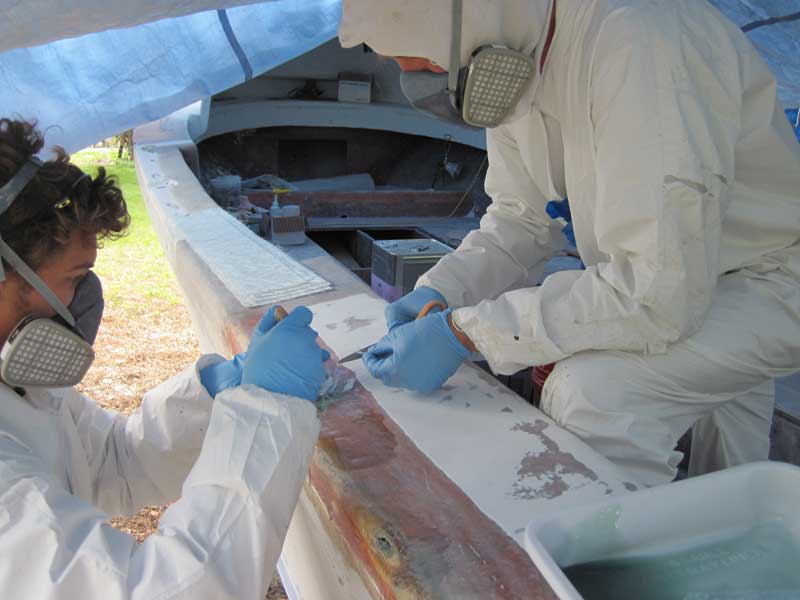
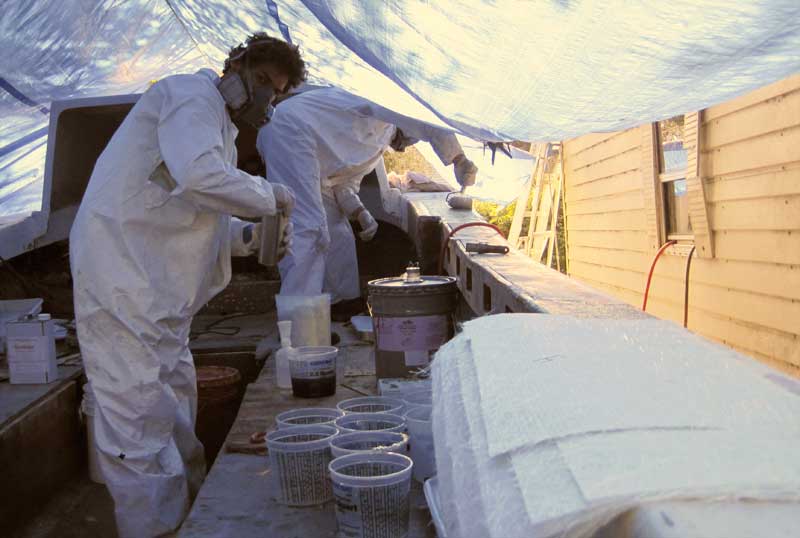
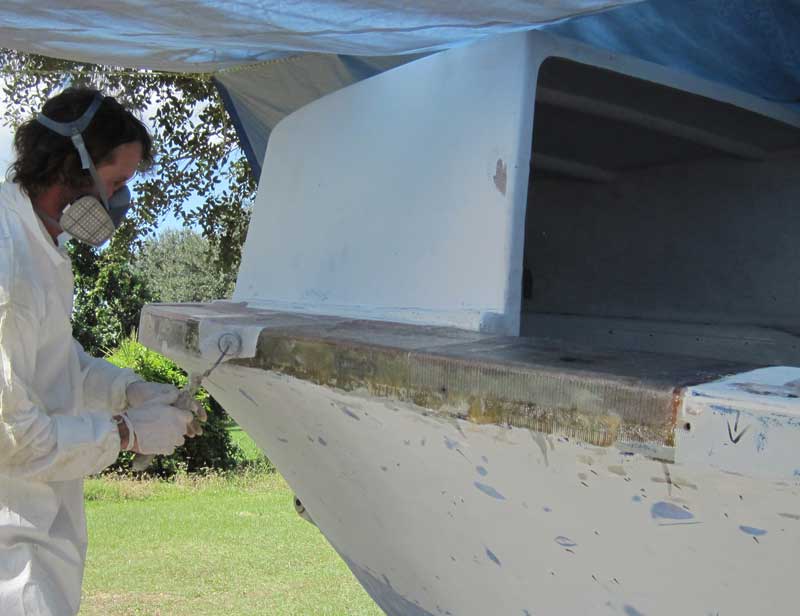
With three of us rolling resin and working big bubble rollers, we moved on down the tank well reasonably quickly. Although we had laid quite a bit of glass up to this point, this was the first time we attempted such large pieces. The early tendency was to mix too little resin, which cost us extra mixing time. We soon learned how to run larger batches. Because a large batch will tend to generate a lot of heat and kick itself off very fast, we would pour a lot of it out into separate roller trays and sometimes split the rest into oversize mixing containers. We always managed to run out of resin before it kicked off.
 Fixing Backhoe Scratch
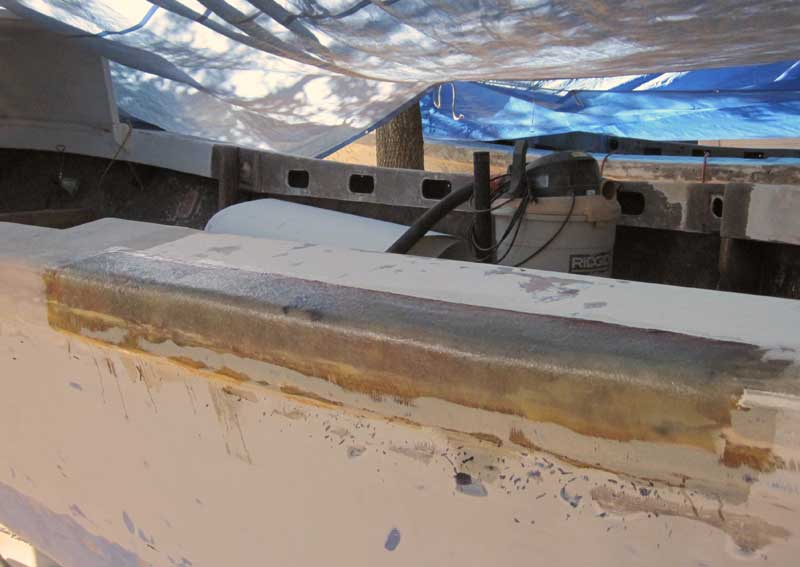
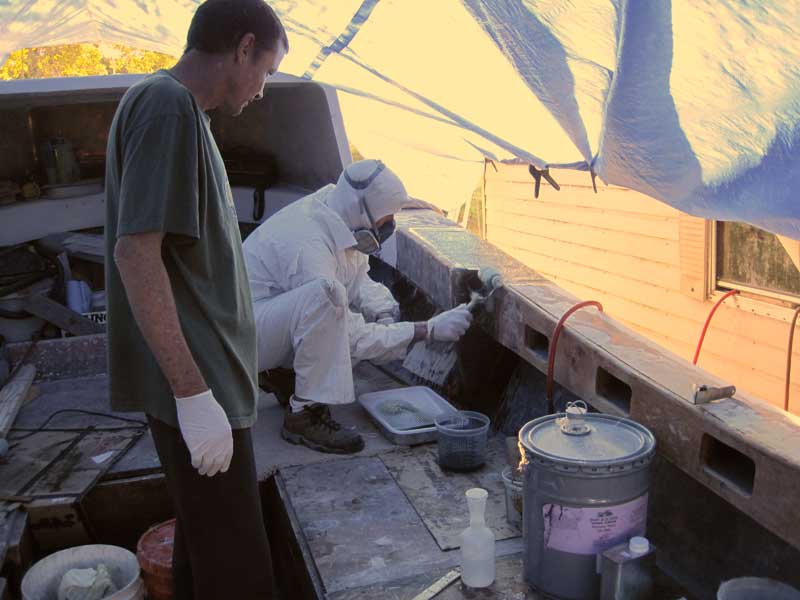
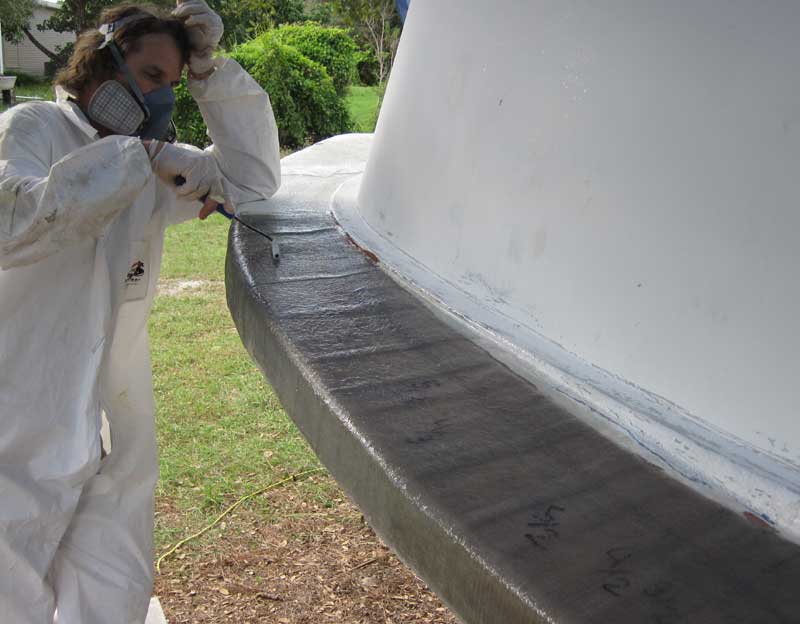
After the fuel tank well liner on Fluke was complete, we moved on to patching the scratch I had put in the side of Pec with the backhoe months earlier, along with several other scratches and dents in that area. I had cut pieces to match the beveled edge Gene ground into the old deck skin and some pieces for patching damaged areas. In the picture, Gene is custom-trimming fiberglass mat to fill the deep scratch while Colton wets in the pieces with a resin brush.
 Fixed Backhoe Scratch
Another successful repair, at least by our "strong again and not too lumpy" standard! A little grinding, maybe a touch of filler along the seam, and it should be just fine. Part will be covered by the rub rail and the rest will have non-skid over it, since this is where swimmers board the boat.
I think I had built up a small inventory of cut fiberglass for Gene and Colton to lay up and Colton picked up on our methods quickly. This was a good thing, because the next day my wife and I went up to Tennessee for a week to help my brother with his wood kiln fired pottery.
 Fuel Hose Shroud
October 29, 2011
Back From Tennessee, Touring Progress
One of the many little details that had been vexing Gene was how to replace the shroud that covers the fuel fill and vent hoses. Previously, they were rather crude plywood boxes that were fiberglassed onto the sides and deck. Replacing the fuel vent fitting would be almost impossible without removing them and replacing them would be easy enough, so we cut them out. Gene had been considering buying PVC pipe large enough to split in half, but pipe that big gets expensive. We had tossed around various other ideas without coming up with a good one.
While we were gone, Gene devised and built the fiberglass shroud shown at right on Pec. It is a nice half-round made from three layers of fiberglass mat on a mold made from the same plastic sheet that we plan to use for the hard tops. It looks a lot nicer than the old ones, weighs less, and has no corners to stub toes.
Also in the photo is one of the aluminum angle brackets that will hold the new hard top legs. It is clamped in place and another clamp in the foreground is holding another one. These were clamped up in position so that the welder could make a template that would ensure the legs all land in the right places.
 Fluke Port Hawse Pipe Deck
They installed the replacement core and skin on the port side of Fluke where the old hawse pipe had ripped out.
 Fluke Side Deck Fixed
They put the new deck skin on the starboard side of Fluke where we had to replace the core.
 New Deck Parts
Fluke got most of the attention while I was gone, but not all. In addition to getting the first fuel hose shroud, Pec got a new skin on the driver's deck and they cut the plywood pieces to rebuild the decks of both boats over the new fuel tanks.
 Coating Deck Undersides
October 30, 2011
Waterproofing Plywood Deck Core
The main project of the day was to coat the bottom sides of the plywood deck pieces with resin. We considered giving each piece a fiberglass skin, but the original deck was treated with resin only and where there were water problems, the water had come in from above, not below. The thick resin coating should prevent absorbing excessive bilge moisture in the humid tropical environment.
 Molding Fiberglass Shroud
After painting the deck pieces for both boats, Gene laid up the fiberglass fuel hose shroud for Fluke. The mold is just a piece of plastic stapled to plywood semicircles. The fiberglass mat pieces are cut with a concave top edge and a convex bottom edge to make the top and bottom edges close to the correct angles. A little trimming and grinding is still needed to get the final shape.
 Meridian 25 Tehani
I missed a good portion of the morning boat work because I went over to town to meet an internet friend of ours named Charlie who was passing through on his Meridian 25 sailboat. It's always a pleasure to catch up with him in person, but did not do much for my productivity. I made a small piece to fill and help waterproof the transom repair on the port side of Pec, but other than that I did not accomplish much.
 CJ and Libby Dog
I managed to bribe Charlie into coming out for dinner and to have a look at our whale boat project. Charlie is an experienced boat builder and I figured he might have useful tips for us, or at least tell us if we were doing something badly wrong. He seemed to think they looked like work boats under rebuild with nothing particularly remarkable about them. He was more interested in chatting about sailboats and life and throwing the ball for Libby dog.
 Fiberglass Shroud On Mold
October 31, 2011
Removing Fiberglass Shroud From Mold
I do not know what kept us busy on Halloween, but these are my only pictures.
 Shroud Off Mold
A little prying and flexing was all it took to make these fiberglass shrouds pop off of the mold.
 Tank Well Bulkhead
November 1, 2011
Adam and Lane Arrive, Fluke Starboard Hawse Deck Repair
We were really eager to get the new fuel tanks installed and the decks put back down by this time. The giant hole in the middle of each boat and the difficulties created for movement, drainage, and work in general had grown tiresome. Here Gene is test-fitting the new bulkhead to be installed aft of the fuel tank in Pec. Part of my day was to be spent making the skins for this bulkhead and the one in Fluke.
 Fuel Bulkhead Skins
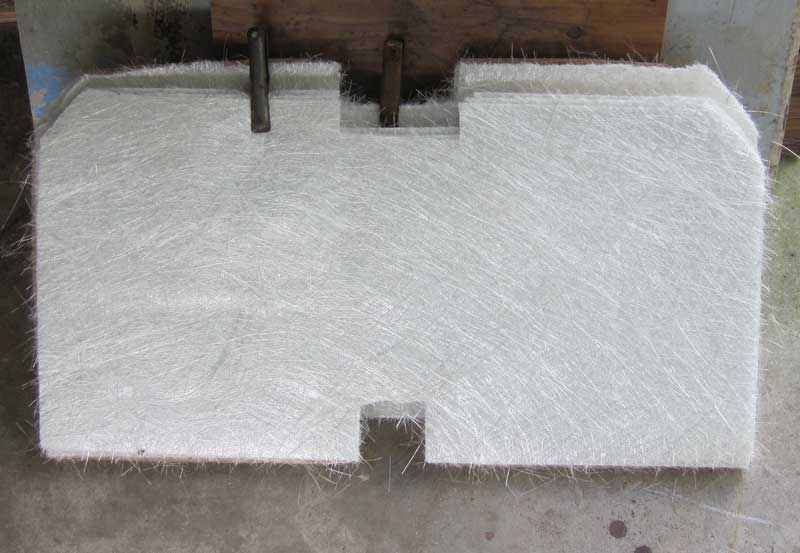
The skins for these pieces had to have notches cut out of the fiberglass mat and relief cut to wrap around notches in the wood.
 Tom and Lane Cutting
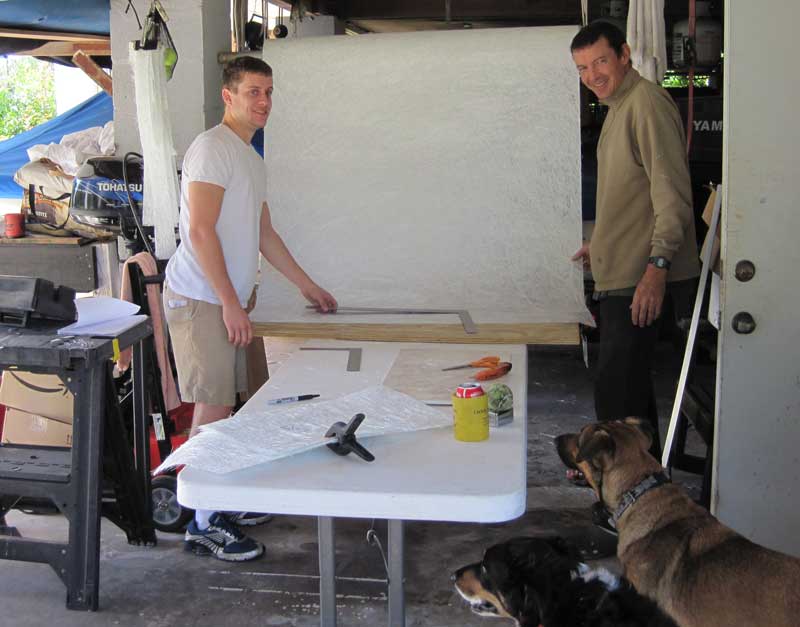
We really needed more hands on the job to have any hope of finishing in time for the 2012 whale swimming season, and it came in the form of Gene's nephew Adam and his friend Lane. They both took a few weeks off to come and help Gene with the boats, and we could not have done it without them. In the picture at right, Lane is helping me cut fiberglass. He picked up on my process quickly and found little ways to make it more efficient.
 Adam and Colton Grinding
Adam joined Colton out in the project yard and they set about grinding old paint, gelcoat, patches and whatever else might be present off of the bench seats. Gene has been wavering on the question of whether to have new seats made or re-use these. It is still not really decided, but to keep options open, these have to be ready to use if needed.
 Hawse Pipe Deck Repair
I assembled a replacement core and lower skin sized to fit this hole in the side deck of Fluke back in September (page 8) but it was not on the front burner until today. The piece was a tight fit and had to be tapped in place with a hammer before Gene laminated the underside.
 Gene and Colton Glassing
Once the core was glassed in place from below, Gene and Colton began rebuilding the deck. In the foreground is a stack of pieces of fiberglass sized to create a smooth transition from old to new.
 Gene and Tom Glassing
When it was time for Colton to go, I took over assisting Gene with the fiberglass layup. There are still a few layers yet to be added to blend this repair with the old deck skin.
 Adam Response
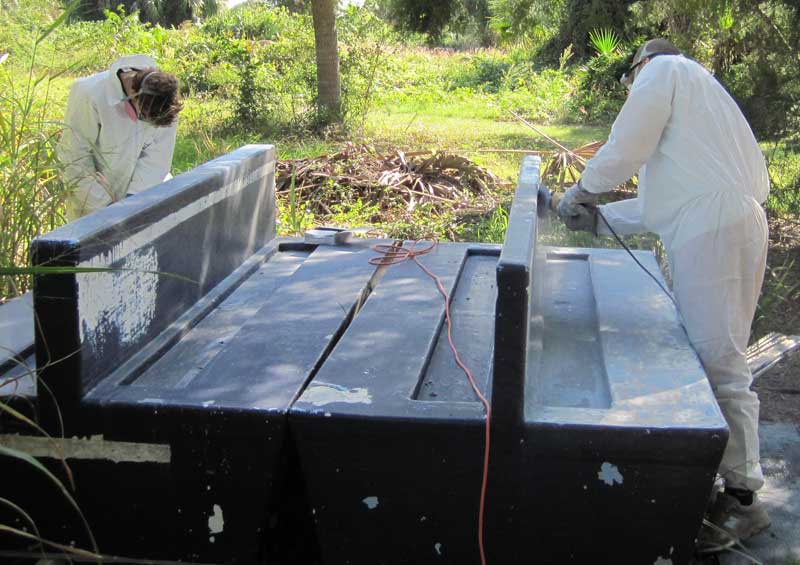
I asked Adam how he was enjoying helping out his Uncle Gene with the grinding. Although new on the job, he has already picked up on the proper response to the guy with the camera. They got a lot done, turning the benches from dark blue to white.
 Pec Port Forward Rail
November 2, 2011
Port Side Forward Repair on Pec
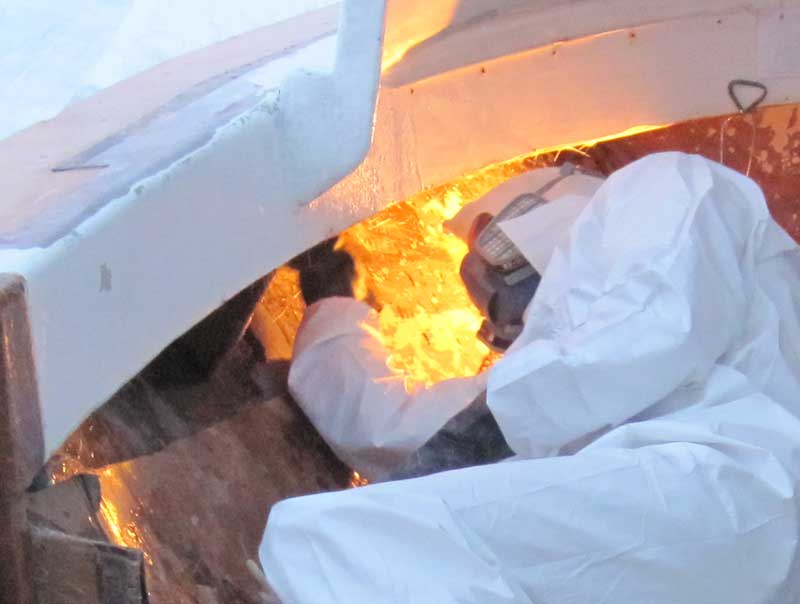
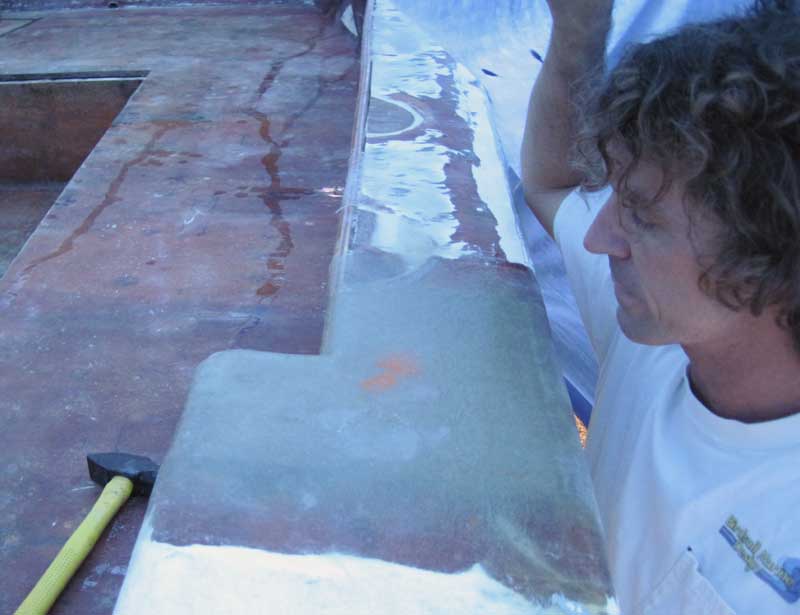
The day to lay fiberglass over the replaced core on the port forward quarter of Pec finally arrived. Adam and I had cut a five layer beveled and stair-stepped lamination and our plan was to lay up all five layers at once, keeping a wet edge of overlapping cloth on each layer as we went. This would ensure that the entire lamination was chemically bonded as one piece, and that the whole piece had the best possible mechanical bond with the original material. In the picture at right, Gene is doing some final shaping and roughing up of the surfaces with the grinder before we start laying fiberglass.
 Adam Grinds Bench
There was a lot of grinding going on throughout the day, as Adam continued to strip the old benches and Colton ground out the drips and waste from our previous day's lamination on Fluke.
 Pec Port Side Layer One
Gene applying the first couple of pieces of the first layer of fiberglass to the repair on the port forward quarter of Pec. The procedure was to put on enough of layer one that the first two pieces of layer two could be applied, then put on enough of layers one and two that the first two pieces of layer three could be applied, and so on. By doing this, we could ensure that we were always working on a wet edge of each layer as we went along, even though laminating all 60+ pieces of fiberglass would take many hours and each batch of resin starts to cure in 30 minutes or less.
 Pec Port Side Layer Five
In the foreground of the picture, the numbers show layer number and piece number, so the 5/2 means layer 5, piece 2. By the time we got to the end of the fifth layer of lamination and Gene was bubble rolling the last few pieces, he was sagging against the boat and about to fall over from exhaustion. Colton was assisting him from inside the boat, mixing resin and handing out clean rollers, while I was keeping all the layers of cloth laid out outside the boat and applying each one when called for in the lamination schedule. Even with assistants helping out, this was just a long haul and we could not stop at any point along the way without losing our wet edge.
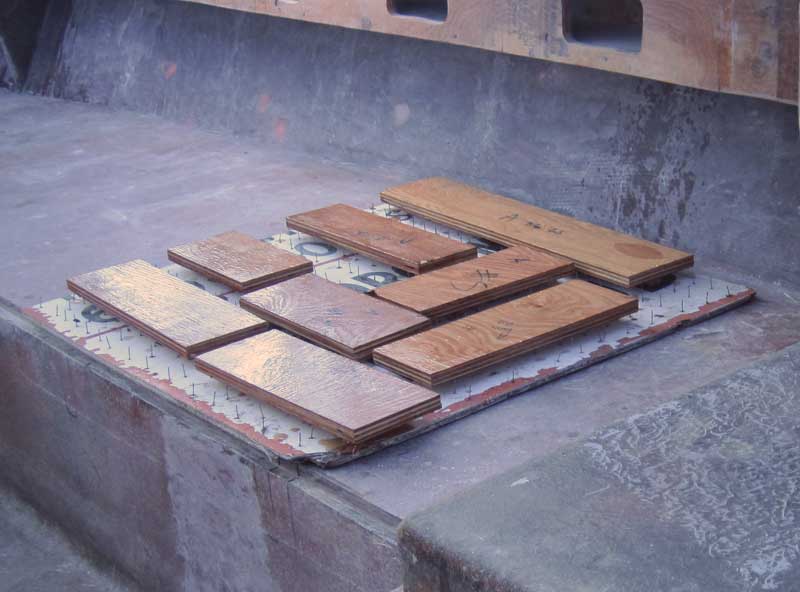 Tank Deck Scabs
After the main lamination for the day was done, we moved on to coating these pieces of 3/4 plywood with resin. These will be scabbed onto the existing deck and used to attach the new deck core over the fuel tank wells.
 Motor Well Core
Extra resin was used to paint the plywood motor well core where it is penetrated by large holes for control cables, hoses, and wires.
At the end of the day, Gene went home to Naples for a brief visit. The next day, Adam and Lane helped me to set up the welcoming party for the second annual Sun Cat National Championship Regatta, which I would be participating in and hosting at our place November 4-6.
Leave a Reply
You must be logged in to post a comment.