 Gusset Deck Underside
October 7, 2011
More Lamination and Sanding on Pec
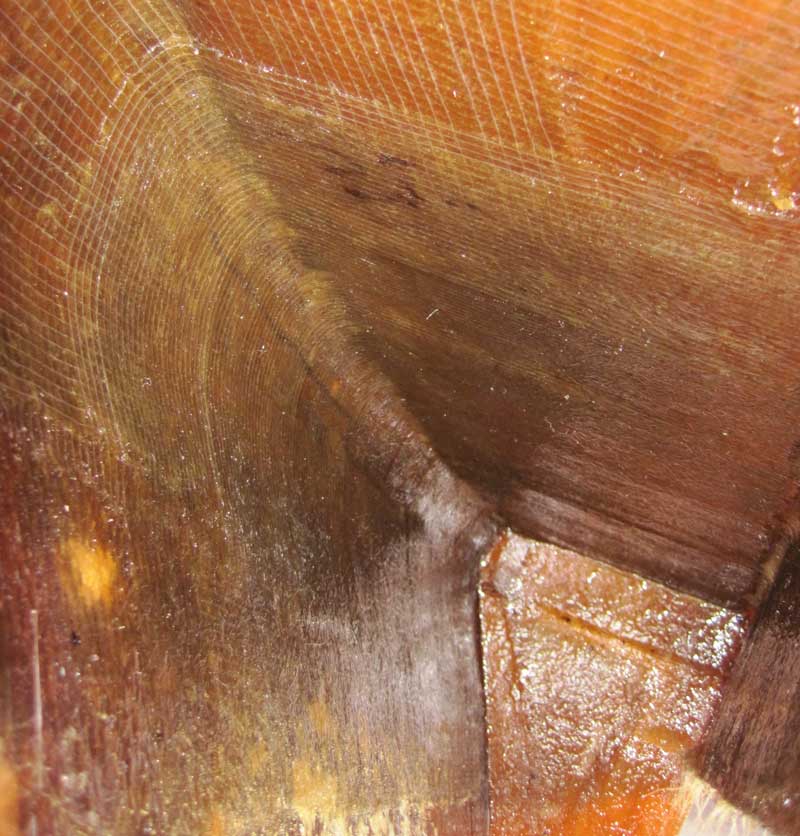
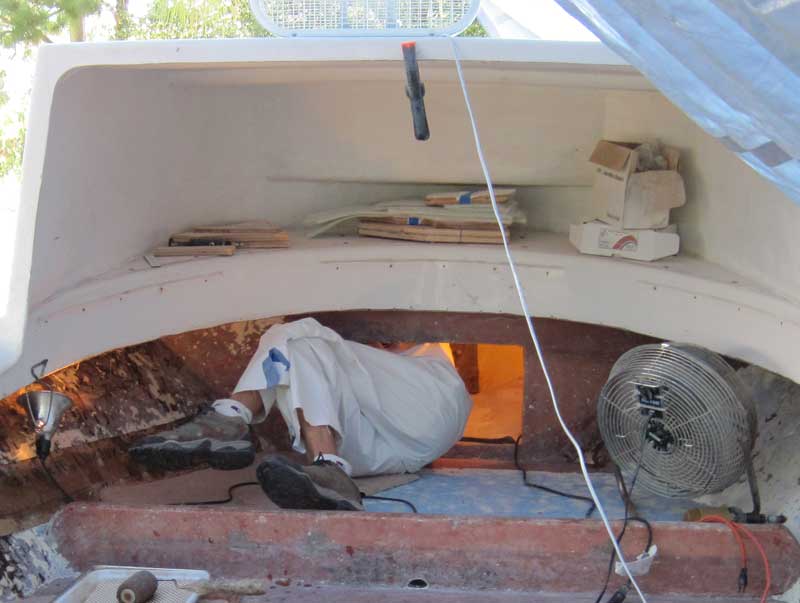
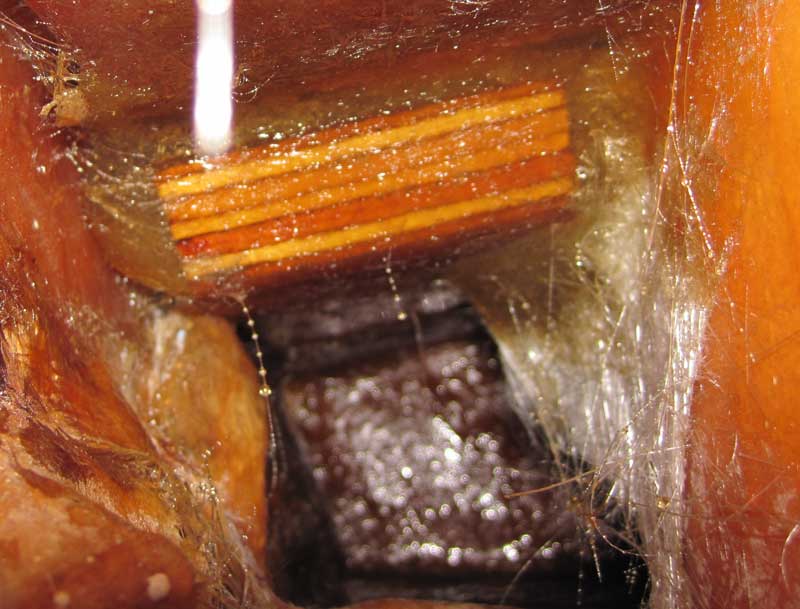
To take the picture at right, I stuck my camera up underneath the deck pointing aft toward the new gusset. You can see the different layers of fiberglass underneath the core replacement and the seams of the tabs on the gusset.
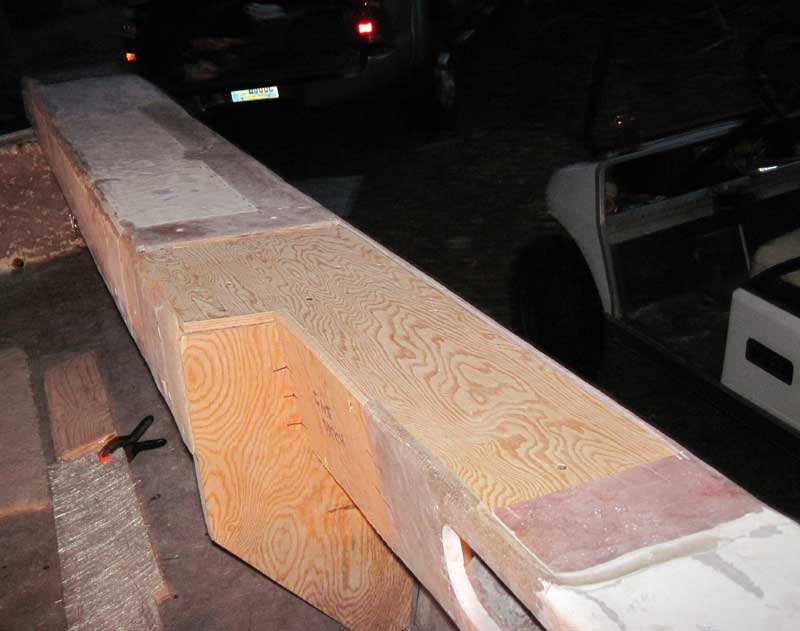
 Pec Gusset Replaced
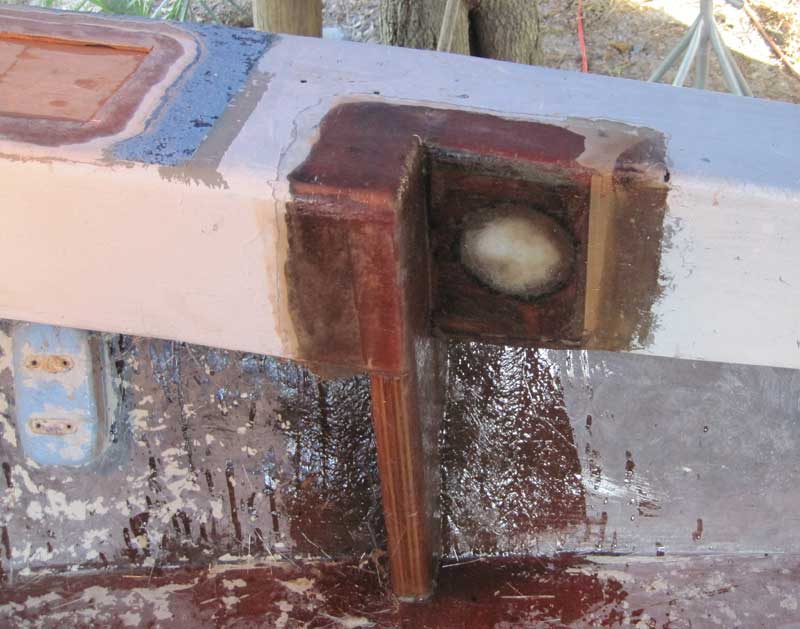
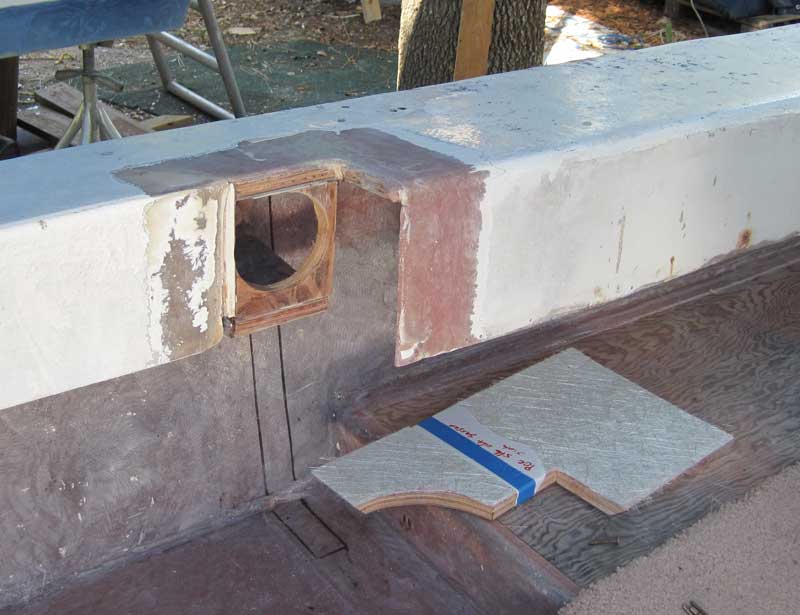
The new gusset from the outside, where various layers of glass have molded it together with existing deck and faces. The round hole will be cut back out to allow access to rub rail bolts. In the upper left of the photo is the raw core where the new hawse pipe will go. Today that will be covered over with a new fiberglass deck skin.

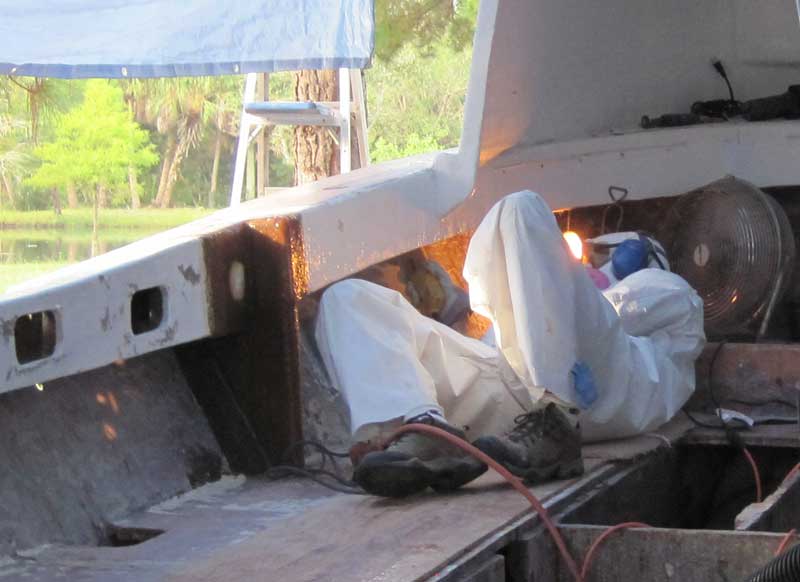
 Scott On Station
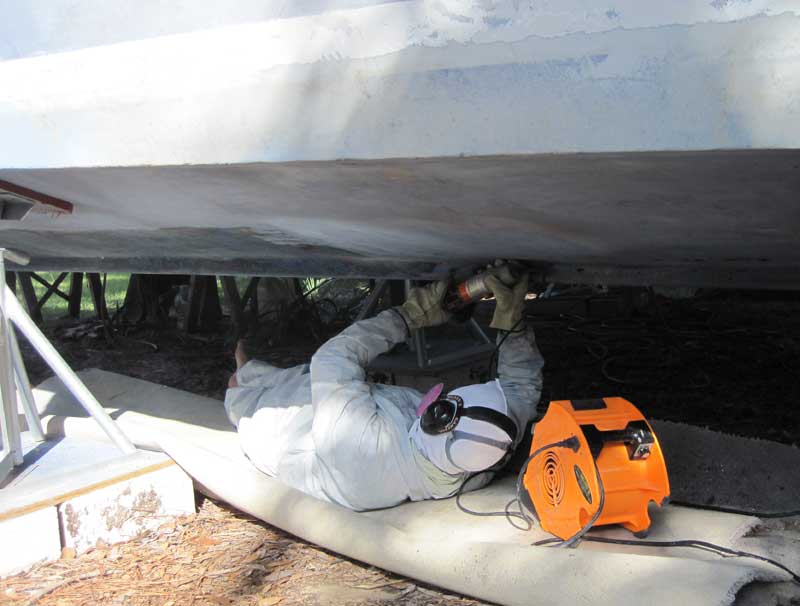
Scott came by again to assume his station underneath the boat with a grinder in hand. Everyone needs a friend like this.
 Steve Body Sanding on Pec
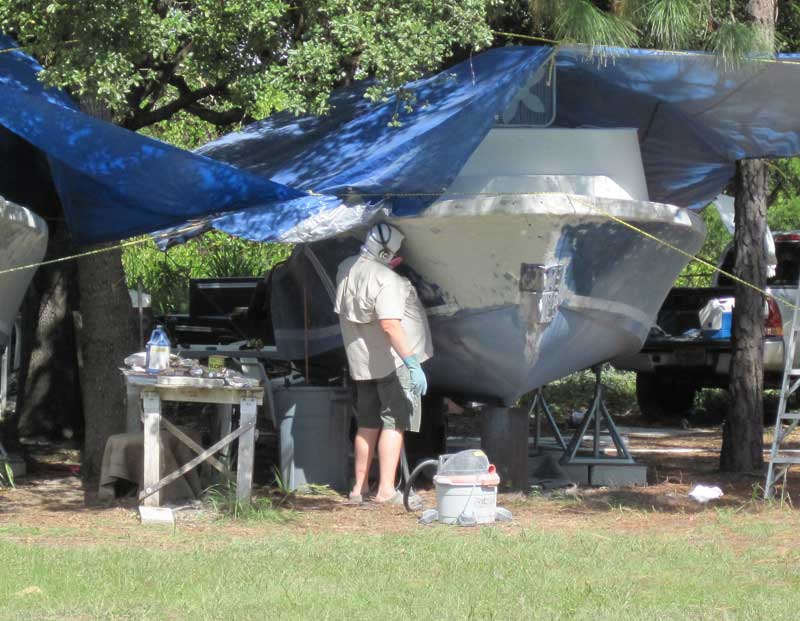
I took this picture from my fiberglass cutting station across the yard and did not really know what was going on until Steve told me. He was body sanding! Using his body to hold the orbital sander against the hull of the boat. Notice the right arm flapping free by his side. He is right handed. This is what happened when he had sanded until his arm just couldn't hold up the sander any longer and needed a break.
 Hawse Pipe Deck Skin
Gene and I replaced the deck on top of the new core while Steve sanded the hull almost underneath us. He was using the dustless sander and we had a fan blowing to help the prevailing wind carry his dust away. The new skin consisted of several layers of mat increasing in size to match the bevel ground into the existing skin. At the bottom of the lamination we used a layer or two of biaxial cloth to fill in and strengthen the skin patch.
 Nice Steaks
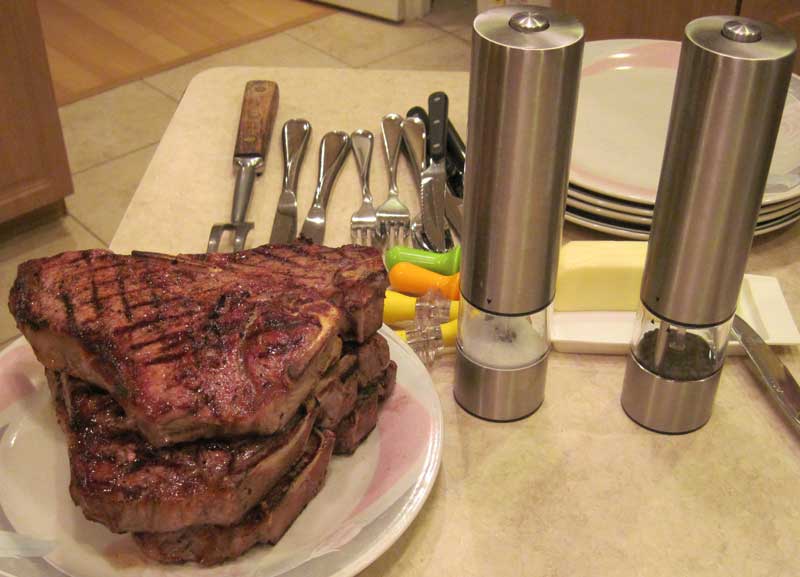
These might have been the best steaks ever, and are worth remembering. The only other thing of note that happened this day was that Dean came back to buy the last 90 hp Mercury four stroke for a parts engine. I think the steaks were really more notable.
 Port Forward Gusset and Tabbing
October 8, 2011
Glass Cutting and More Grinding and Sanding on Pec
I think this was one of those days on which we started to lay up some fiberglass, but discovered that some grinding really needed to be done first. Here are all the pieces to tab in the port forward gusset on Pec, but the next pictures do not show that happening. I have a picture of Steve sanding the side of Fluke and a blurry picture of Gene aboard Pec. He seems to be grinding, but interpreting the photo is a bit like looking at a Bigfoot picture.
 Pec Port Aft Gusset Tabbing
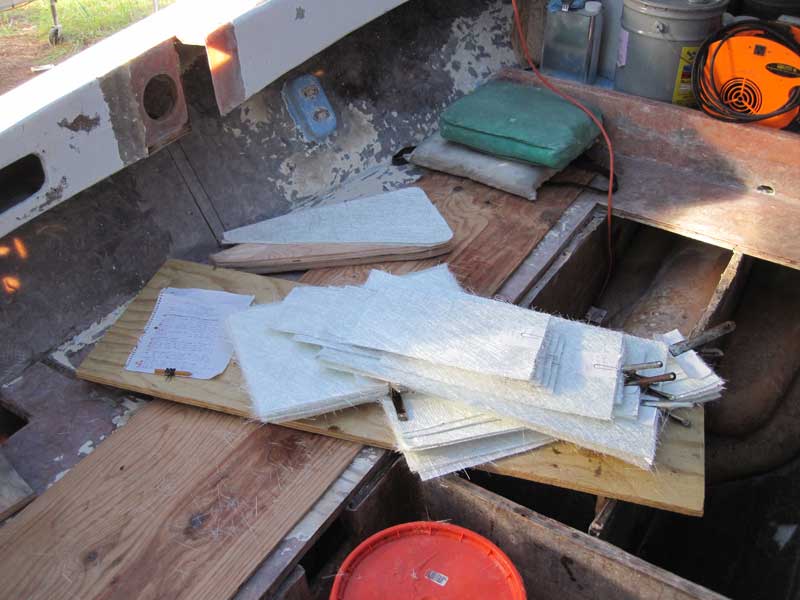
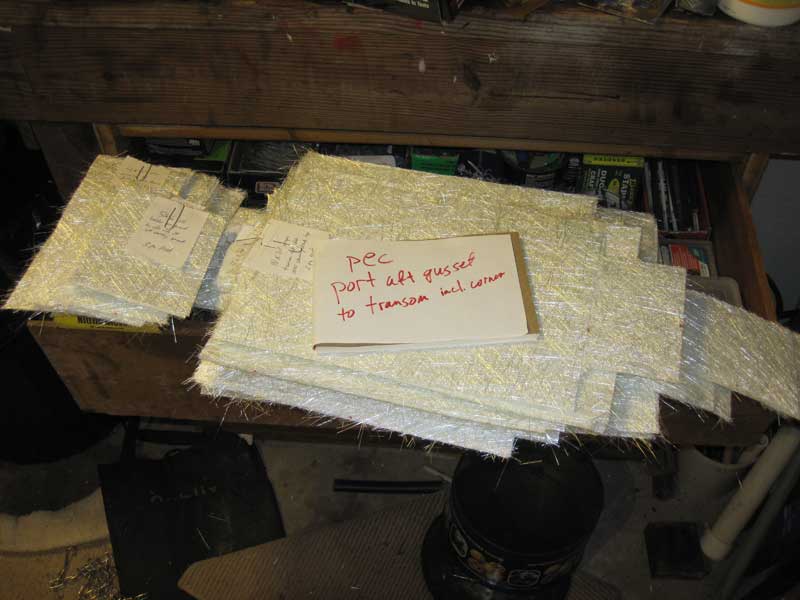
The only thing that is pretty certain is what I was doing: cutting out all the pieces we would need to tab in the port aft gusset and associated reinforcements for the ladder and its box. The lamination would start at the gusset but would extend all the way to the transom, including wrapping the top side. I cut a few of the remaining pieces of wood we would need and all of the fiberglass to tab in and cover it all.
 Rainy Day Dust Cloud
October 9, 2011
Grinding and Sanding on Fluke, Wood and Fiberglass Cutting
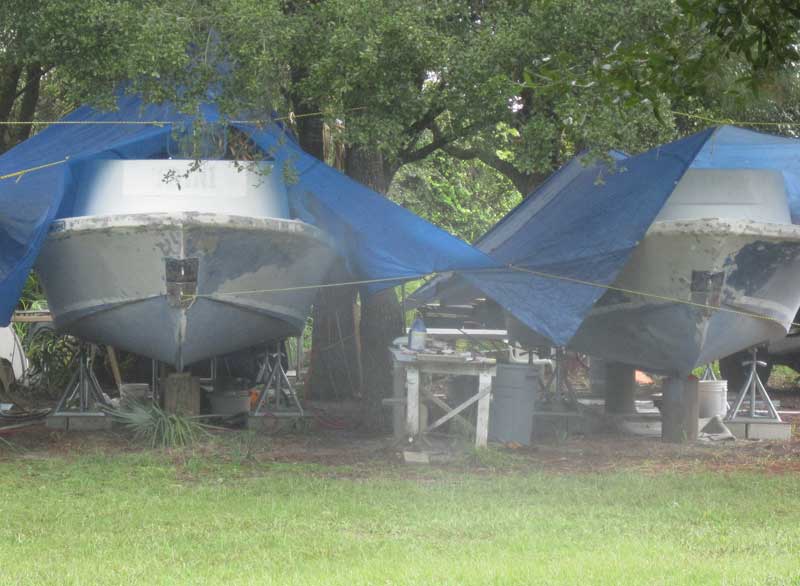
Wind and rain forced us to tie the tarp down tight on Pec and stop all work, so Fluke got some attention this day. Looking across the yard as I was cutting some fiberglass pieces, I saw this cloud of fiberglass dust drifting slowly out from under the tarp.
 Boat Parts Cart
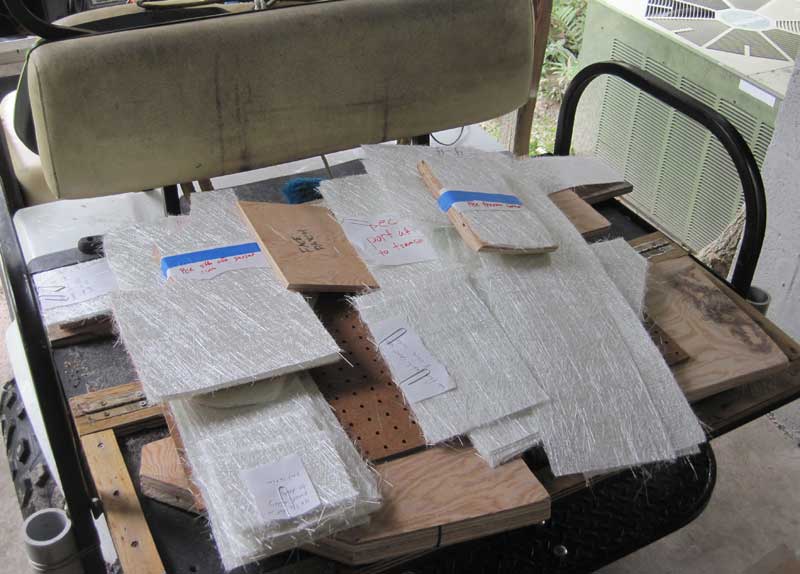
The starboard side gusset on Pec needed a scab board above it, so I cut out that piece and started on the tabs that would tie it to the boat. I also cut out a few small pieces of wood and some more fiberglass that would be needed for the rest of the port side repair on Pec.
 Fluke In Rain
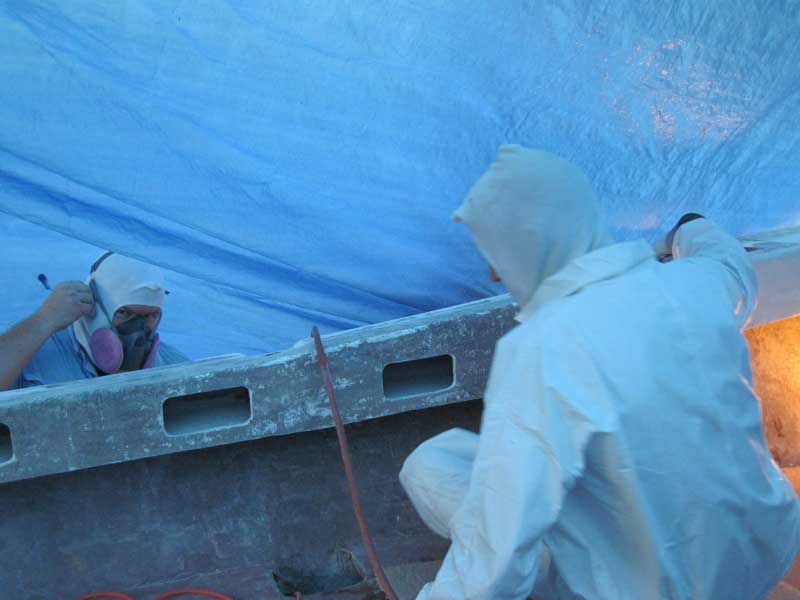
I went over to Fluke when the rain eased up a bit just to see what was going on. As usual, Gene had his grinder going and Steve was sanding. After a while, the rain got too bad to allow sanding, so Steve came over to help me cut and label fiberglass.
 Boat Parts In Shed
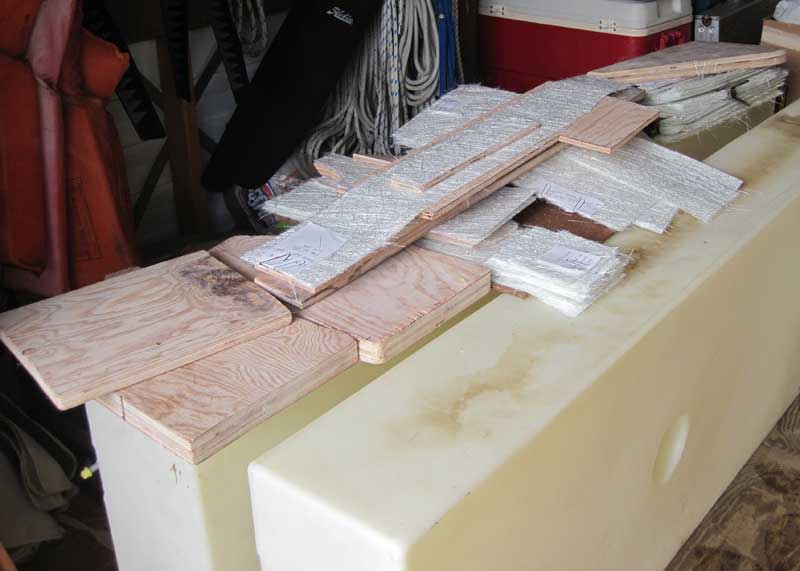
By the end of the day we had all the needed pieces of wood and fiberglass for remaining gusset installations and other repairs. We put the labeled pieces in the shed on top of the new fuel tanks to keep them free of dust and rain until they were needed.
 Gusset Installation
October 10, 2011
Gusset Installation On Pec
We started laminating in the tabs on the port forward gusset on Pec early in the morning. The morning sun blazing under the trees and tarp was blinding Gene, so we put a box of supplies up on the side to block it.
 Gene Measuring Catalyst
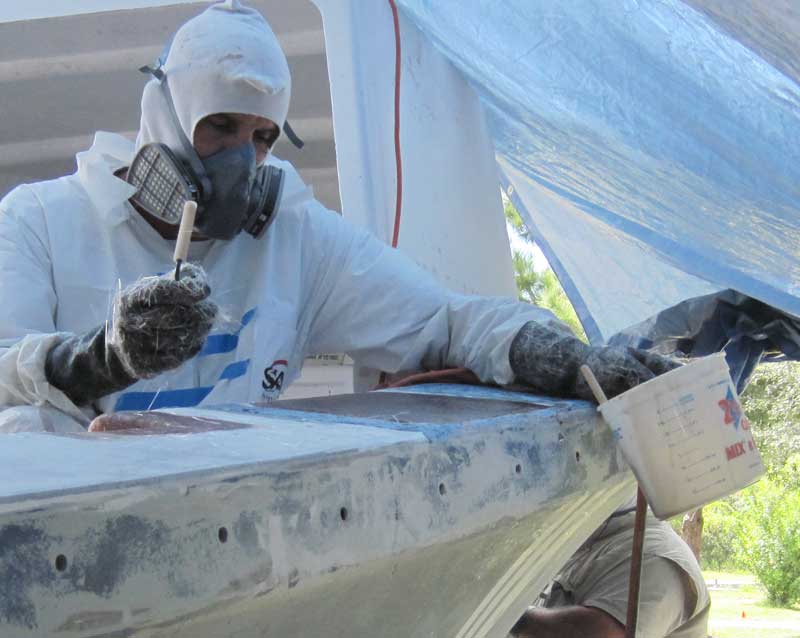
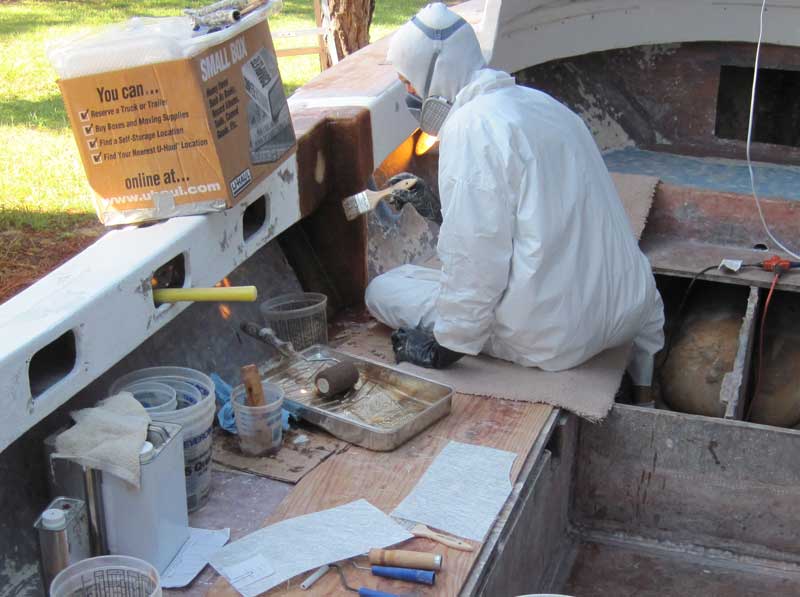
When we needed a new batch of resin, I generally had Gene measure out the catalyst. This was partially because I can not see well enough to do it without glasses, but also because I wanted both of us thinking about how much resin we were mixing and how much catalyst should be added. A minor miss in the mix ratio can be fixed with a heat gun, but if you make a major mistake it can result in a gooey mess that is difficult to remove. I did not want to be the sole creator of any such gooey mess.
 Assistant Tom
On a long lamination like this one, I would stand by to hand Gene the next piece of cloth, keep bubble rollers soaking, and keep the resin and rollers flowing. On layers of biaxial cloth, I would wet the cloth out prior to handing it to him. General purpose fiberglass assistant.
 Glassing Under Long Scab
This entire area from the gusset forward got several layers of glass. The layers of mat and biax pieces were stair-stepped to maintain a wet edge on each overlap of each layer, ensuring that it all cures as one big piece of fiberglass.
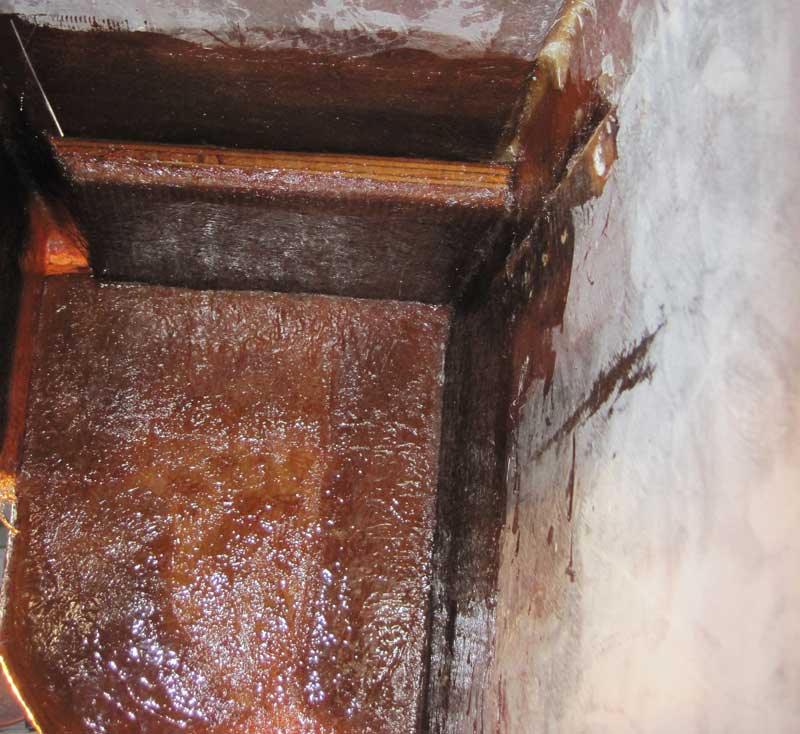
 Fiberglass Under Scab
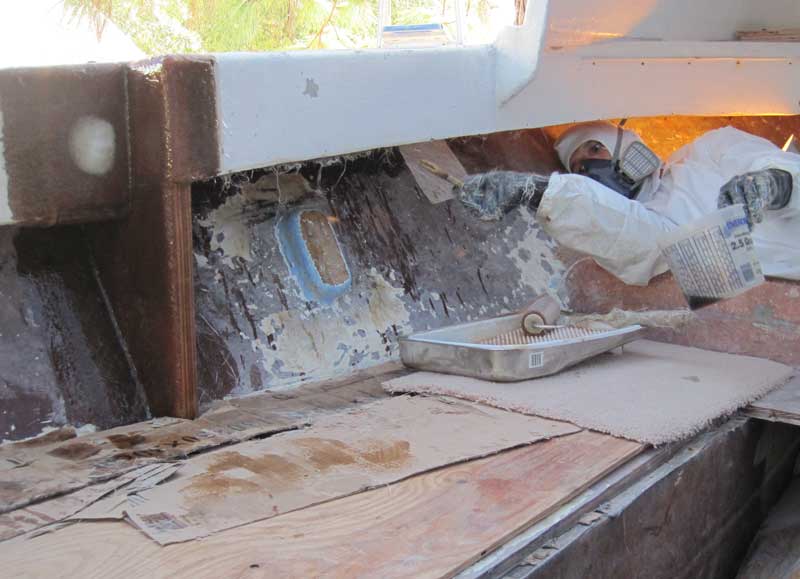
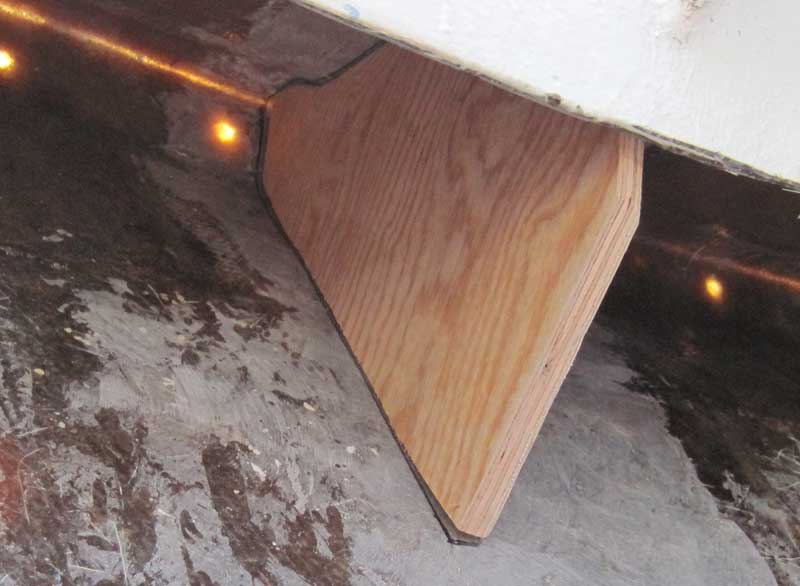
Looking aft down most of the length of the scab board that we used to attach the replacement deck core, the seams where layers of biaxial cloth overlapped are visible. We cut all of the edges of the board at 45 degree angles to allow the fiberglass cloth to lay smoothly over it. Each piece runs from the bottom of the fiberglass face on the left up underneath the deck and back down past the hull to deck joint by a couple of inches.
 Port Forward Gusset Face
The shot at left shows the end of the scab board and the top of the gusset. The gusset has overlapping tabbing to all three adjacent surfaces and it was joined to the layers under the scab board and deck when wet for a chemical bond. When I later cut out a hole for the new hawse pipe fitting, the piece that came out was an inch and a half thick. It has a fairly thick skin on top, the deck core layer, a layer of fiberglass we used for spacing, the scab board layer, and a thick bottom side skin. We probably overbuilt it a bit, but both boats showed that they take the most punishment in the forward quarters and on the stern corners. It will not hurt to have these areas overbuilt a bit!
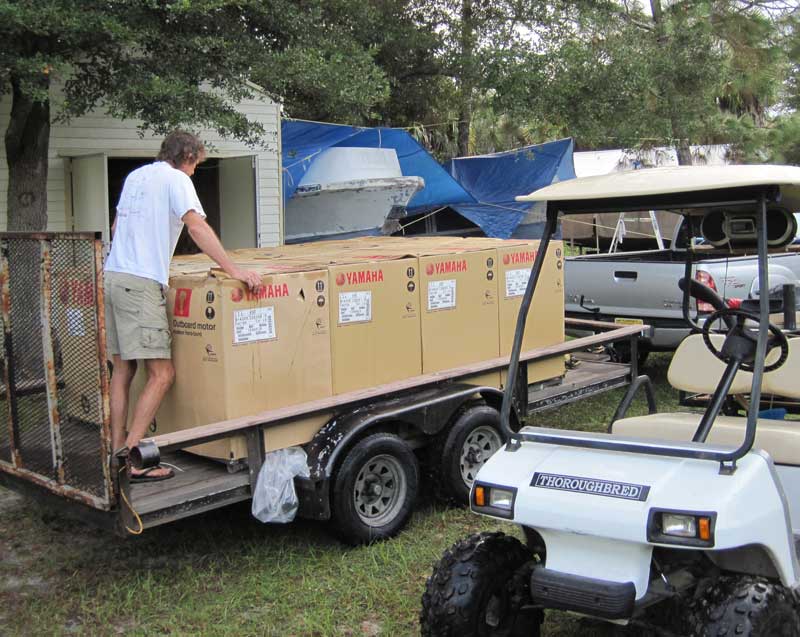 New Outboard Engines
October 12, 2011
Side and Transom Corner Lamination On Pec
We missed a day of work on October 11th when Gene and Steve went to Miami to pick up the new Yamaha 90 hp four stroke outboards. They got back after dark and in the morning we were trying to figure out where to put them. We ended up just putting a tarp and some plastic over them and parking the trailer down in the yard.
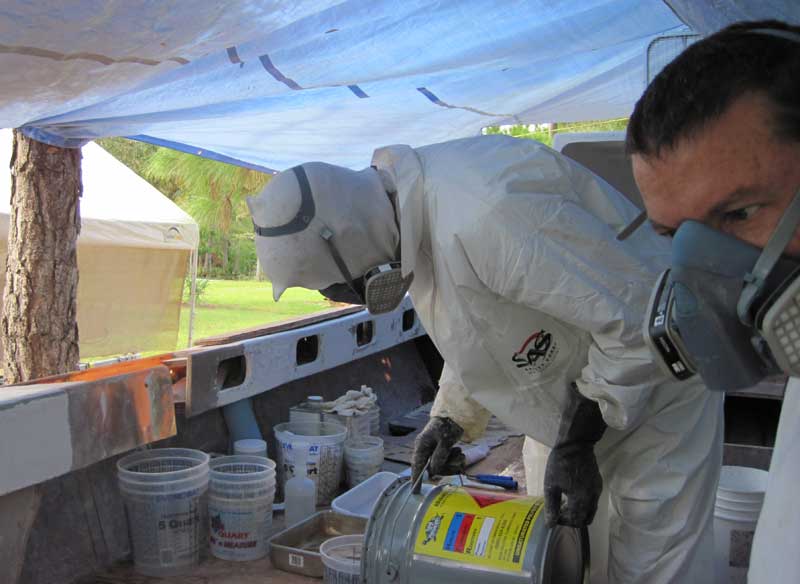 Gene Measuring Resin
Engines secured, we dove right back in to laminating where we had left off. In the picture of the scab board above, the top shows where the layers of fiberglass tapered off and ended. This was because we ran out of daylight. With the area fully cured, Gene had to get under there with the grinder and rough it up and then wipe the area down again with acetone to create a good mechanical bonding surface.
 Continuing Lamination Under Repair
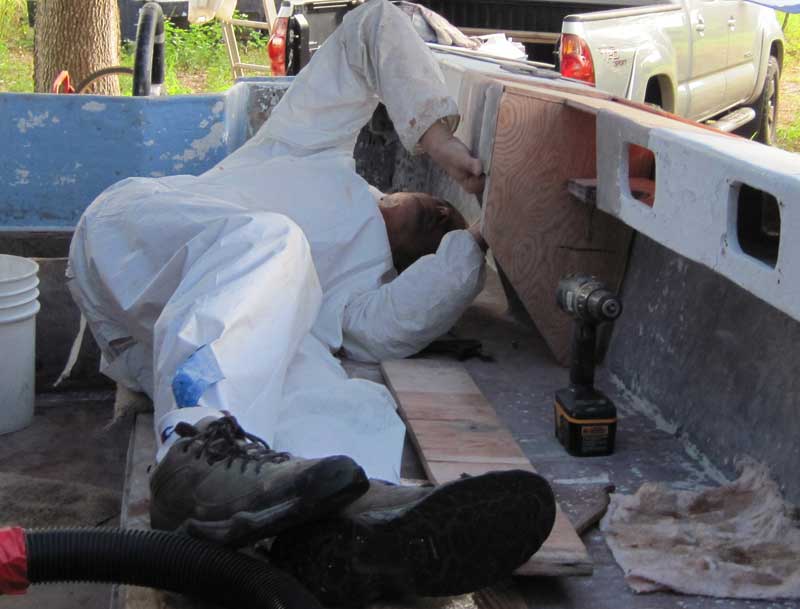
This was the longest continuous stretch of multi-layer lamination that we did. The pieces of mat and biax cloth were each about 20 inches long and almost that wide, and sometimes they did not want to stick to the ceiling on the first attempt. When the pieces fell on his head, Gene would sometimes emit creative streams of sailorly words. Once a wet piece of fiberglass went flying by my head at high speed.
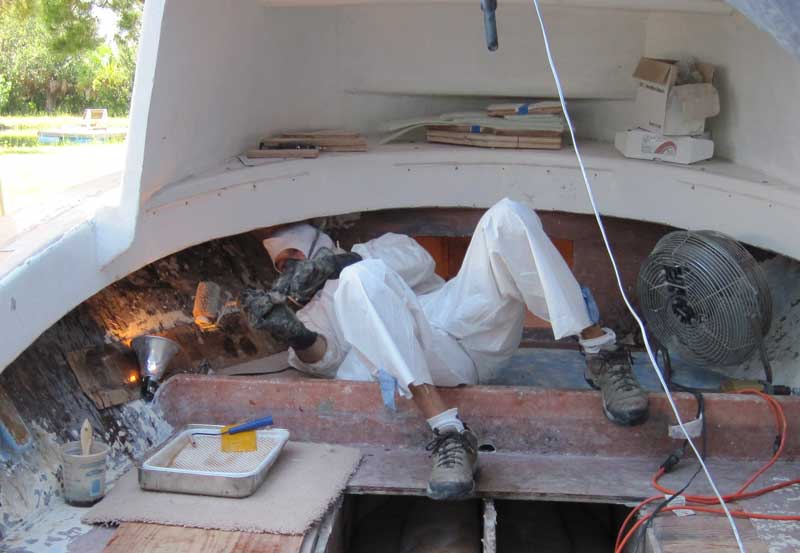
 Layup In Locker
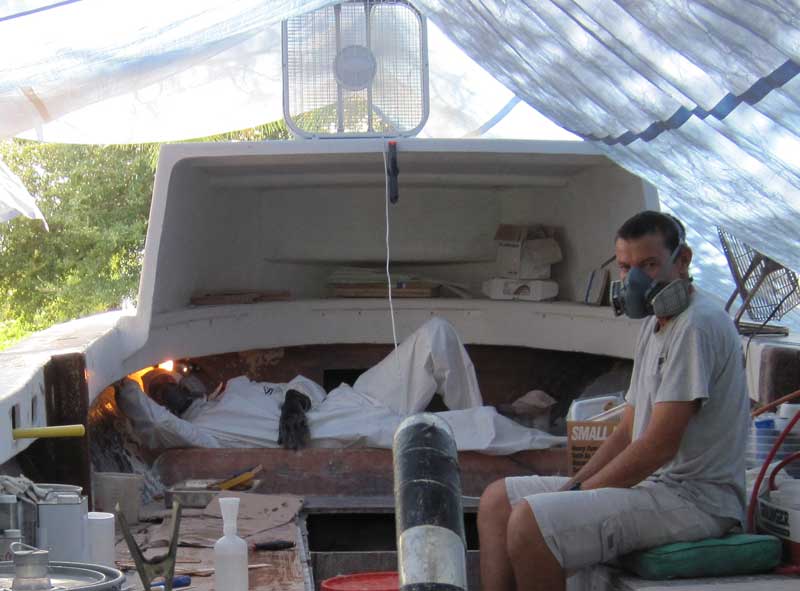
The repair area continued well past the bulkhead that separates the anchor rode locker, so Gene had to dive into the hole to do that part of the layup. Because the repair area narrowed as it went forward, the pieces of cloth were smaller up there, but most required just as many expletives. Ah, the joys of boat ownership!
 Biaxial Fiberglass Wetout Area
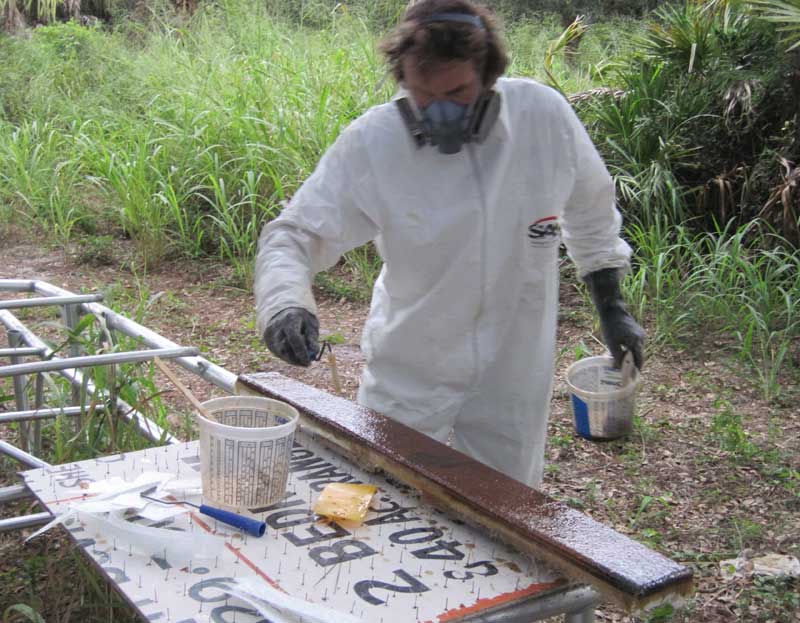
The biaxial cloth we were using was slow to absorb resin and fully wetting it in place would not have been possible. I taped a piece of plastic sheet to the deck that was large enough to wet two pieces at once. Whenever the plastic wetout area would get too sticky, I just stuck a fresh sheet of plastic on top of the sticky mess and continued. At the end, the whole pile of sticky sheets went in the trash leaving no mess behind.
 Pec Transom Corner
Once the layup under the deck repair was complete, we moved on to rebuilding the port transom corner on Pec. The piece shown is shaped to span the hull to deck joint at the transom and will be screwed to both pieces. There is another piece (not in the picture) that will run fore and aft, filling the hole and providing a base on which to lay glass.
 Applying Chopped Fiberglass Putty
There were places where existing seams and angles made complete contact with the wood impossible, so to fill those gaps Gene painted those surfaces with resin and then spread in some chopped fiberglass putty in before putting in the new wood core. The wood will squeeze out excess putty when screwed in place, leaving no gaps, or at least that is the idea.
 Corner Side Piece
The first piece to be installed was the one that runs along the side to fill the hole. This piece got a fiberglass mat skin and was then bedded into a layer of chopped glass putty and screwed in place.
 Applying Chopped Fiberglass Putty
The filler piece for the transom got a thick layer of chopped glass putty. This was concentrated near the bottom edge to help fill the rough seam behind the filler wood.
 Screws Through Transom Flange
The piece was pre-drilled and we had done a dry fit, but when the actual installation with wet putty came, driving the screws all the way home was very difficult. Gene struggled to get them all down flush and in the end one of them had to be hit with the grinder to lay flat.
 Glassing Inside Corner
Once the two pieces of wood were in place, Gene started laying fiberglass around the inside corner. The wood reinforcements were encased in glass wrapped around the four surfaces of the inside corner.
 Glassing Outside Corner
After the inside was encased in fiberglass, it was time to do the outside. To create a smooth, beveled seam between old and new fiberglass some pieces were custom cut on the spot and a bit of chopped glass putty was used.
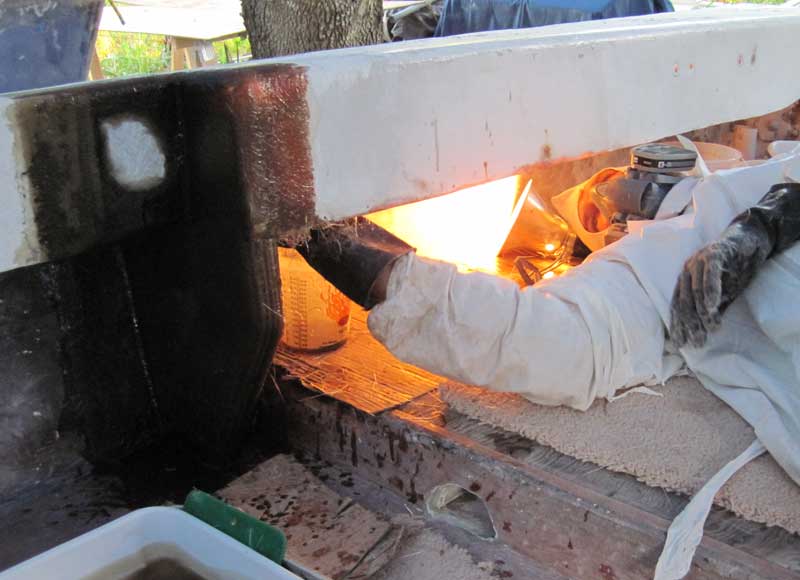
 Curing Inside Corner
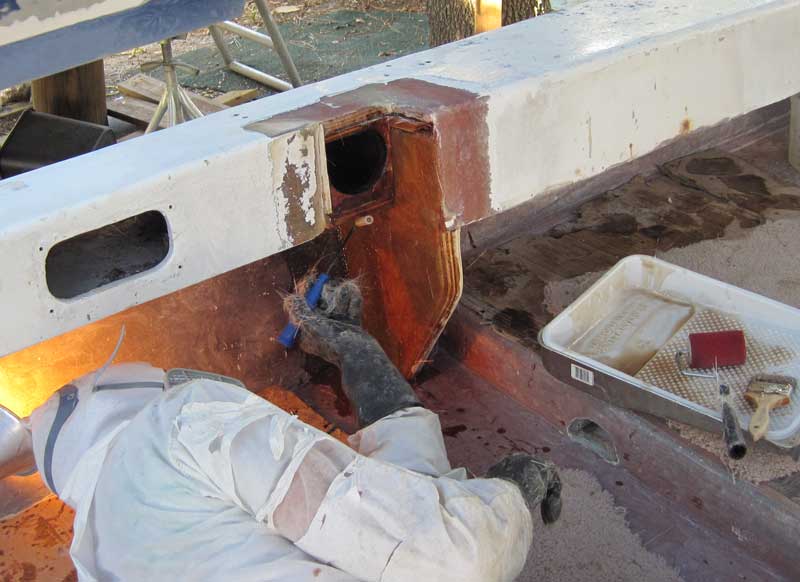
Properly catalyzing polyester resin in the evening can be a bit tricky. The temperature drops quickly when the sun goes down, but mixing in anticipation of those temperatures may cause the mix to kick off too soon. Mixing for the warm afternoon temperatures will mean it will not kick too soon, but may also result in no final cure at all. For this small repair, a solution was to keep a work light under the area for a couple of hours as it cured.
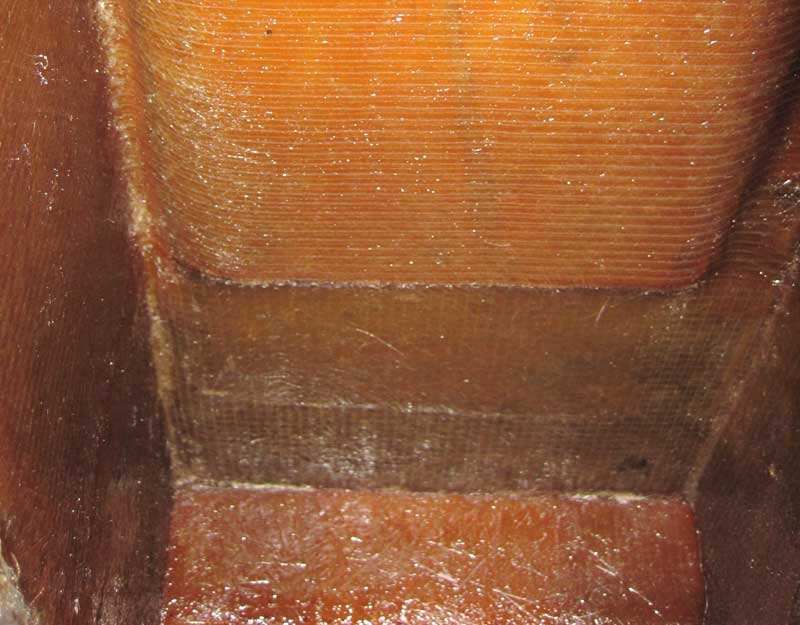
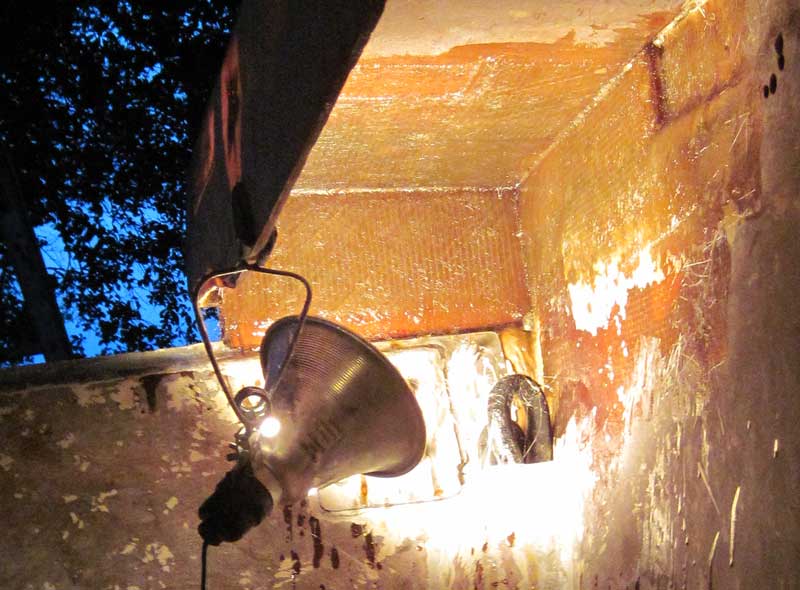
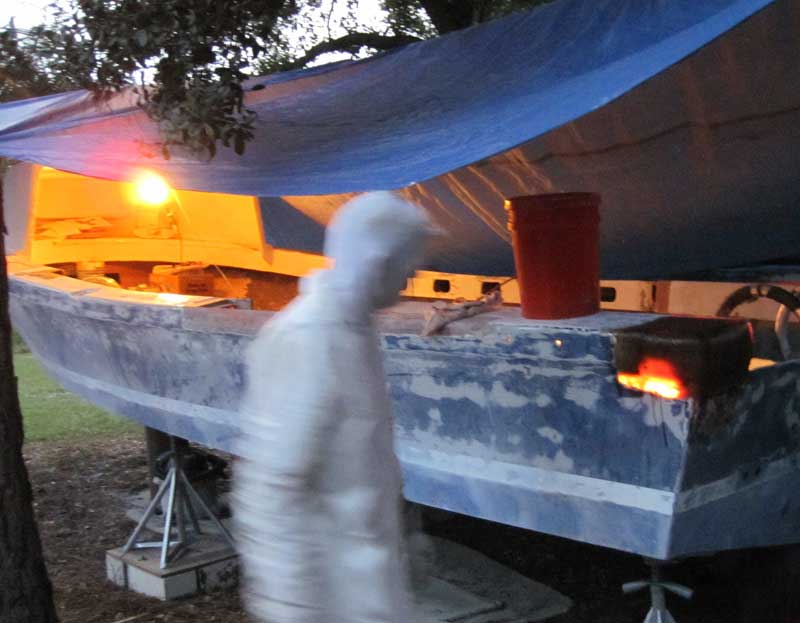 Backlit Repair
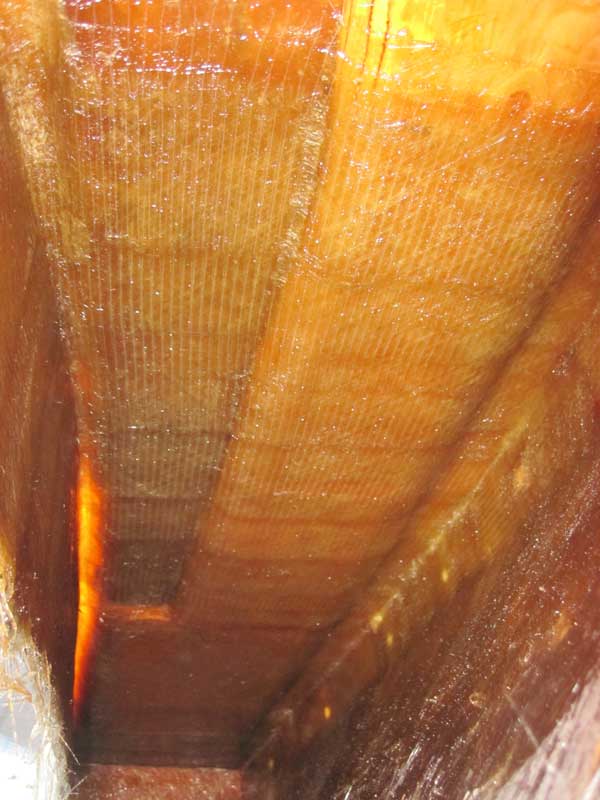
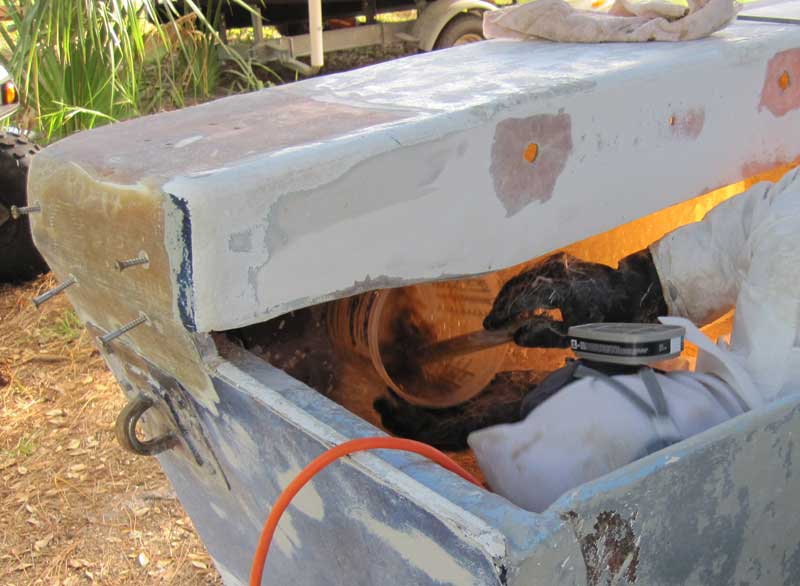
The work light inside the boat shone through the fiberglass of the hull in areas where there was no wood or paint to block it, creating a pleasant orange glow in the fading evening light.
 Starboard Aft Gusset Tabbing
October 14, 2011
Starboard Aft Gusset Installation On Pec
I am not sure why no boat work happened on the 13th, but on the morning of the 14th we were setting up to install the starboard aft gusset in Pec.
 Deck Reinforcement
Although not in as bad shape as the other side of the boat, the area of deck above the gusset did need a little reinforcement. This scab board will ride on top of the new gusset, distributing any loads on the deck to a larger and stronger structure. It is cut out to fit behind the old SCUBA tank rack inside the gunwale.
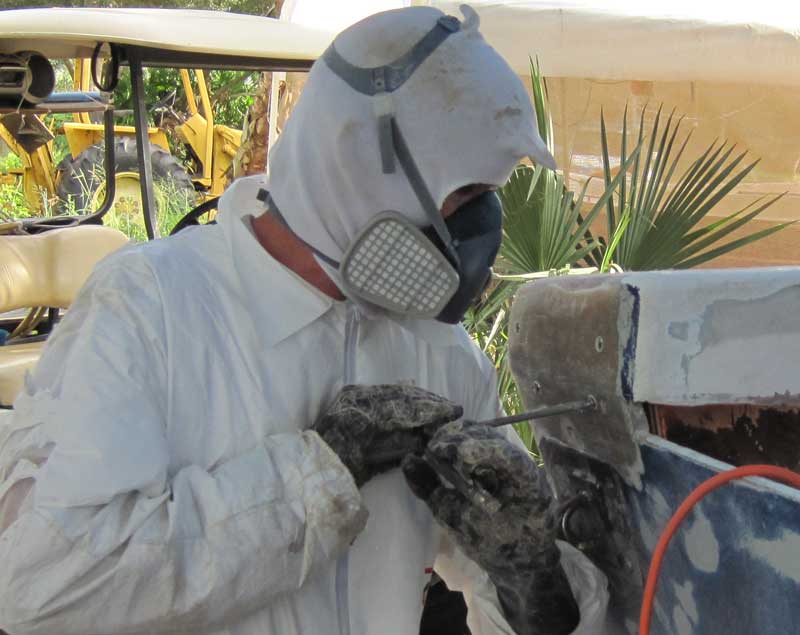
 Bubble Rolling Gusset
Using a bubble roller on the gusset face skin and tabbing to smooth and strengthen the bond between fiberglass and wood.
 Tabbing Under Gunwale
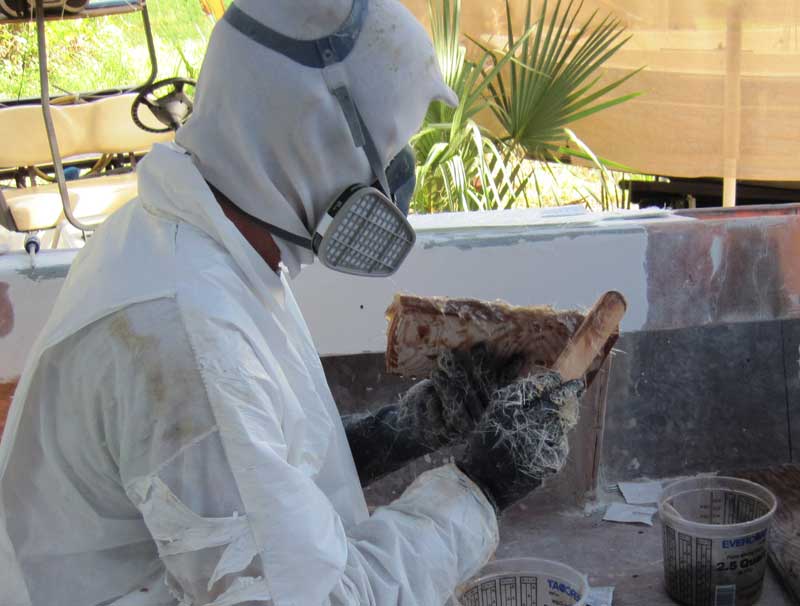
Tabbing underneath the gunwale encapsulated the scab board and secured the gusset to all available surfaces. There is a bit more room in this area on Pec than there was on Fluke, so Gene was able to keep his organic vapor mask on during the layup.
 Gusset and Scab Aft Side
This is the aft side of the gusset and the back end of the board we put in above it. The inboard edge was cut at 45 degrees to allow fiberglass to follow the wood without wrinkling, but it resulted in a small triangular hole above the gusset itself. That was filled with chopped glass putty. The darker areas show where the gusset is tabbed in and where the edge is reinforced. All tabs are at least three layers of fiberglass mat and many have one or two layers of biaxial cloth.
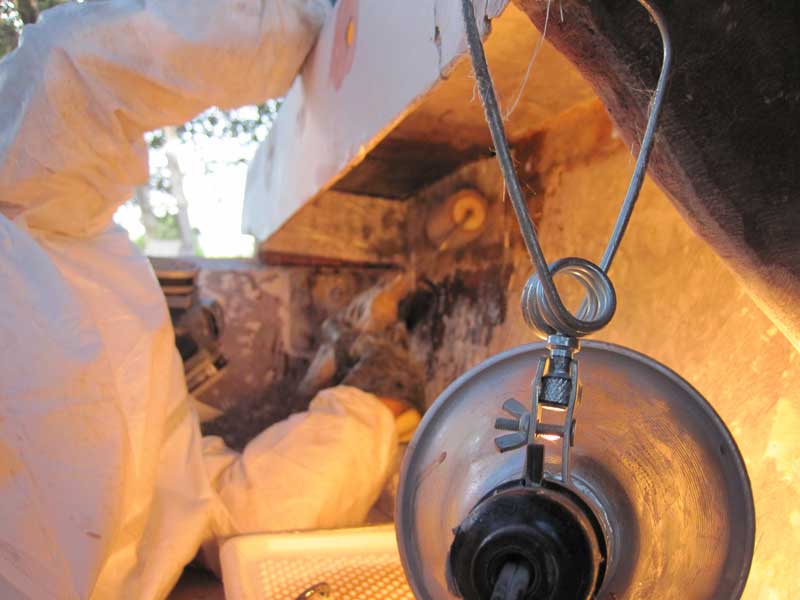
 Front End of Plywood Reinforcement
The forward edge of the reinforcing board we scabbed in above the gusset was hard to reach. In the picture at left the side of the boat is on the left and the round back of the SCUBA tank rack is on the right. Access to the area is through the rectangular holes on each side of the old tank racks, so this was done by feel. I stuck the camera in there to see how it went and we could see that some of the mat laying against the old tank rack was still dry. Wetting out areas like this one was done with a disposable metal-handled small paint brush. The brush handle was bent as needed for the job at hand.
 Morning Grind
October 15, 2011
Pec Port Side Repair Prep
This day started off like so many others - with Gene up under the side of a boat with his grinder. In this case, preparing the area where we will install the small mini-gussets that help to distribute loads on the deck created by the hard dodger. The old ones in this boat were not worth saving, so we cut them out. My job for the day was to cut new ones out of 3/4 inch plywood and cut all the needed pieces of fiberglass to tab them in place and encapsulate them.
 Pec Port Mini Gusset
The one on the port side of the boat was a bit trickier to create because of the scab board overhead that was part of the larger side repair. At the top of the picture at left you can see the notch cut out to accommodate that scab board. The curve of the hull had to be ground out a little more on this one, then it was ready to install.
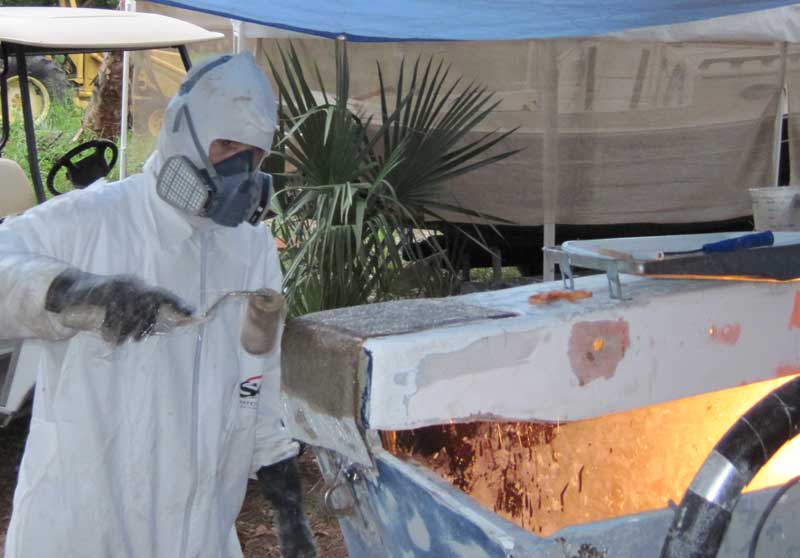
 Ladder Board Prep
The fiberglass face that Gene is peering under is under quite a bit of load in ordinary use and had been reinforced with a plywood strip running along the back side. That strip rotted and was removed. One of the replacements is under Gene's elbow. There is a smaller gusset near Gene's head in the picture, and the ladder board will be tabbed to that one and screwed to the fiberglass face. When we are done, the ladder will hook around and under the fiberglass face and board when deployed for use.
 Ladder Board Skin
To help protect it from rotting out again, the ladder board was given a two layer mat skin on what will be the exposed inward face and the edges. Once again the nail board came in handy to raise the piece up so that we could run fiberglass all the way down the edges.
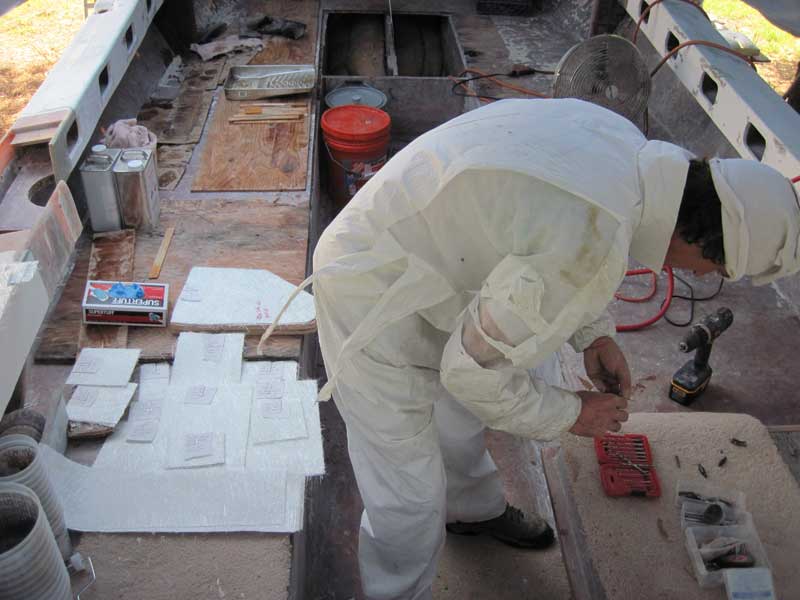
 Pam As Mold Release
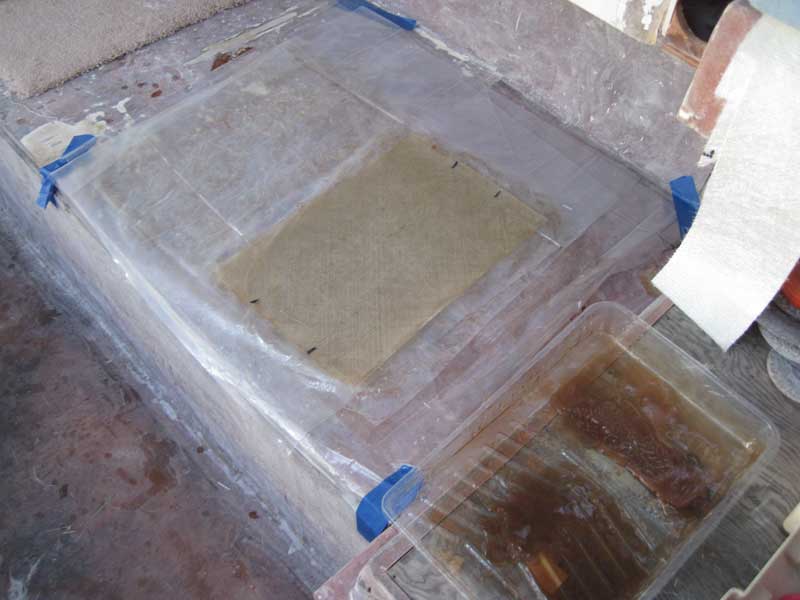
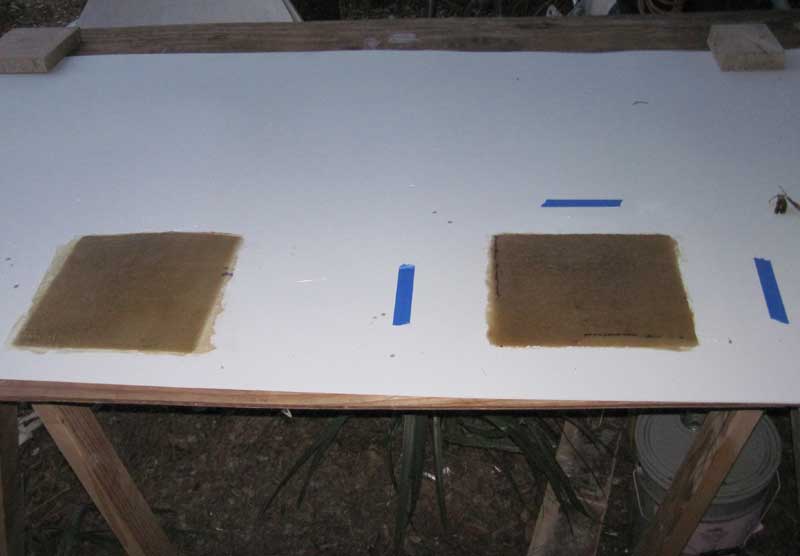
We mixed up a bit more resin than was needed for the ladder board skin so that we could run another test of our hard top plan. The white plastic sheet we bought at Home Depot seemed like something we can use to make a large, flat mold, but we were not sure how tenaciously the fiberglass would cling to it, if at all. As a test, we laminated three sheets of mat onto the surface on the left and three more within the blue tape lines on the right. Inside the tape, the surface had been sprayed with Pam cooking oil and then lightly wiped. The results were mixed. The Pam did not seem to really help much, but even the piece on the untreated plastic pulled away fairly easily. We figured we would probably be able to just lay fiberglass on this material and then pull it back off.
 Port Side Dry Fit
When our experimental pieces were curing, we moved on to a dry assembly of the entire port side repair on Pec. The deck core patch, gusset, ladder board and other pieces were screwed together and we wanted to make sure that all the holes were properly drilled and countersunk, all adjacent areas were ground and ready for fiberglass, and we that we knew the order and methods we would use to assemble it all with resin, glass, and putty. Once the catalyst is added to the resin, things have to go smoothly and there is no time to do remedial grinding and drilling.
Leave a Reply
You must be logged in to post a comment.