 Crack Evaluation
September 29, 2011
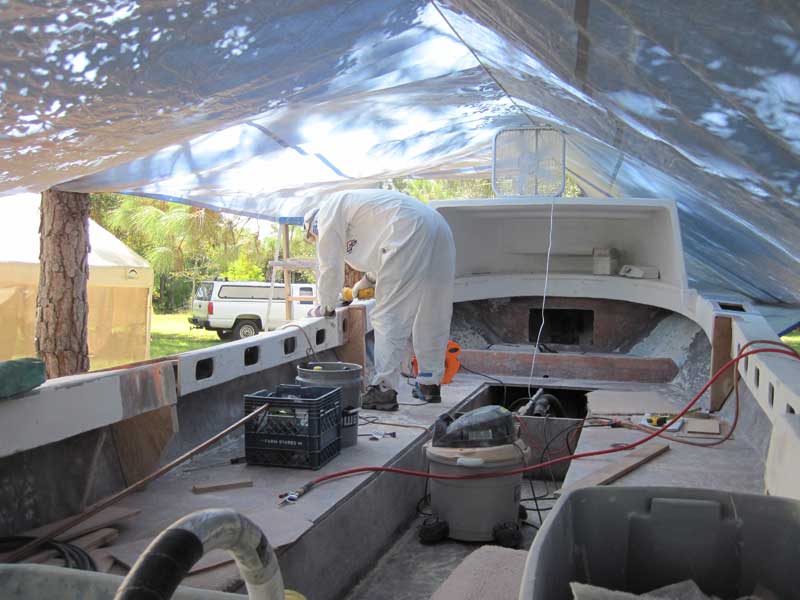
Removing Side Deck on Pec
Today began a series of days on which honest evaluations of different parts of the boats resulted in their removal. Gene is looking at a little crack in the deck, but it is really not a minor crack. It goes all the way through, and it is right on top of an important gusset. To make matters worse, it is right where wet swimmers board the boat after swimming with whales. The deck piece at least must come out.
 Deck Core Patch
My morning project was to cut out a piece of fiberglass skin and a piece of marine plywood to make a patch for the deck core on the starboard side of Pec where the hawse pipe had been. As with the one on Fluke, I roughed up the surfaces and bonded them together with a piece of mat between using West System epoxy. The pieces were made just a bit tight so that they can be wedged in place while fiberglass is laid underneath.

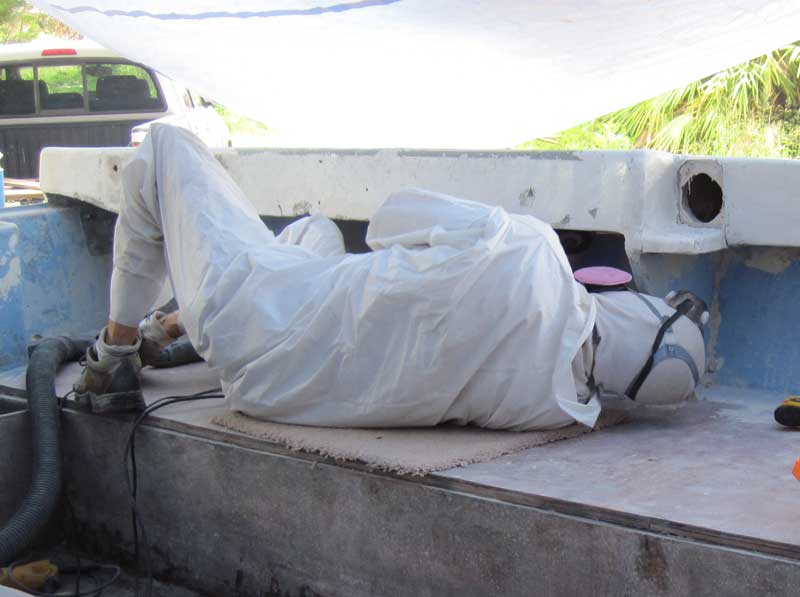
 Cutting Out Side
Gene cuts out side deck of Pec with a circular saw. I keep on hoping for a day when we build more than we destroy, but it keeps getting worse. For a while I was starting to think that if we did not stop repairing these boats there would be nothing left of them!
 Side Deck Removed
And out it came... More inevitable but regrettable destruction.
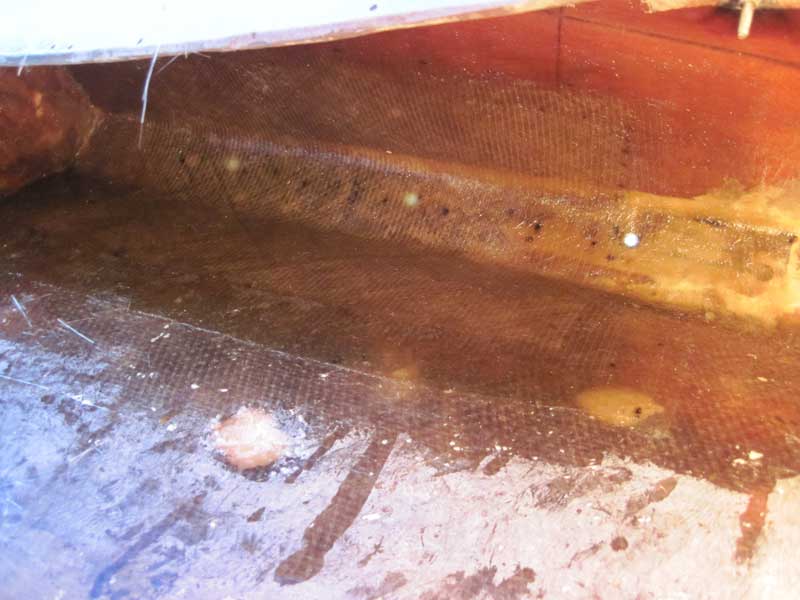
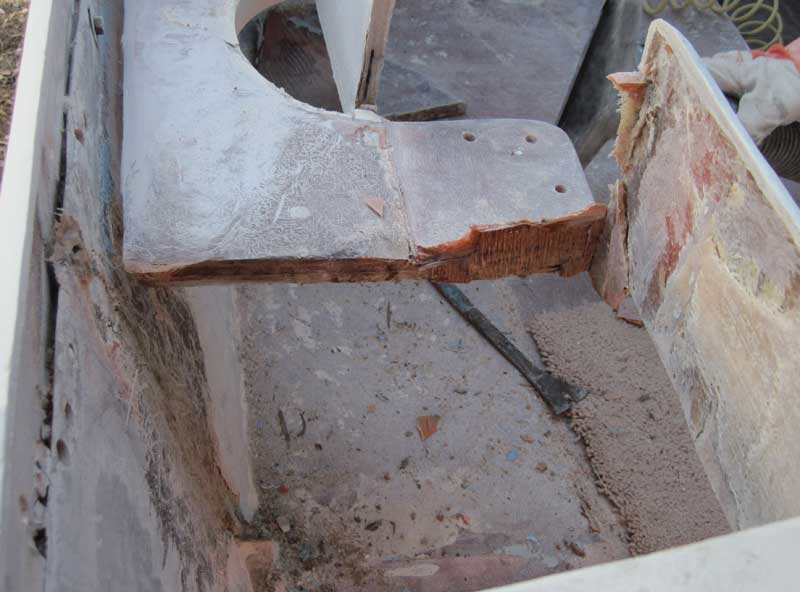
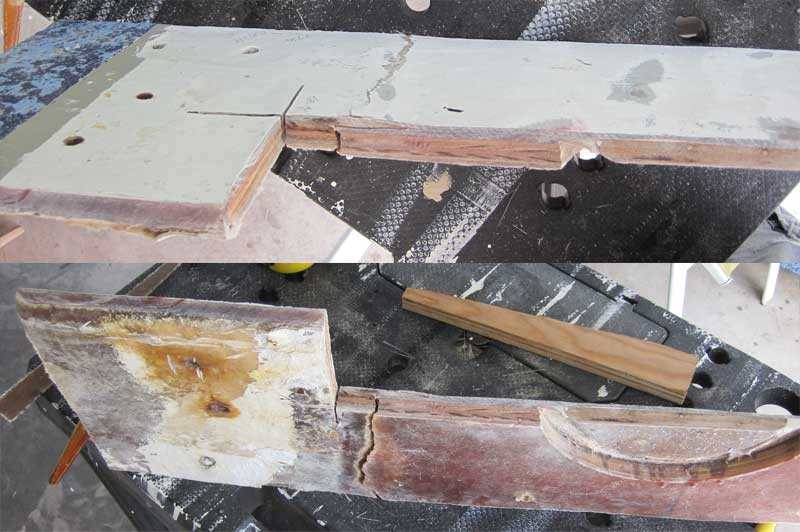 Broken Deck
The photo at right shows the top and bottom sides of the piece Gene removed. It had obviously been broken for some time.
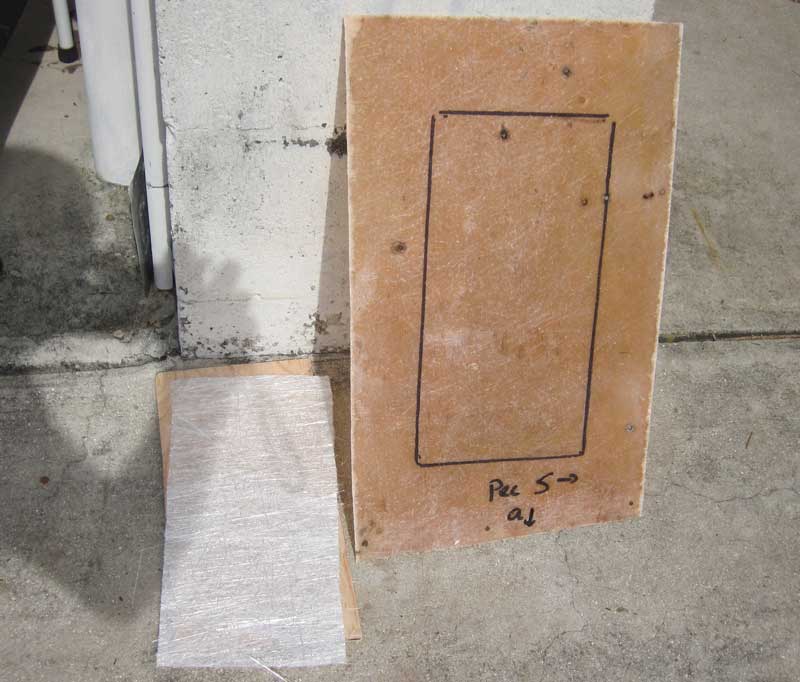
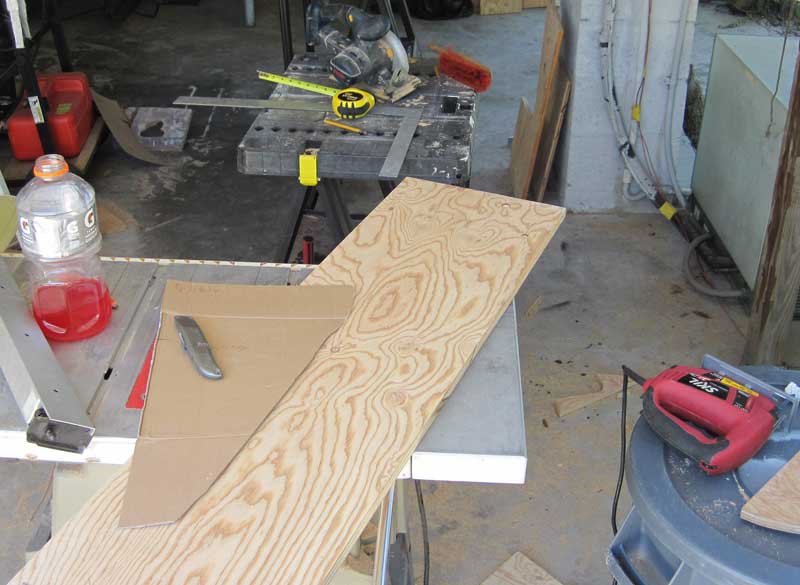
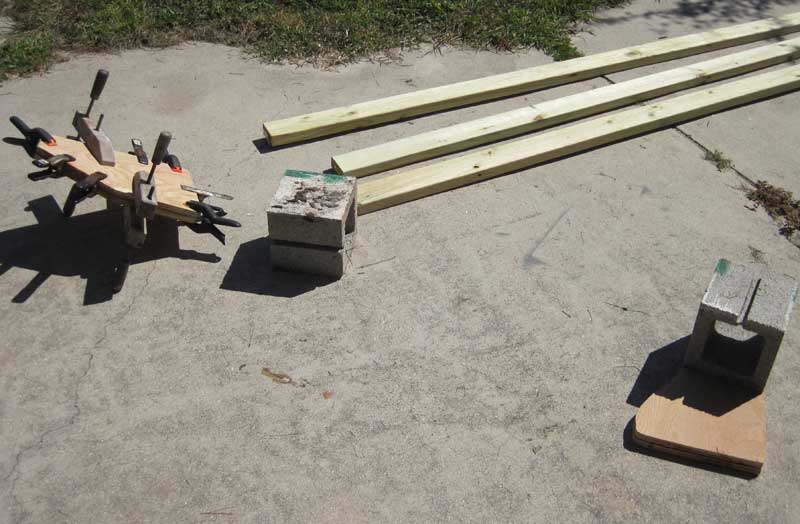
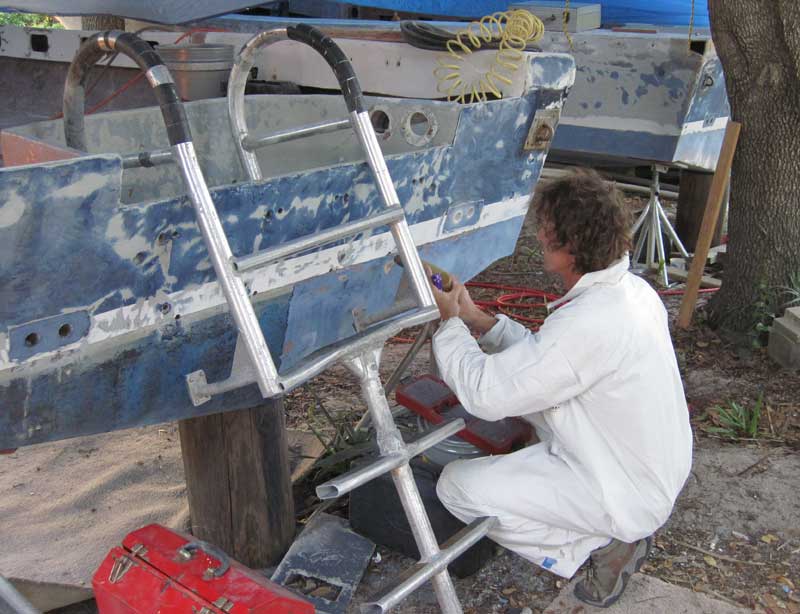
 Small Angled Scab Piece
I cut this scab piece for the forward edge of this repair out of 3/4 marine plywood. The edges were cut at a 45 degree angle to make it easier to lay fiberglass over it when the time comes.
 Scab Piece Glued
The angled scab piece was glued on using West epoxy and a layer of fiberglass mat, then clamped in place.
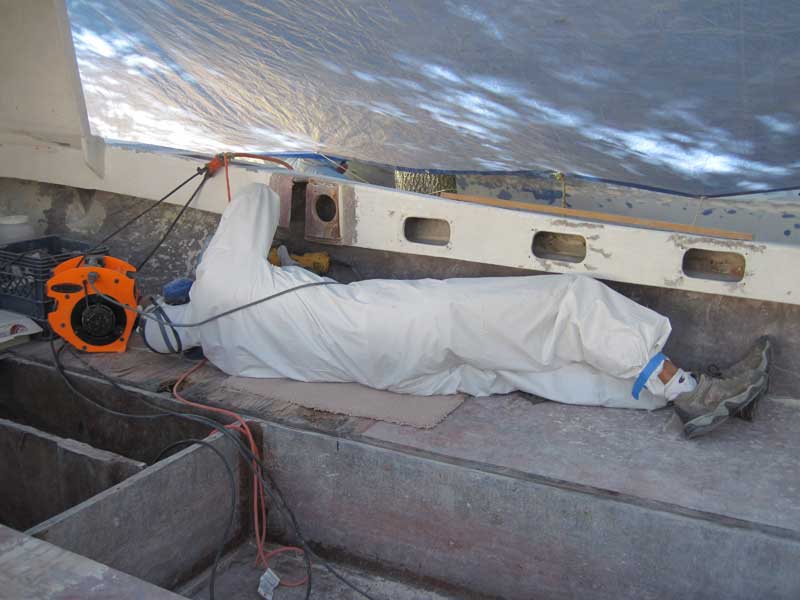
The rest of the day was spent with sanders and grinders continuing the endless process of turning surfaces into clouds of dust.
 Hull to Deck Flange Reinforcement
September 30, 2011
Grinding on Pec and Laminating on Fluke
Gene did some grinding on Pec in the morning while I cut pieces of fiberglass mat and biaxial cloth to rebuild part of the hull to deck joint on Fluke. Once all the pieces were ready, Gene started laying several layers of mat and biax cloth into the hull to deck flange area. This area had been badly crunched and then poorly repaired so by the time the bad parts were ground out, it needed quite a bit of material put back.
 Scott Assists Layup
Scott showed up to help out again. Here he has three different rollers and the next piece of fiberglass cloth ready to hand to Gene.
 Fluke Flange Reinforcement Layup
Here is the hull to deck area on Fluke after several layers of mat and biaxial fiberglass cloth have been applied. We must have had a bit of trouble getting it to cure, because my next photo shows Gene hitting this area with a heat gun. While he was doing that, I was cutting cloth for our next repairs.
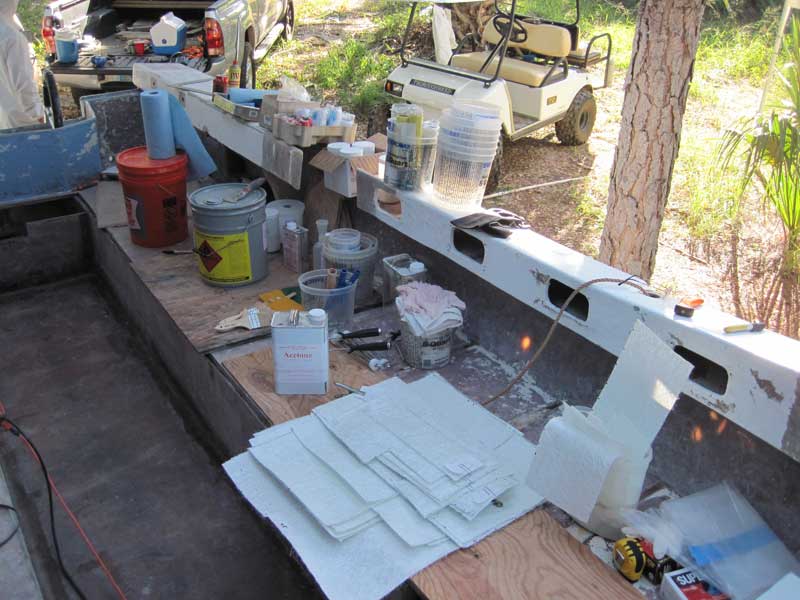
 Cutting Fiberglass
The cutting table was set back up in the fuel tank well. This was a handy place to cut cloth, but made moving about in the boat much harder.
 Fluke Ladder Box Deck Repair
The deck skin underneath the ladder on Fluke took a lot of punishment and was mostly gone. Remarkably, the deck itself was still solid underneath, so Gene was able to grind out a beveled rectangle and apply a few layers of mat to bring it back to level. Later the whole deck will be reskinned and gelcoated and the new ladder box will have a liner in the bottom to take the abrasion.
 Fwd Bulkhead Retabbing
The picture at left shows a reinforcing tab being added to the anchor locker bulkhead on Fluke. This probably was not really necessary, except that surface grinding had weakened the old bond and there were a couple of nearby repairs we could do at the same time.
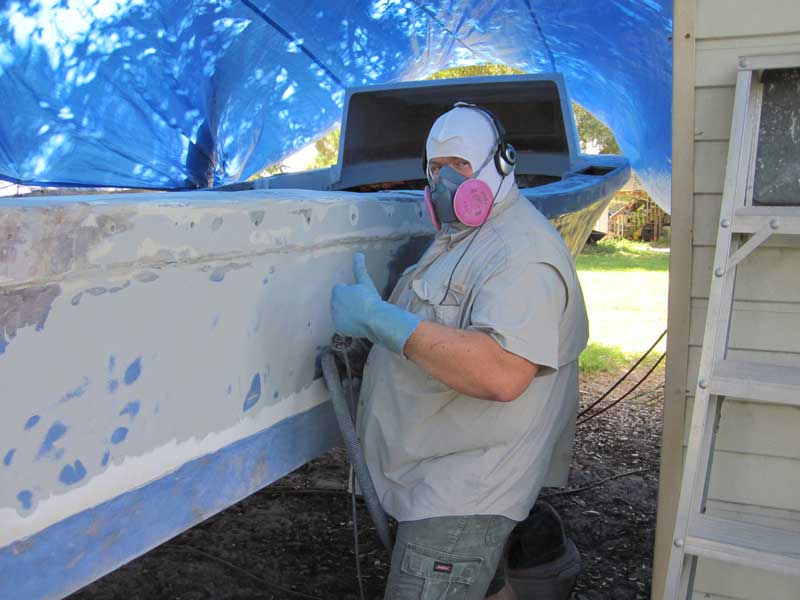
 Grinding - Do Not Disturb
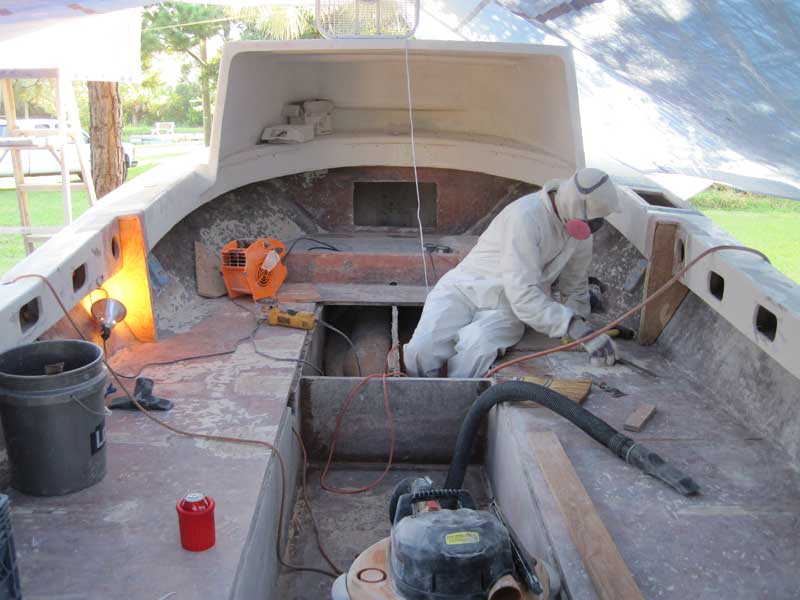
October 1, 2011
Grinding on Pec and Sanding on Fluke
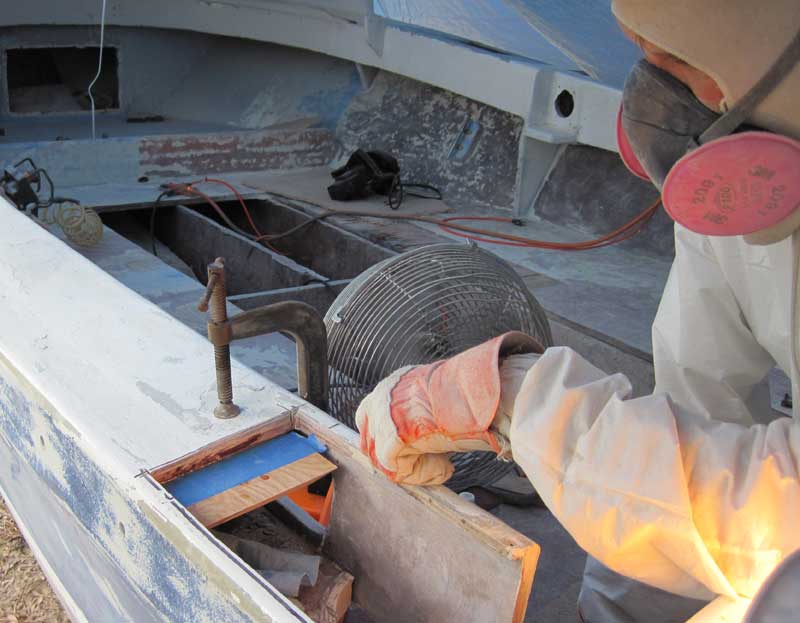
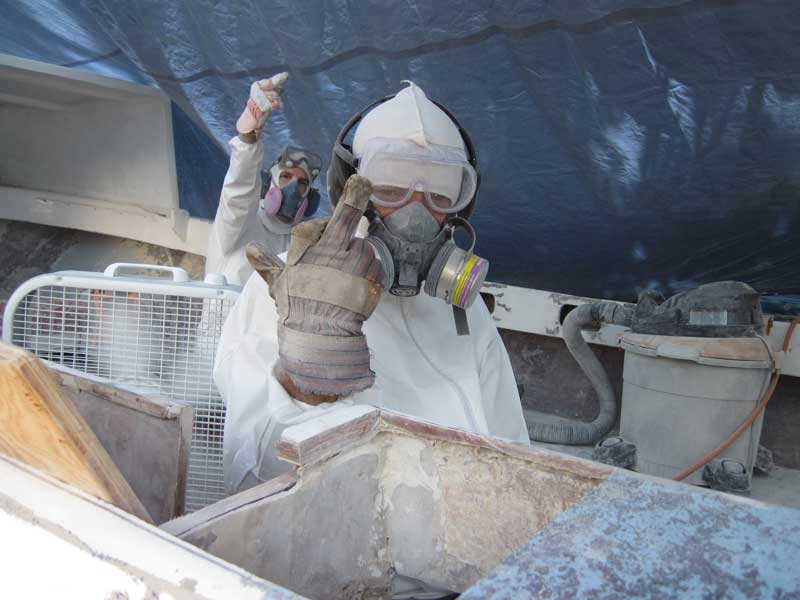
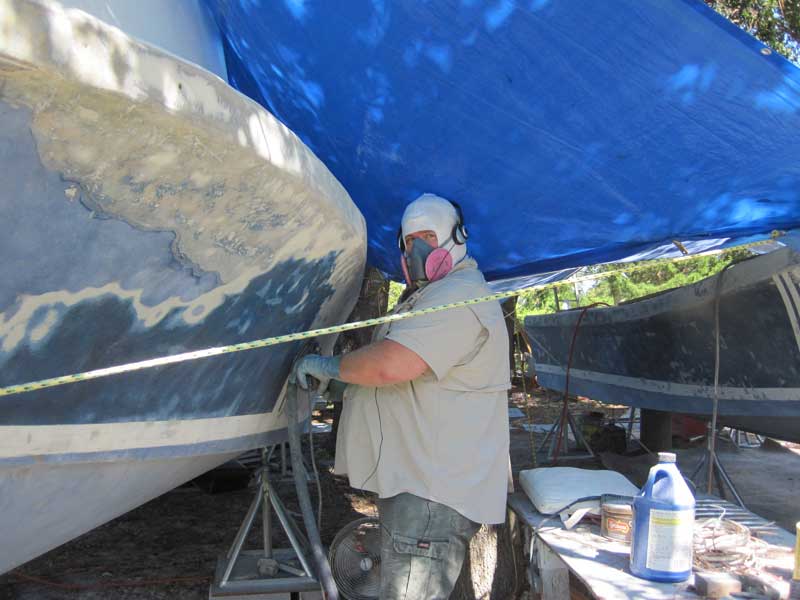
October began on a down note. Back in June, I had thought we might be nearing completion of this project some time in October. Instead, we found that we had many projects to do and all of them required an extensive amount of preparatory grinding be done. If you must grind fiberglass and someone is taking your picture, it does feel good to flip off the cameraman!
 Steve with Orbital Sander
While Gene and I spent the day with grinders, Steve spent his day on his feet with the orbital sander. We were not a very happy crew at the end of the day.
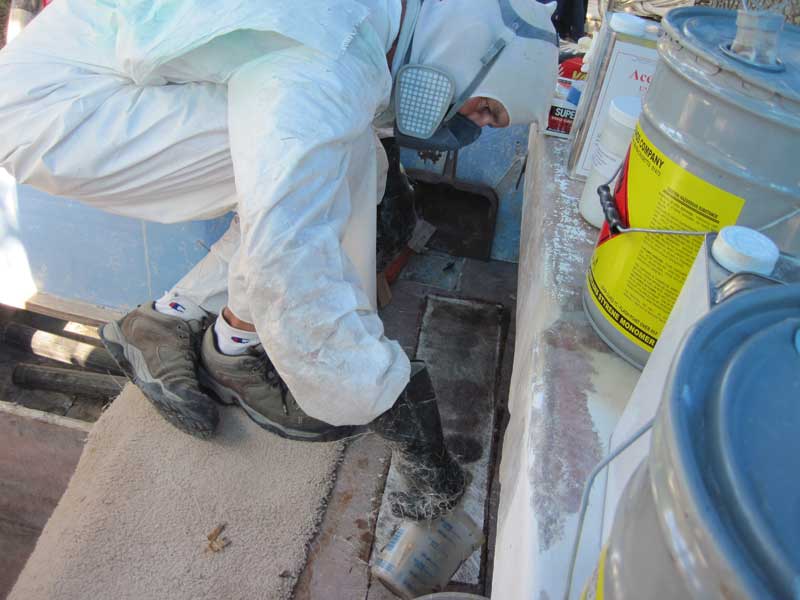
 Pec Gusset Removal
October 2, 2011
Destroying Pec Some More
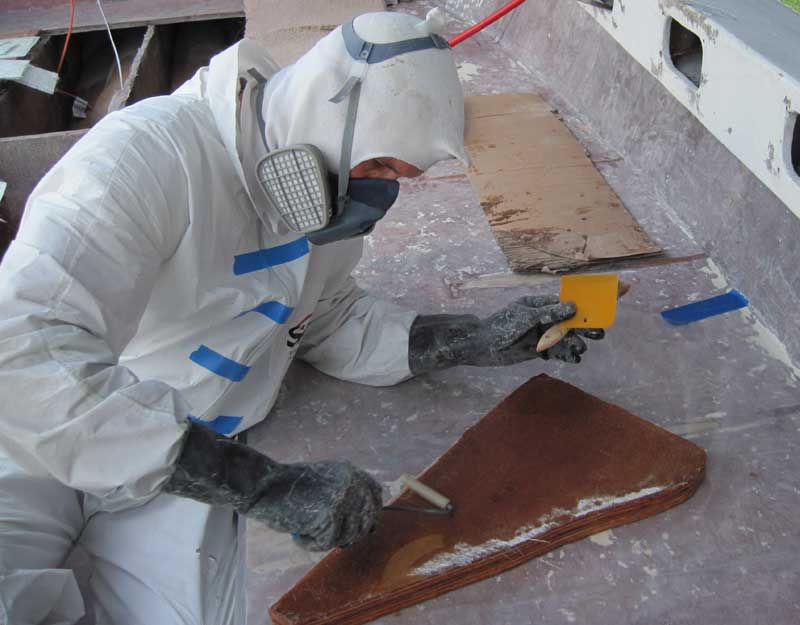
I am not sure what I did on October 2nd, but judging by the only picture of me, it involved grinding. Gene was busy with his grinder as well. In this picture, the plume of dust shooting upwards came from grinding loose the old gusset tabbing. It was not very well secured in place. There was a lot of fiberglass, but not much of it was really stuck to anything. A couple of judicious cuts with the grinder and a smack from a hammer and out it came.
 Gusset Gone
The only part that was really well attached was the foot for the top. The problem was, the whole structure was not well attached to anything else.
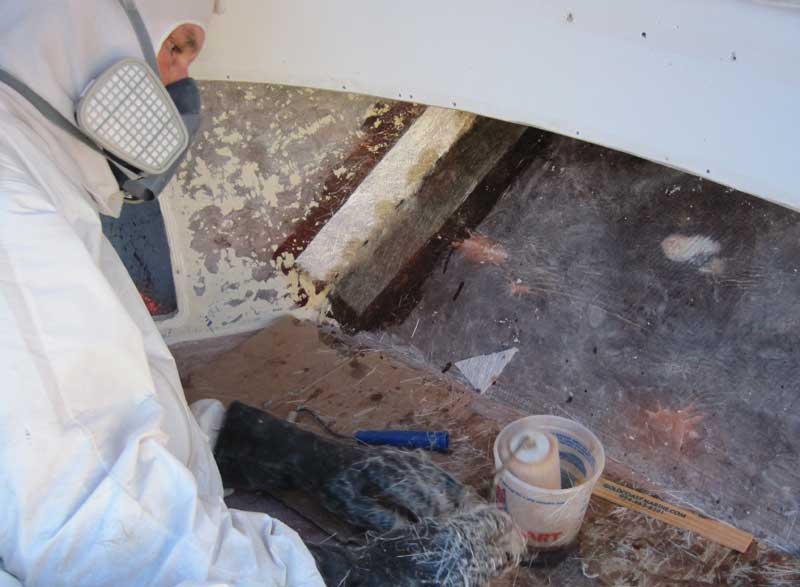
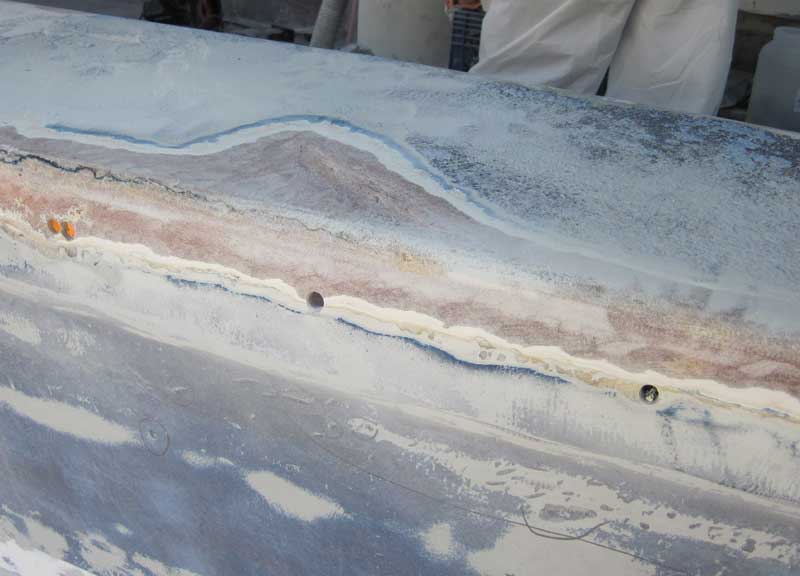 Deep Backhoe Scratch Ground Out
I think the photo at right at least explains some of what I was grinding. That is the area where I put a pretty bad scratch in Pec when we were using the backhoe to remove the old bench seats. A moment of inattention plus a slow hydraulic leak allowing the arm to settle resulted in damage and since I did it, I felt I should fix it. A picture of the scratch is back in Part 2. There were other nearby scratches and dings from the swim ladders , so by the time I ground everything out enough they all merged into one repair.
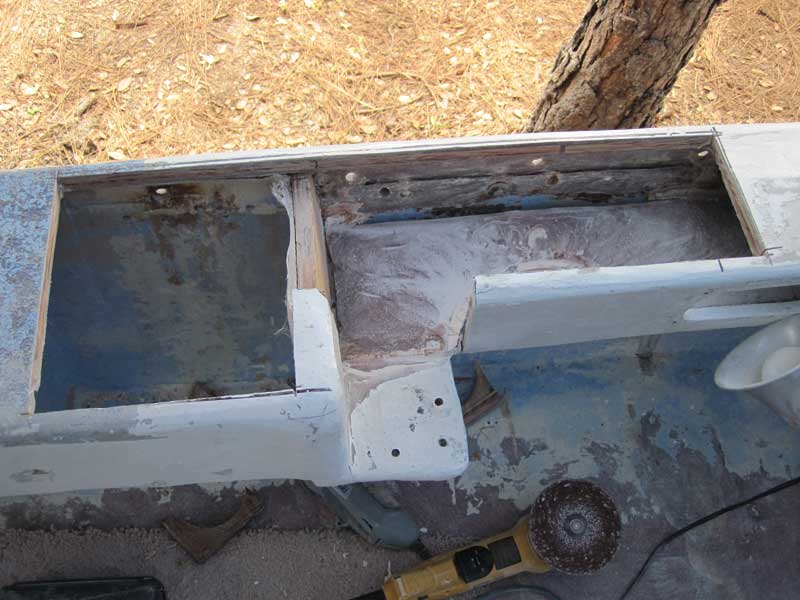
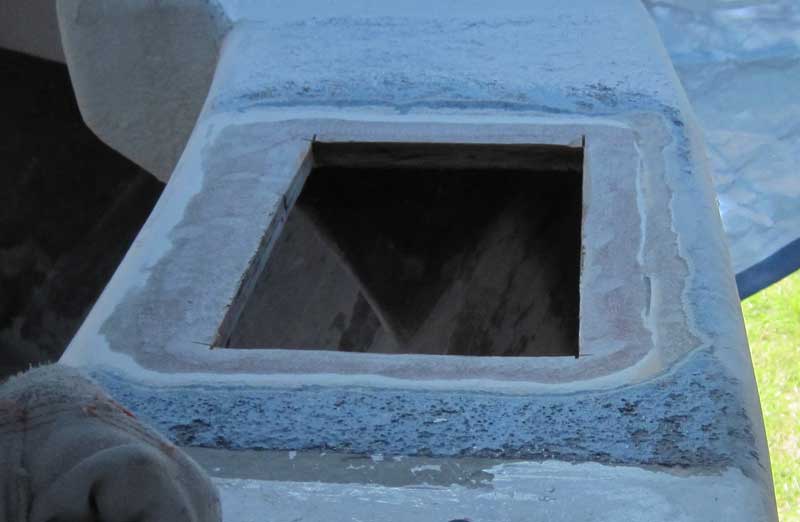 Pec Deck Beveled
The picture at left also looks like something I was probably doing. The area where the side deck of the boat was removed has been ground out in a shallow bevel to allow a multi-layered attachment of the new deck skin.
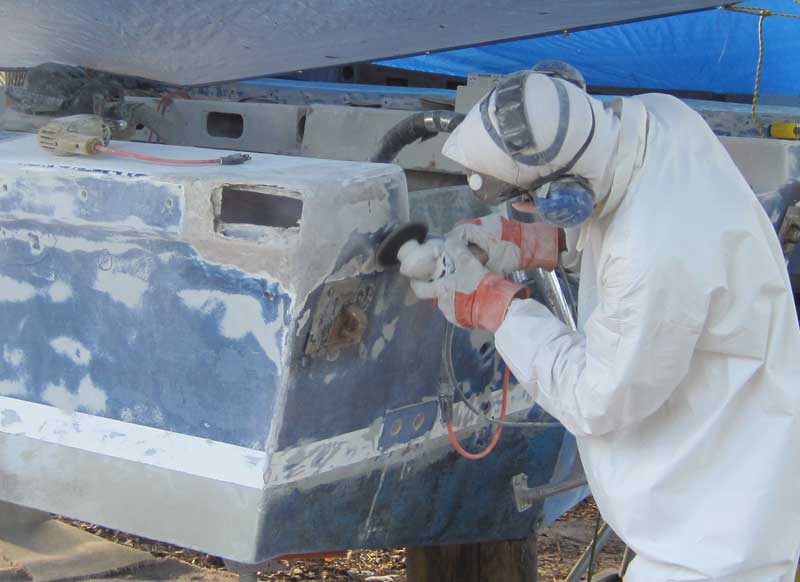 Pec Corner Ground Out
Gene's efforts to destroy the boat in order to save it continued all day. In the picture at right, he had ground out what was left of the port corner of Pec and was digging into the massive shackle dent above the towing eye.
After he was done in that area, he was grinding under gunwales and pondering removing even more parts from the boat.
 More Pec Gusset Removal
October 3, 2011
Gusset Removal and Creation, and of course More Grinding
After the one on the port side came out so easily the day before, Gene decided to remove and replace all the gussets on Pec. None of them were really attached very well to anything except the cosmetic interior fiberglass face. They will have to hold the new hard top, so they must be strong. He spent a good part of the day removing the old ones.
 Headless Grinder
Removal of the old gussets was easy because they were so poorly attached, but once they were out of the way there was plenty of remedial grinding needed around each one before a new one could be made. In this photo it looks like Gene has lost his head and his body is continuing to grind. I am not sure that needs a punchline.
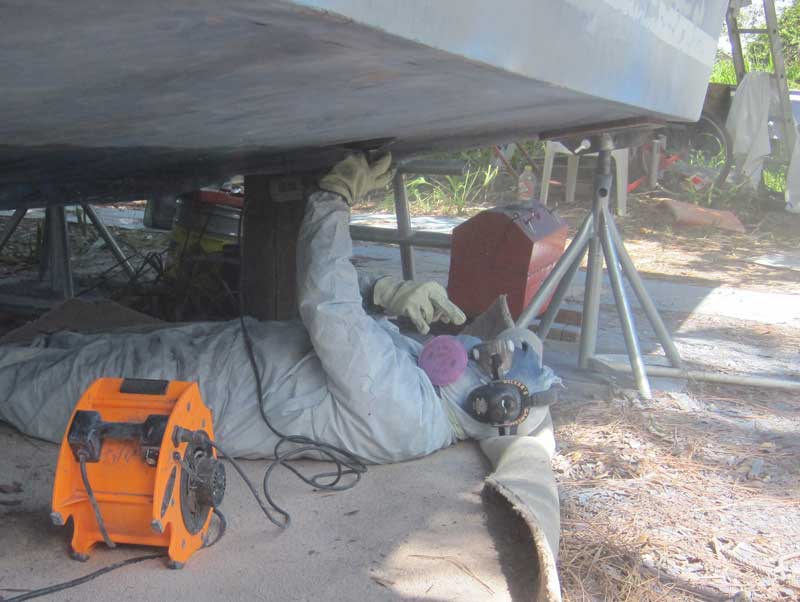 Scott Salutes
Once again Scott came out to get under the boat with his grinder, and as always, he had a one-finger salute for the camera. OK, so he has a bit of an attitude problem sometimes, but he was down under a boat with a grinder.
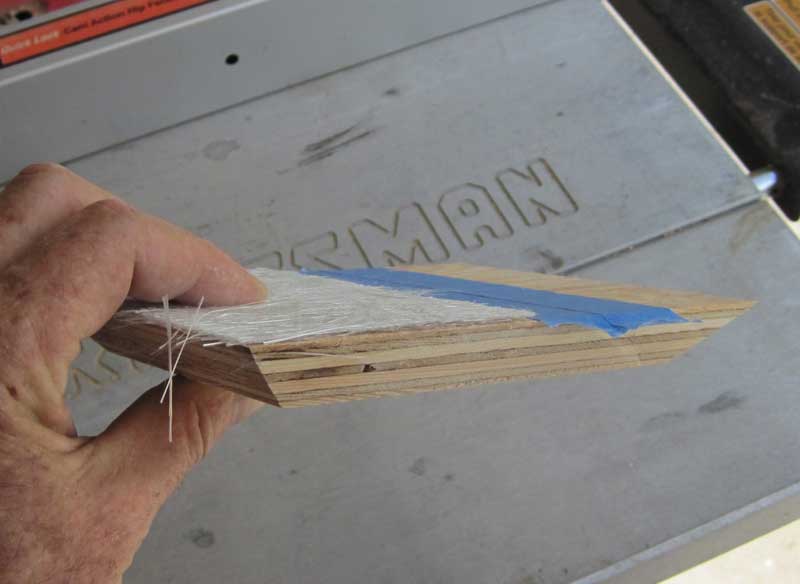
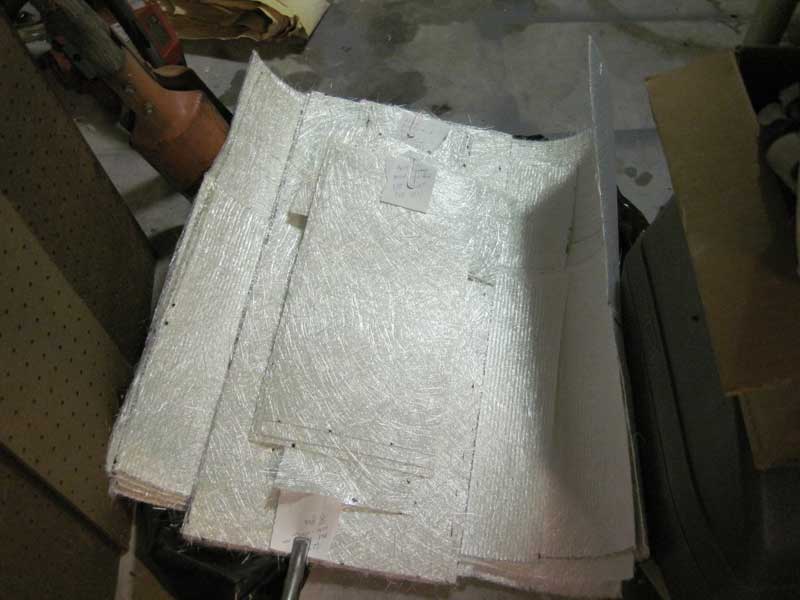
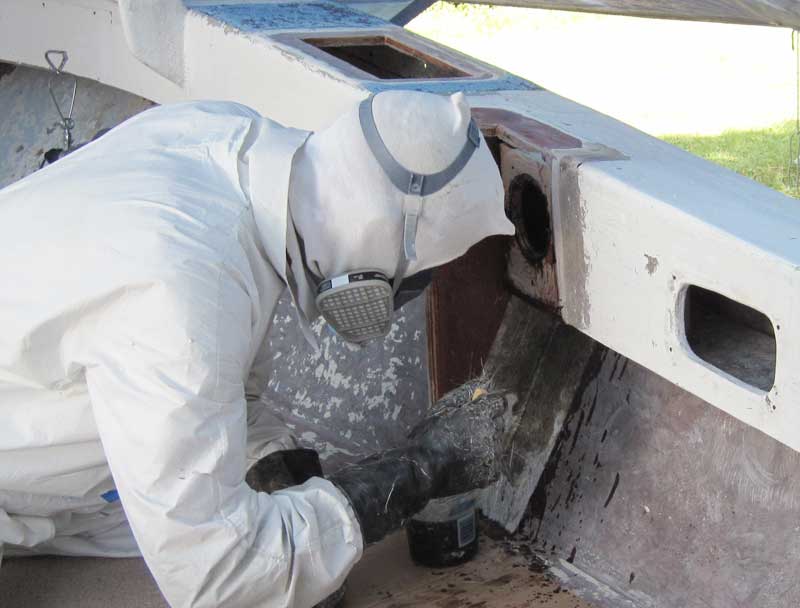
 Pec Port Core Patch
While Gene was removing gussets and Scott was grinding away on the bottom, I was cutting out replacement parts. The lesson here for those unfortunate enough to find themselves working in a boat factory: try to be good at measuring and cutting, because otherwise you will be judged good enough at grinding. At left is the replacement core piece for the port midship repair on Pec.
 Port Aft Gusset
As with the one we replaced on Fluke, we decided to make the replacement gussets on Pec from two pieces of 3/4 inch marine plywood laminated together using Gorilla Glue. Here is the one that will be installed underneath the port side core patch.
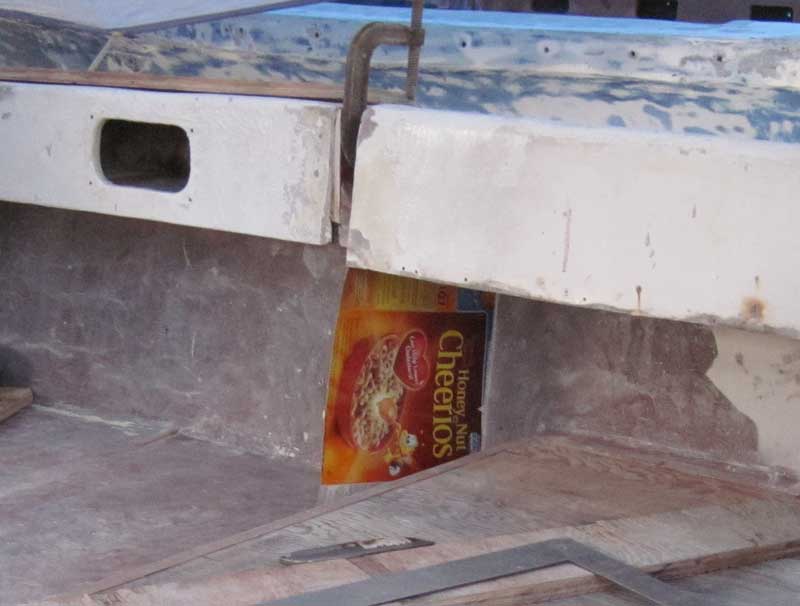 Cheerios Box As Template
To get the right shape and match the slight curve of the hull, I used pieces of cardboard as templates. The picture at left shows a Honey Nut Cheerios box being cut to shape for the starboard side gusset.
 Steve Sanding Fluke
October 4, 2011
New Gusset Fitting, and of course More Sanding and Grinding
Steve came out to continue his sanding efforts, this time on Fluke.
 Preparing Gusset Area
Gene resumed grinding where he left off the day before. We wanted to fiberglass this gusset in place and at the same time glass in the new side deck core just forward of it.
 Cutting Gussets Out
As Gene got each area ground out to its final shape, I trimmed the corresponding template to match. I had to throw out one or two along the way in the course of getting all the angles right, but in the end the templates all fit in place well.
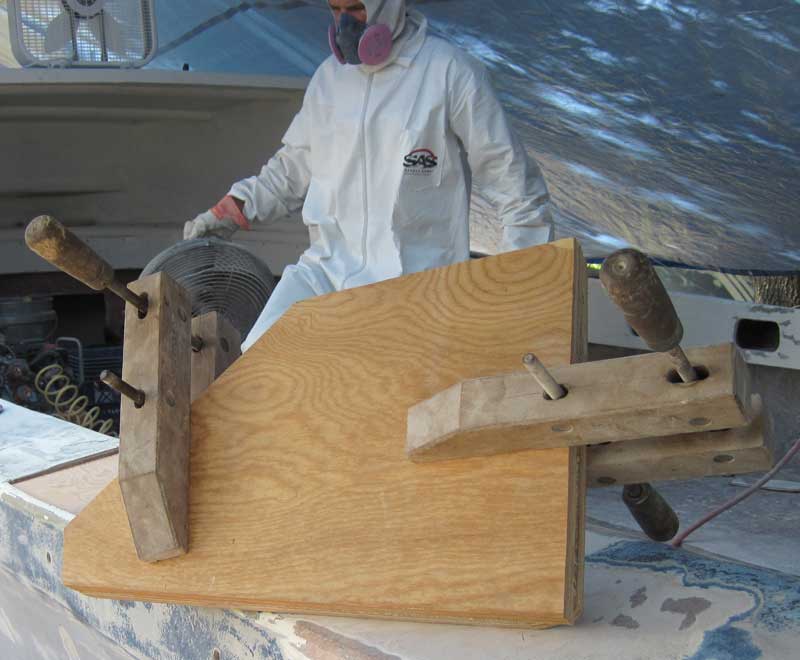
 Gussets Clamped
When the templates were right, I traced and cut the shapes out of 3/4 inch marine plywood. Each gusset was made from two pieces glued together with epoxy and clamped to cure.
 Gene Positions Gussets
Once the new gussets were cured enough to handle, Gene started test-fitting them in place on the boat.
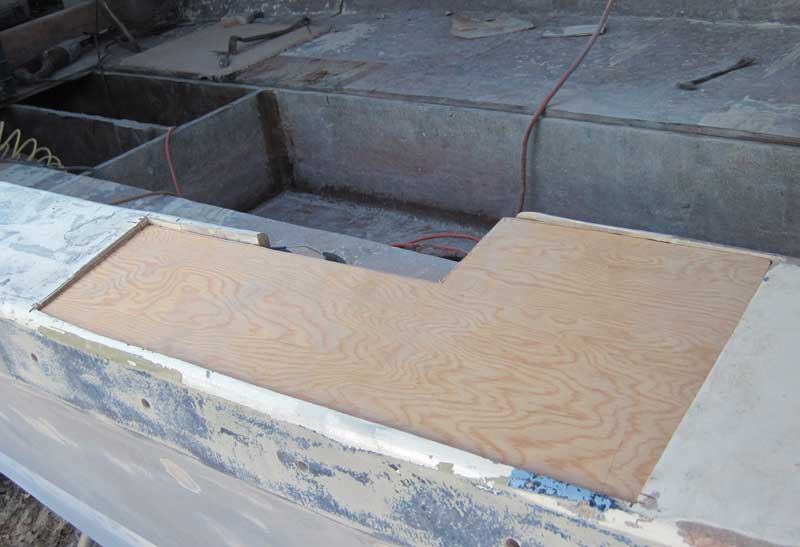
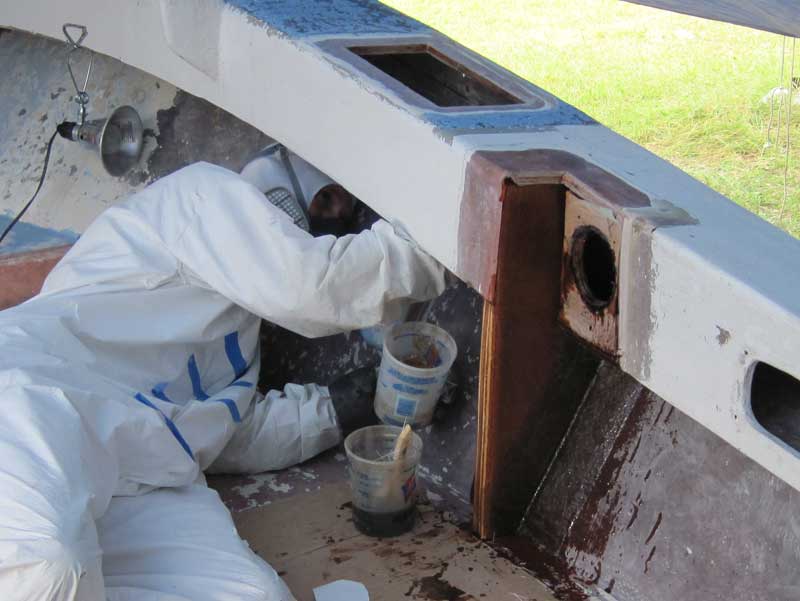
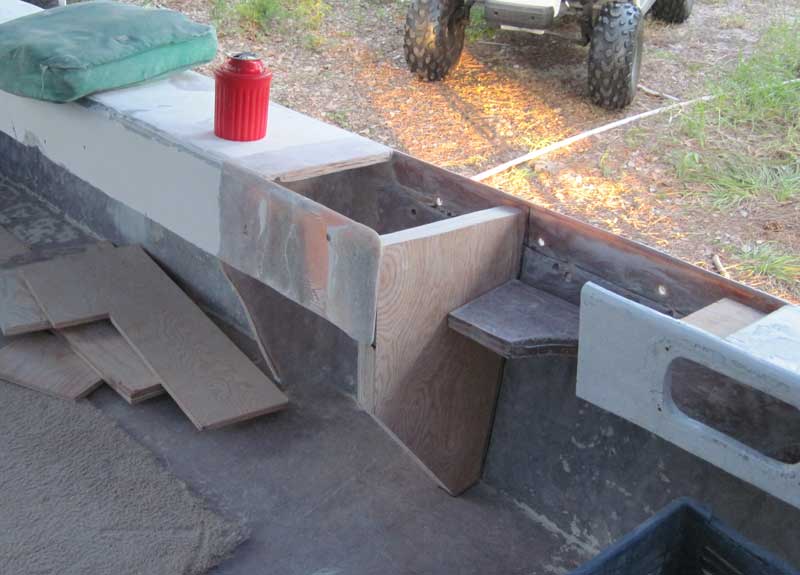 Gusset Dry Fit
The damaged side deck that started the whole gusset replacement campaign, now ready for reassembly. The picture at left shows the replacement gusset in place and the new deck core and associated pieces just aft of it.
 Gene Lighting Seams
Gene was shining a work light on the seams where the new gussets met the hull and other surfaces, then looking through from the far side to identify high spots on the boat and on the pieces.
 Steve Still Sanding
Meanwhile, Steve was still sanding. Nothing will ever really get done on a project like this one unless at least one person is sanding or grinding at all times.
 Four New Gussets Fit
By the end of the day, we had four new gussets dry-fit into position and all the adjacent surfaces were ground down and ready for fiberglass tabbing.
 Walkin Time
As the pace of the project grew ever more frantic, it became increasingly rare for Gene and Steve to make our evening dog walk down to the creek. It's a nice place to relax, if you have time to relax.
 Roughing Up Areas With Grinder
October 5, 2011
Cutting Fiberglass and Even More Sanding And Grinding
In the morning Gene and I went around and made lists of the different fiberglass pieces that would be needed to tab the new gussets in to Pec, then he went to work making sure the areas where that fiberglass would land were properly roughed up and ready.
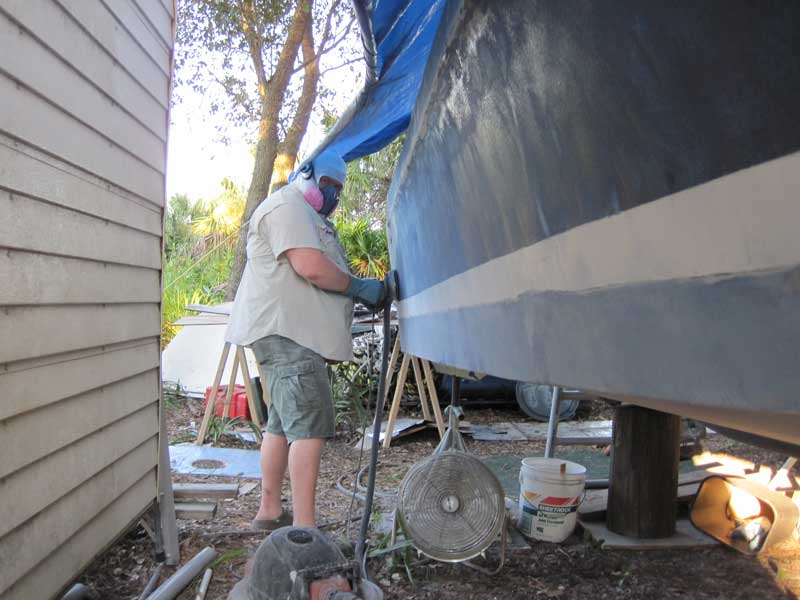
 Steve Kickin Ass
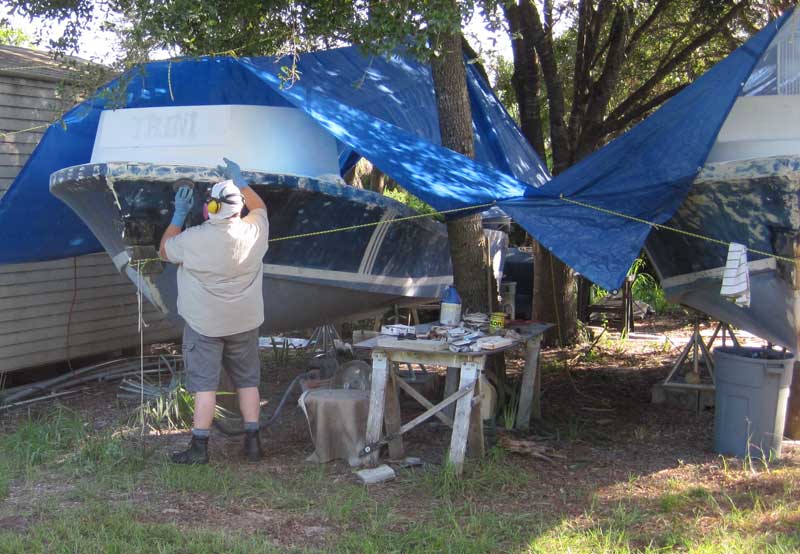
Steve was really going to town with the orbital sander and the rest of the blue paint disappeared off this side of Fluke in the course of the day. I think this was the day that both Gene and I told him that while it would be nice if we had a perfect finish on the boats, they are work boats and what would be even nicer would be if they made it to the Dominican Republic on time for the 2012 season. He seemed to us to be pursuing a standard of quality that was going to take too much time. We probably should have left him to his own devices, but he did speed it up and we were pleased with the day's progress.
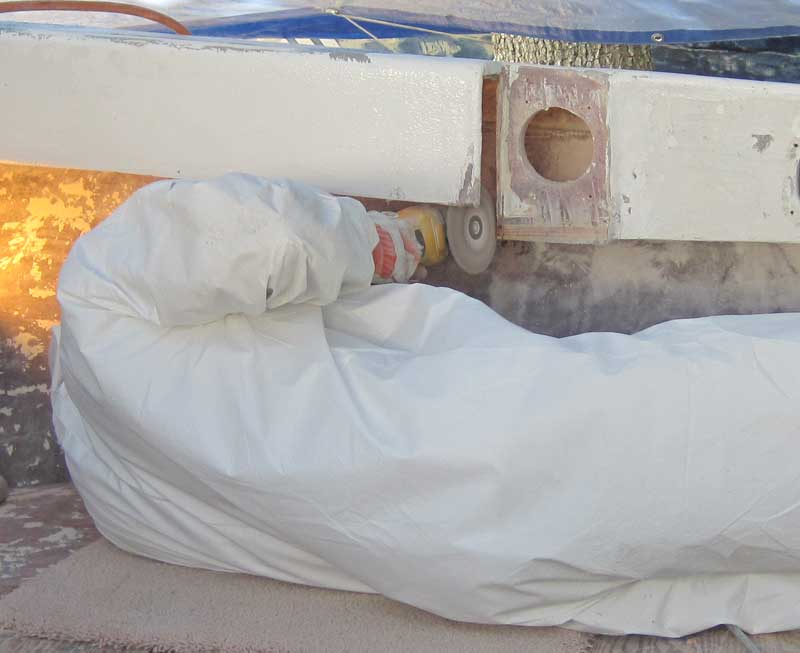
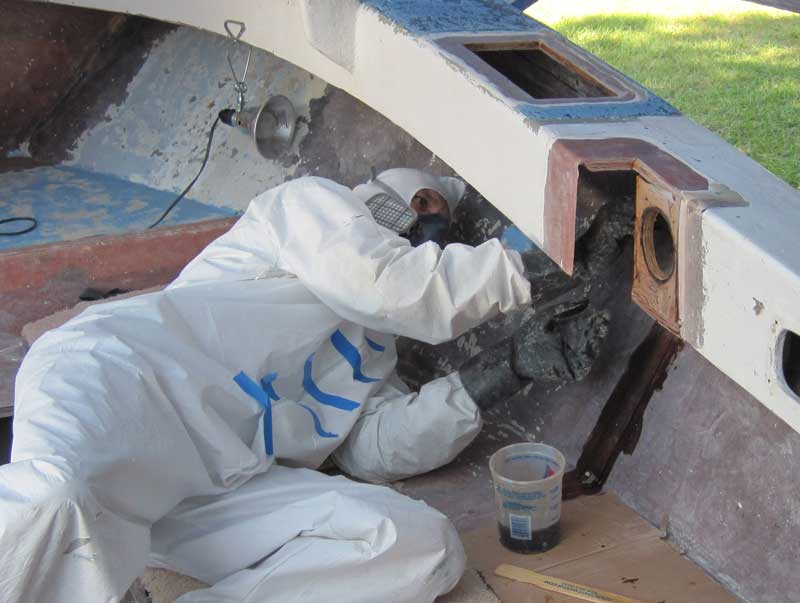
 Exploratory Drilling
Gene spent some time in the afternoon doing a bit of exploratory drilling around the engine mounting holes in the transoms of both boats. The plan is to fill the many existing holes with epoxy, bolt reinforcing aluminum plates onto the outsides, then drill new holes for the new engines. Some of the below-waterline mounting holes had wet, punky plywood around them.
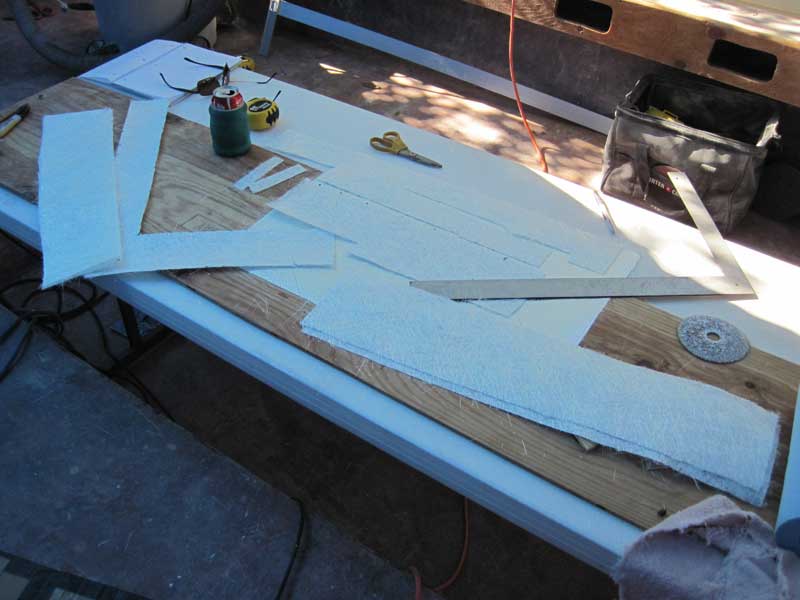
 Cut and Labeled Fiberglass Tabbing
At left is the first of many piles of fiberglass pieces cut to size for tabbing in the new gussets. There are also some larger pieces of biaxial cloth in this mix. Those were for reinforcing the underside skin where the hawse pipes pass through the decks. If any relief cuts were going to be required to make a piece fit, I tried to make it when cutting the piece. If that was not possible, I made a note on the label saying it was not relief cut. This was helpful at the lamination stage because making those cuts with sticky hands and tools was more difficult and less accurate.
 Setup To Fiberglass
October 6, 2011
Pec Starboard Forward Gusset Lamination
Setting up all of our materials and supplies for a major lamination session took some time. All of the needed pieces of fiberglass were cut to the right size and we made sure to have plenty of mixing pots, roller trays, resin rollers and bubble rollers, a bucket of acetone for soaking tools and brushes, scissors, cleanup tools and other odds and ends. If the lamination involved chopped fiberglass putty, as many of them did, extra mixing pots and tongue depressors and plastic spatulas were brought out.
 Gusset Face Skin
I tried to stack up the pieces of cloth in reverse order so that we could always use the piece on top. This one began with a two-layer fiberglass mat skin cut to fit each side of the gusset and pressed into the wood grain with a bubble roller.
 Wetting Out Surface
Before the gusset was set in place, the mating surfaces of the boat were wet out with resin. This gusset was a tight fit and had to be positioned with a small hammer during dry fitting. The resin helped lubricate its motion a bit, making final positioning easier, but it could not move enough to require clamping.
 Aft Side Tabbing
The sides were tabbed to the hull inside with a sandwich of fiberglass mat and biaxial cloth and tabbed down to the deck with a "foot" of mat strips.
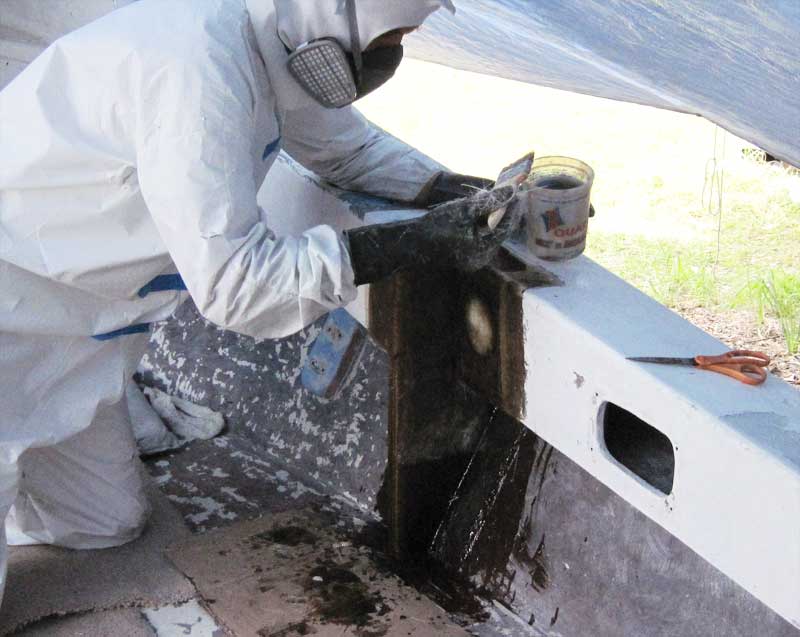
 Forward Side Tab
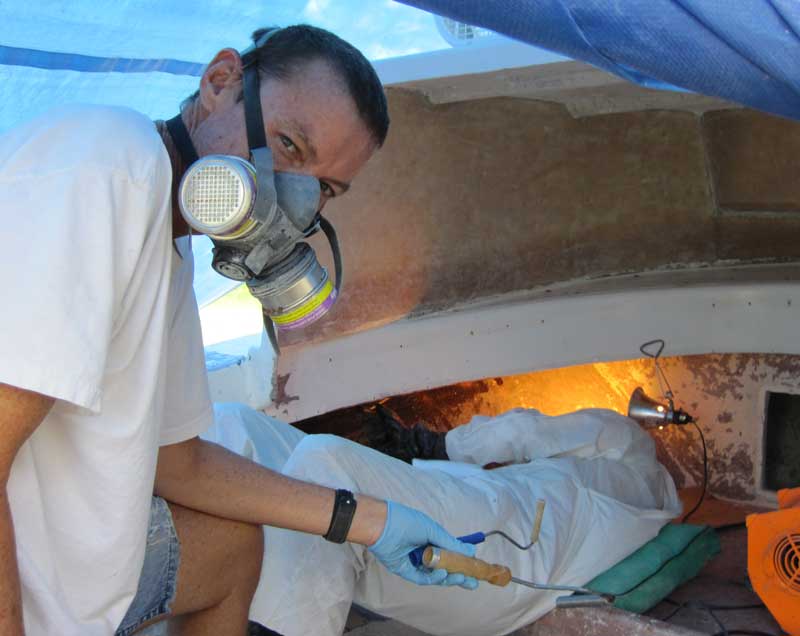
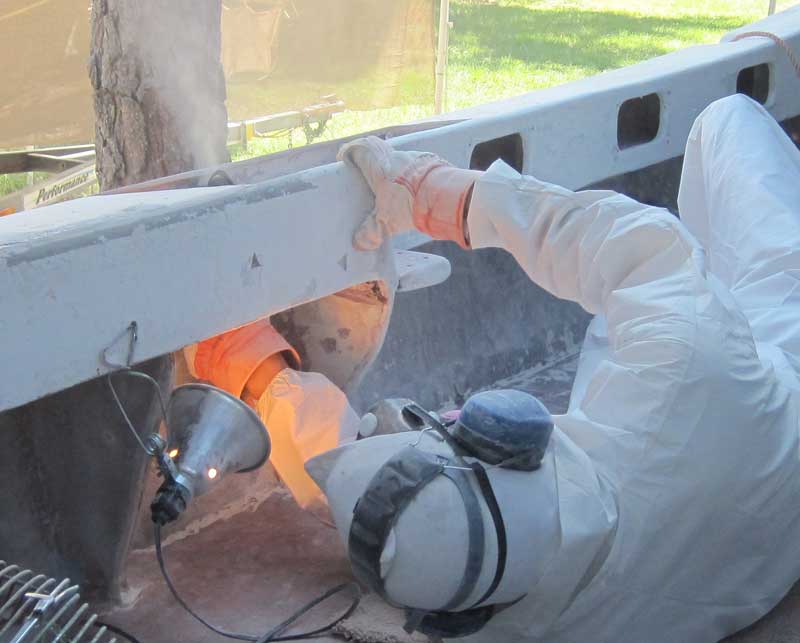
In addition to the pieces running up the hull side, the forward face of the gusset had small tabs attaching it to the underside of the deck and to the inside of the gunwale face. In the picture at right, Gene is applying a bit of chopped fiberglass putty in the hull to deck flange area to make the tab lay smoothly over the joint.
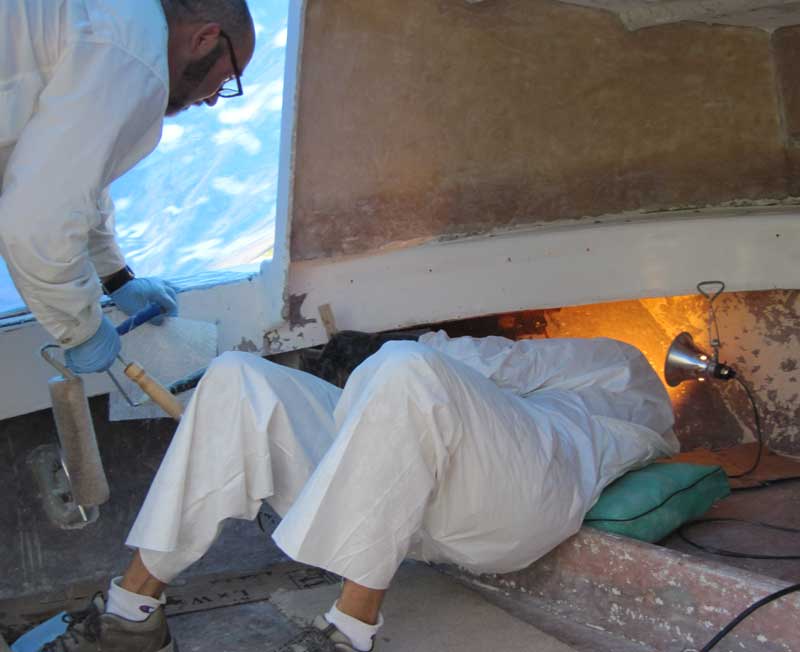
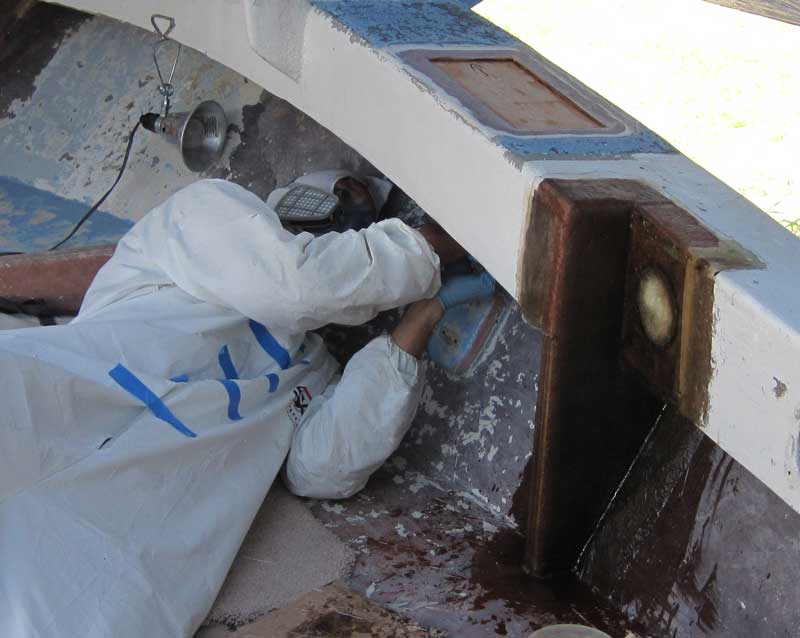
 Gusset Face Tabbing
Once the new gusset was tabbed in on the fore and aft sides, we moved on to the pieces of fiberglass that would wrap it into the interior skin of the boat. This was done with various L-shaped pieces of mat that were cut to drape down over the edge of the deck on one side and then run around the corner to the opposite face. All of these pieces were laminated together "wet" so as to create chemical bonds between all the pieces. It should all stay together as one piece for many years to come.
 Hawse Pipe Deck Core Lamination
This replacement piece of deck core was earlier epoxied onto an oversized fiberglass skin. Both core and skin were made to be a very tight fit so that they could be hammered up into position and then a new fiberglass skin laid in underneath them. The lower side skin was made with several layers of mat and biaxial cloth. If the stainless hawse pipe fitting ever comes loose again, deck damage will be minimized by the sturdy skins.
By the time Gene worked his way forward past the hawse pipe core area and completed the lamination, it was evening and time to quit for the day. It felt good to have a major piece reinstalled in the boat.
Leave a Reply
You must be logged in to post a comment.