Converting my teak and holly sole into a teak and sandy sole, making only the holly strips a non-skid surface
I decided I wanted to varnish the teak and holly cabin sole in my Com-Pac Sun Cat. It's a plywood piece with teak and holly veneer, and I wanted to seal it against possible moisture damage.
It's a small boat, and I knew we would get it wet at some point, possibly causing the plywood to rot. Varnish is not a great idea on a cabin sole because it can be slippery when wet, so I wanted non-skid on the surface as well. Non-skid surfaces are notoriously difficult to clean, and I wanted the cabin sole to be reasonably easy to wipe up if I spilled some juice or something on it.
So I decided to convert my teak and holly sole into a teak and sandy sole, making only the holly strips a non-skid surface.

The first step was to clean and sand the cabin sole. Being only a few years old, it was pretty easy to clean up and get it looking nice. I started by mixing some thin epoxy and saturating the plywood edges, then took the excess and painted the perimeter of the underside about 3" in from each edge. After cleaning off the amine blush from the epoxy, I sanded again and put a couple of coats of varnish on both sides of the sole.
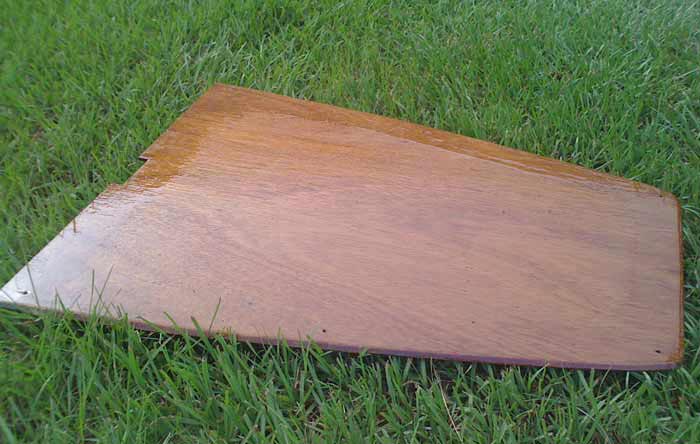
The picture at right is a shot of the bottom side after it was sealed with epoxy and then varnished.
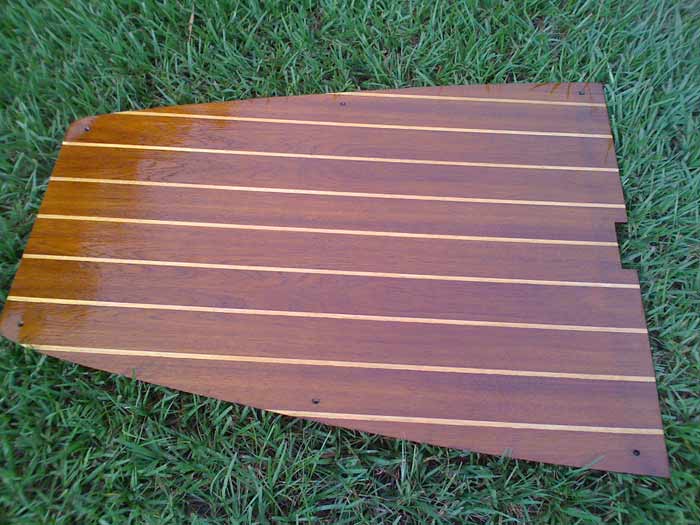
The top face of the piece looked very good after just a couple of coats of varnish, but would be slippery when wet.
The first step in making this a teak and sandy sole was to varnish the top side of the piece one more time.
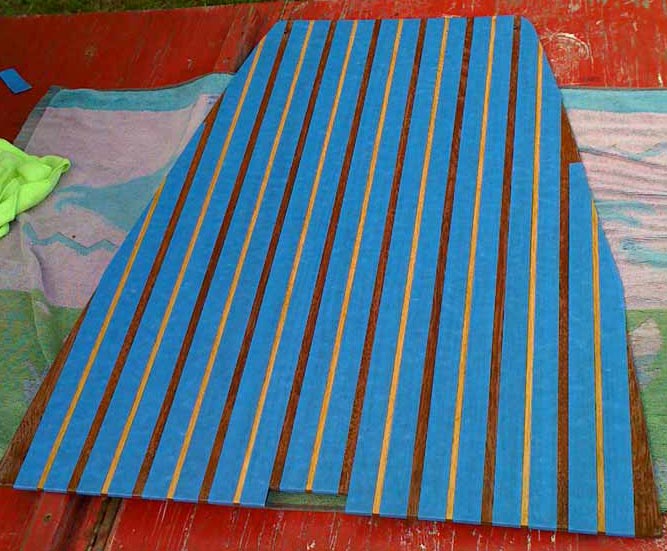
Next I taped off just the holly strips so that they could be varnished without getting varnish on any of the teak parts.
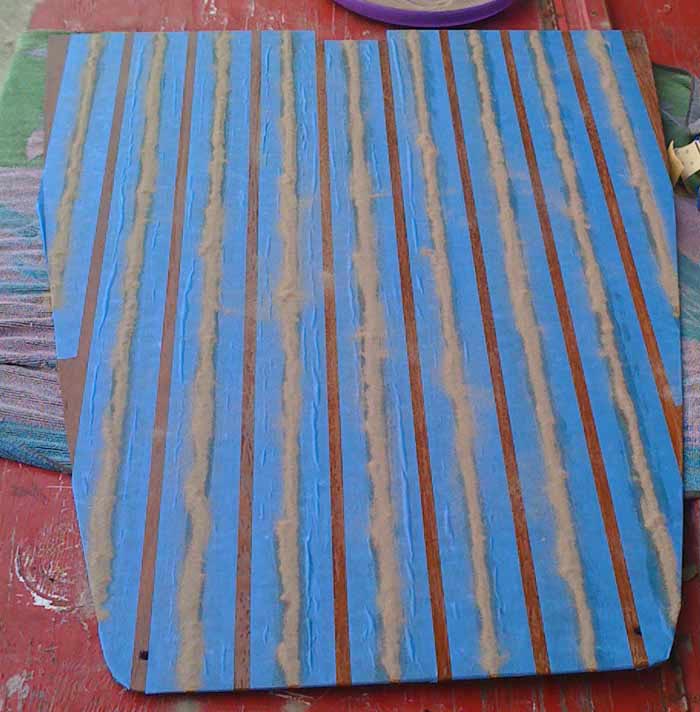
I put a thick coat of varnish on the holly strips, then took some sand and piled up a row of sand over each varnish strip.
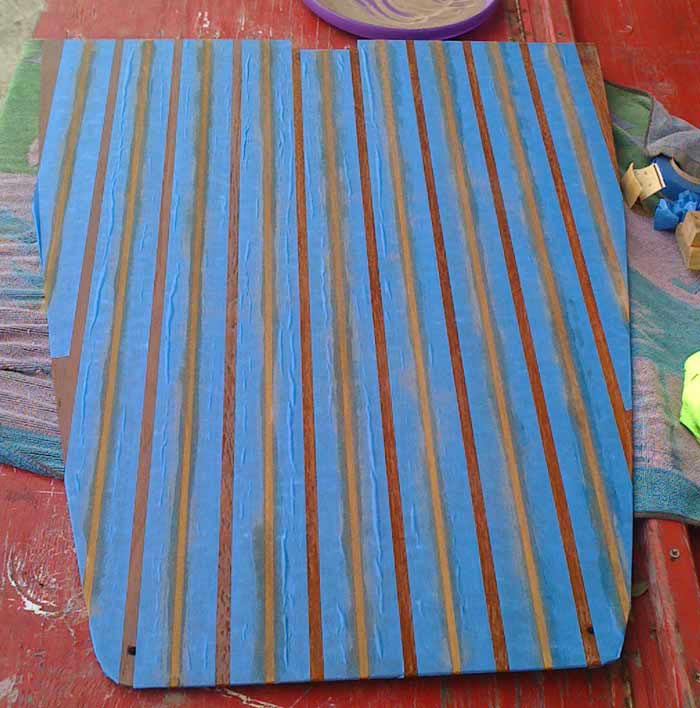
After they were all sanded down, I picked up the piece and held it on edge and then smacked it a couple of times to shake loose any sand that was not fully embedded in the varnish.
I immediately peeled off the blue tape and set the piece overnight to dry.
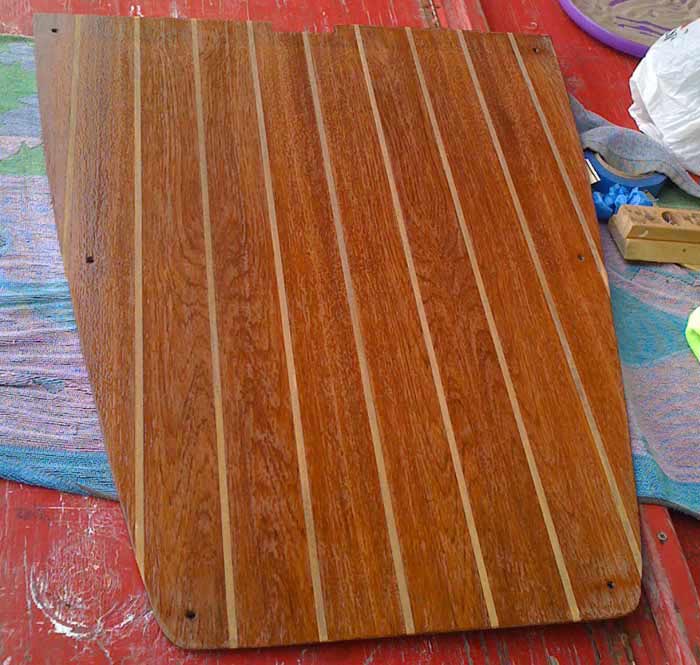
After the sanded varnish strips had dried overnight, I brushed off any loose sand and did a little extra touchup sanding with some fine sandpaper where the blue tape edges had been. Once it was prepped, it was time for the final coat of varnish to cover the sand and blend it into the finish.
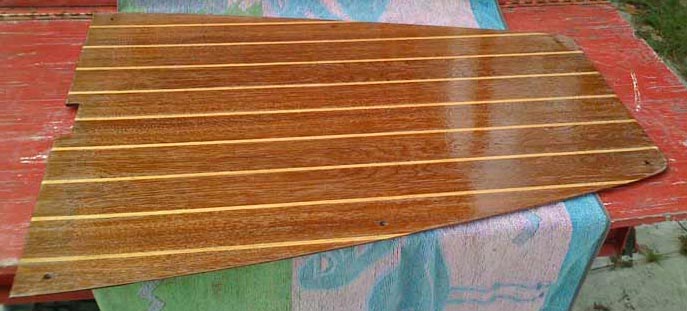
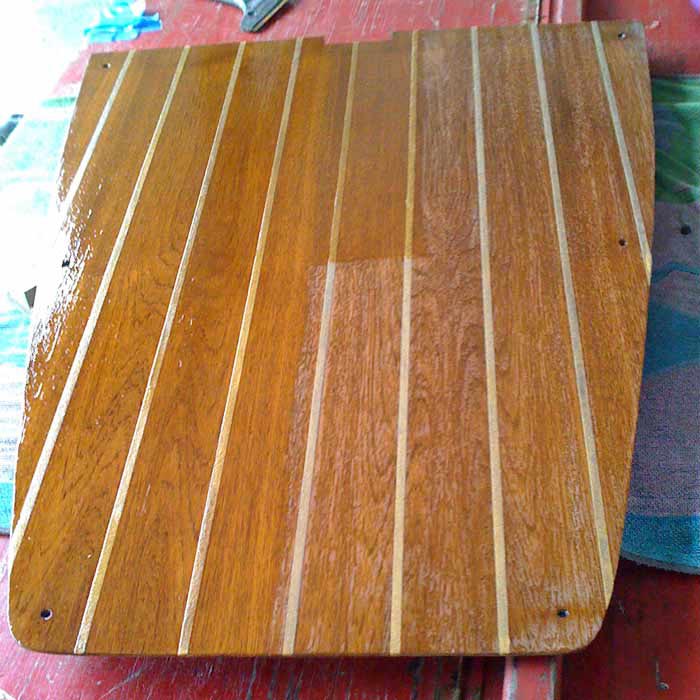
At right the piece is shown when I'm about halfway through the final coat of varnish.
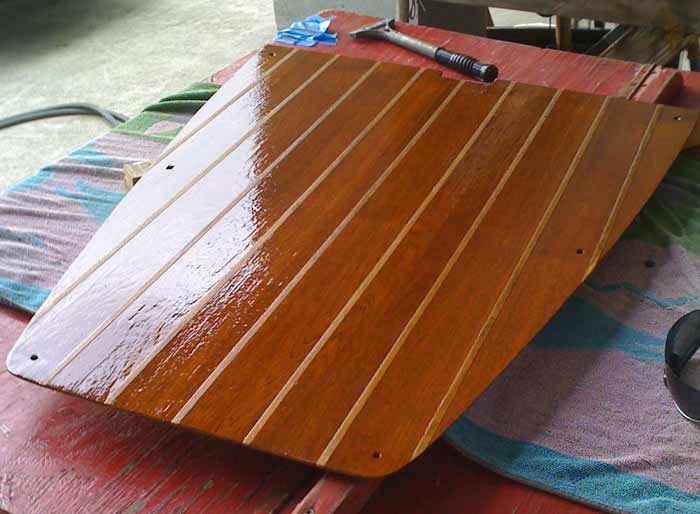
Once it had a final coat of varnish on top, the sandy strips of holly were a nice non-skid texture. Here's a picture of our teak and sandy sole, ready to be reinstalled back in the boat.
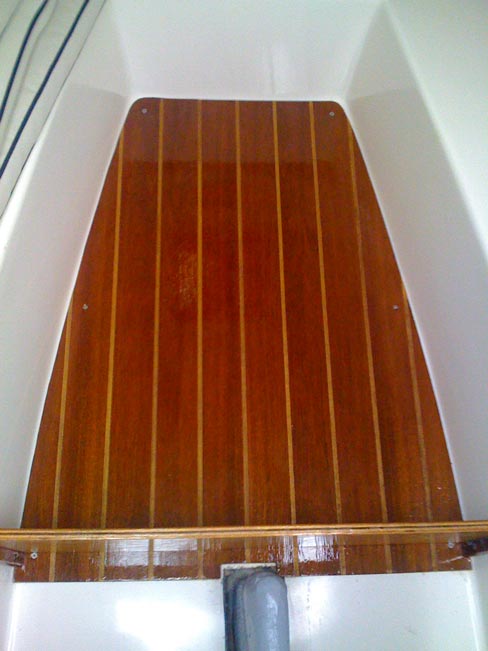
And here it is installed in the cabin.
Leave a Reply
You must be logged in to post a comment.