November 11, 2011
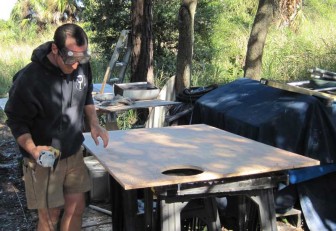
The day started like many others: with someone running a grinder. This time it was Adam preparing the pieces of marine plywood deck for installation. The undersides were previously coated with resin but drips and areas that would need to accept more fiberglass needed to be ground down a bit.
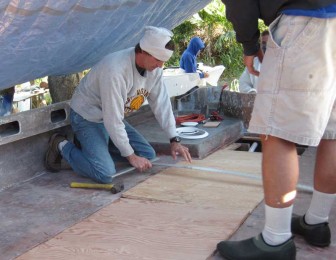
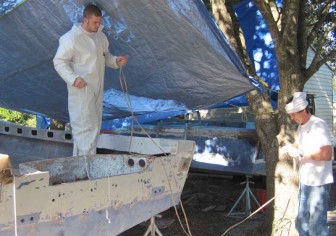
Micah and Gene were dry fitting the deck pieces in Pec and measuring for the deck plate holes.
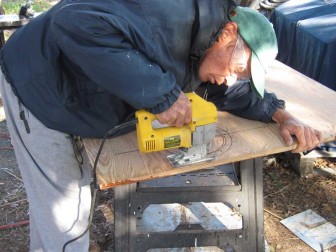
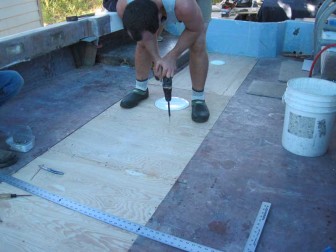
Once they located and traced the hole positions, the pieces were passed off to me for cutting.

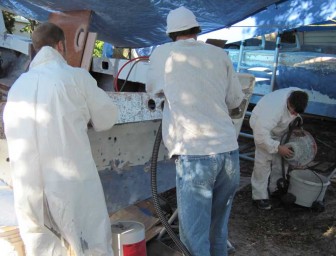
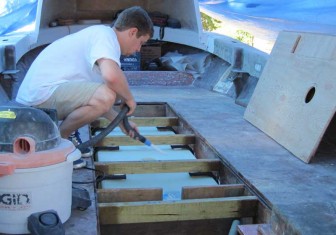
Adam had been doing touchup grinding in preparation for putting on the deck on Fluke and blew away most of the dust with the air pressure hose. Here Micah is taking care of the last bit using an extended shop vac hose and air pressure.
Gene ground pieces of fiberglass to line the hole in the deck where the fuel fill and vent hoses come up then ran the new fuel hoses on Pec.

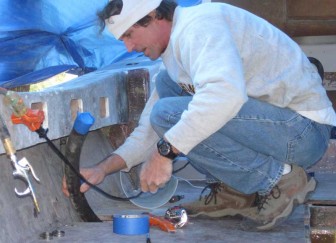
Gene installed the fuel fill deck fittings. Running the fuel fill and vent hoses and connecting them to their respective fittings had to be done before the fiberglass shrouds were glassed in place to cover the hoses.
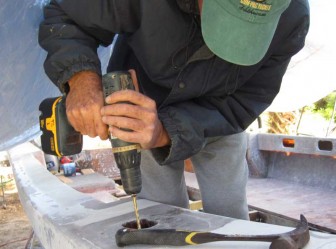
While he was busy on Pec, I was over on Fluke drilling holes for hawse pipe mounting bolts. To prevent the deck core from rotting out around the bolts again, each hole would be sealed with epoxy and then redrilled to size after the epoxy had a chance to soak into the wood.

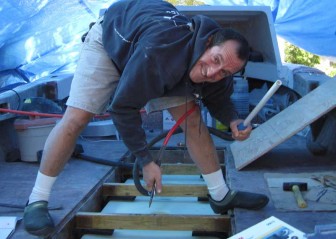
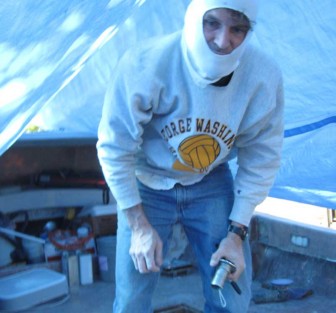
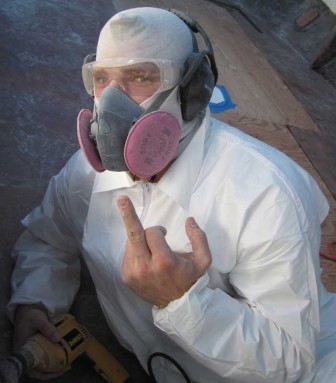
Apparently, while I was distracted with hole drilling, Lane got hold of my camera and started goofing off.
These guys should really have considered the fact that once this is on the internet, it's out there forever.

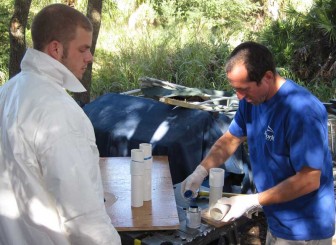
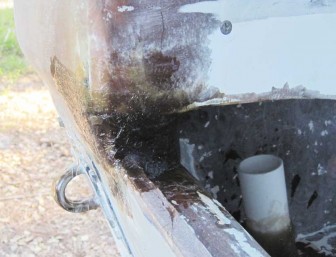
Micah and Adam were finishing up making the PVC stand pipes that would allow the bilge pump and fuel hoses to pass through the decks. The boats came with one in each corner and at some point one had been added in one corner of Pec, but the new plan for twin bilge pumps and improved fuel hose routing meant that one more would be needed in Pec and two in Fluke.
To make the pipes stand at the proper angle, PVC couplers were trimmed at an angle on one end. The pipes will stick through the deck and the angled ends will rest on the deck, then the whole assembly will be encased in fiberglass. Polyester resin does not bond to PVC pipe but the coupler will ensure that a lot of fiberglass has to break before the stand pipe could move or slide up and down.
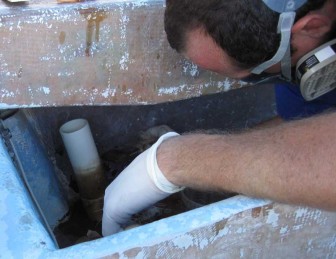
In the picture at left, Micah is laying fiberglass on and around one of the stand pipes.

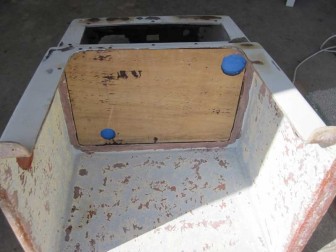
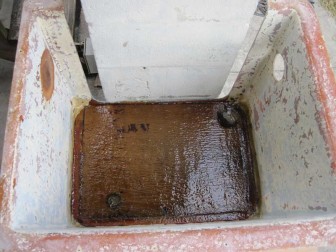
The end of the day was spent doing little projects. The fuel tank well and deck on Pec were cleaned up to be ready for deck installation the next day. Gene was dabbing some resin on stringers and deck beams over on Fluke. I was putting a small piece of marine plywood encased in fiberglass into the edge of the transom on Pec.
This little patch was not really structurally necessary but made the transom look a bit neater when it was smoothed out and painted. The real purpose for it was to add an additional layer of waterproofing to protect previous repairs in this area.
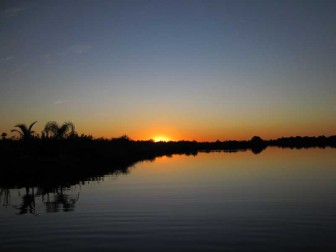
At the end of the day, we were treated to the sun melting into Shell Creek. Another one that was not quite good enough for the Facebook Sunsets Album.

November 12, 2012
Lane must have drawn the short straw this morning. He wound up cleaning out the shop vac while Adam helped Gene run bilge pump hoses and wires down the deck pipes.
Each boat now has two PVC pipes through the decks in each aft corner. Four are needed to accommodate two bilge pump wires and two bilge pump discharge hoses plus fuel lines coming from the tank. The bilge discharge hoses almost completely fill one pipe each and Gene really wanted twin bilge pumps on both boats.

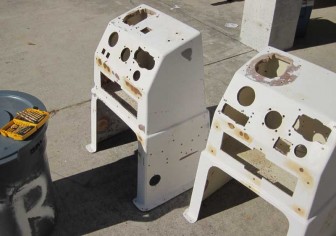
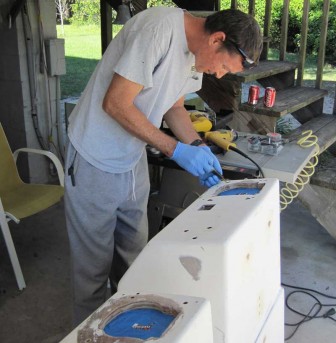
Back at the house, I had the consoles out and was doing what I could to patch some old holes and seal the core edges around the rest. These consoles have seen quite a few installations of equipment over the years, some of them apparently using stone knives to cut the holes. We were planning to use some of the same holes again for things like throttles, steering wheels and gauges, but some just needed to be filled.
Repairing the boats up to this point has involved quite a bit of drilling of holes and the project absorbed a couple of drill bit sets. They were old ones, typically missing a bit or two and with dull ones throughout. The picture at right marks the first appearance on the job of my most recent complete set. I must have been pretty frustrated in searching through the other bits to bring that one out.
Micah was doing a bit of touch-up grinding on the sides and bottom of the deck panels we were about to install.

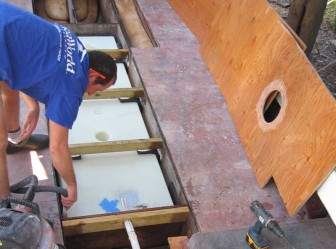
Gene and Adam were continuing the process of snaking bilge wires and hoses through the deck pipes while Micah cleaned out the tank well on Pec with the shop vac one last time.
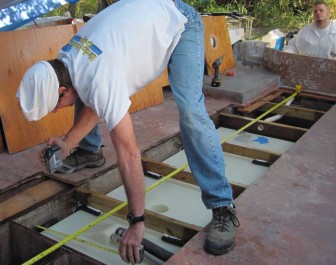
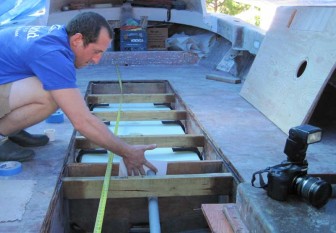
Before the new tanks were covered, Gene laid out a couple of tape measures and went down the length of Pec with still and video cameras, documenting the locations of under-deck beams, hoses, tank corners and other details that we hope will never become important again.

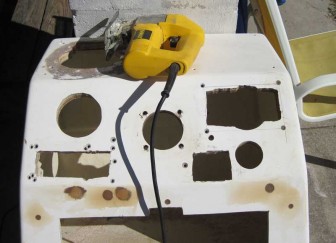
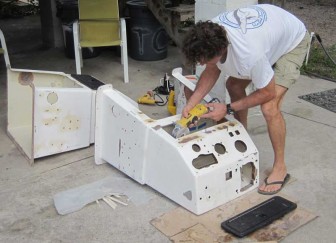
Some of the more irregular holes in the consoles got the strange bits trimmed off with a jigsaw in preparation for sealing the plywood core edges.
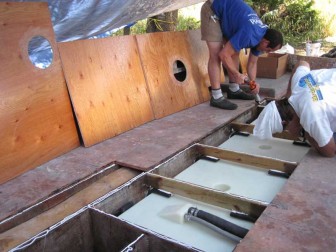
While the other guys were getting ready to install the deck panels on Pec, Lane was over on Fluke giving the tank well and bilge areas the final pass with the shop vac.

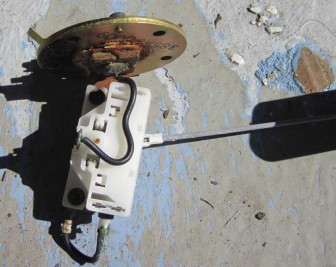
We took the opportunity to remove the electric fuel level senders from the tanks. Gene had opted to install mechanical gauges in the tanks instead, in part for the increased reliability and in part to avoid running a wire to the console. The large deck plates over the aft end of each tank will allow access to the gauge and the supply hose if needed, but as a rule the boats burn about the same amount of fuel each week and are refilled prior to the next week. There is seldom any need to check the actual level.
It was just as well that these rusty senders were replaced. Although "new" in the sense of never having been installed in a boat, these surplus fuel tanks are 11 years old and the moist environment had gotten to them.
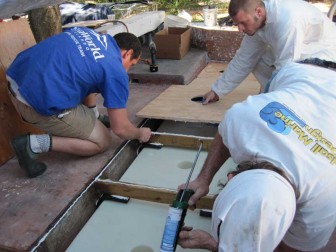
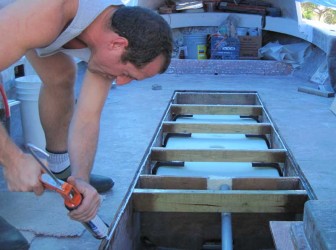
Everything was prepared at last and Micah and Gene set about laying down a bed of 3M 5200 caulk on the deck beams and stringers. This must have been the day that I decided we were going to use whatever tools it took to finish up these boats. That's my good caulk gun in Micah's hand. Gene got stuck with one of the junky ones we had been using.

When the aft deck piece was laid in place, we found that the end of the board just barely contacted the bead of caulk run across the deck beam. Adam picked it up while Micah put a bit more 5200 on and spread it across the mating surface.
The bead of caulk used would have been fine where the deck panel was laying across the beam. It would be squished flat across the surface. The lesson: we should have put extra caulk on the pieces where plywood panel ends would meet in the first place.
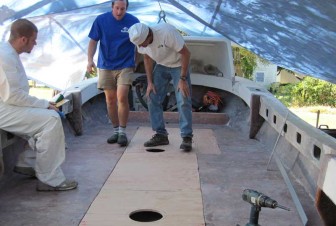
Once the plywood panels were in place, Gene and Micah took one last look at positioning of the panels and access plate holes before screwing the deck down. A mistake at this point requiring the removal of any of these pieces would be a disaster.
Satisfied that the pieces were in their final position, Micah ran around with the drill screwing them down and we moved on over to install the deck on Fluke.

There is always work to be done before the work can begin. In this case, Gene had his cameras out again to document below-decks parts of Fluke before they were covered up and Micah was using some resin and Cabosil putty to form up the gap in the top of the fuel well bulkhead around the PVC fuel line conduit.
The putty was mixed thick enough to nearly stand on its own and he used pieces of plastic to hold it in shape while it cured.
Back at the house, I had taped up the back sides of all the holes in the consoles. In the picture at left I'm injecting epoxy into the holes that were too small for a brush. The edges of the bigger holes were painted with liquid epoxy to seal the plywood core.

Micah was running caulk where the deck panels would lay on Fluke while Gene finished up taking pictures. The white square around the PVC conduit is the bulkhead top section that Micah was making in the picture above.
Because Fluke did not have the damaged deck sections forward of the tank well that we saw on Pec, there were only three deck panels to install. At left, Micah is screwing them down.
In parts 2 and 3 of this series, I talked about cutting up the decks and removing the fuel tanks back in the beginning of August. Since that time, we were working around big holes in the decks and I had gotten accustomed to walking around over and in the holes. The decks seemed a bit like they did not belong on the boats at first, but I was eager to make them waterproof.

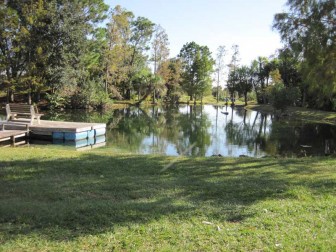
There is another picture of the consoles I was working on, this time with the holes filled and core edges sealed, but it looks pretty much like other pictures of the consoles. For some reason, someone took a couple of pictures of the pond this day, so I decided to include one of those here instead.
A peaceful pond is a useful amenity for a boat project.
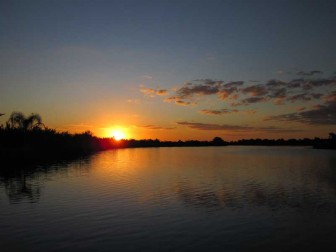
Another sunset that did not quite make prime time, but was darn nice to see.

November 14, 2011
The morning started with replacement of the thin plywood core in the console shelf. Holes were cut to match the holes in the shelf for passage of control cables, hydraulic steering hoses and electrical wires so that the plywood core edges would be sealed during the next step and would not require a separate operation to cut and then seal the holes.
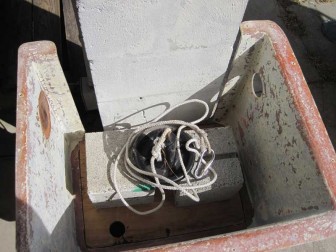
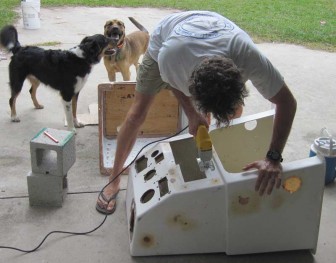
After prepping both surfaces and scarring them a bit with a grinder to give more bite, I covered the plywood and the fiberglass with epoxy. In the picture, the console is inverted and leaned against a concrete column and we have placed concrete blocks and an anchor inside to hold the pieces together while the epoxy cures.
Wandering over to the boats, I found Adam laying down aboard Pec with a flapper sander on a drill.
We were trying to simultaneously prepare a list of small lamination projects on both boats and I think he was prepping the area of the fuel fill hose shroud.

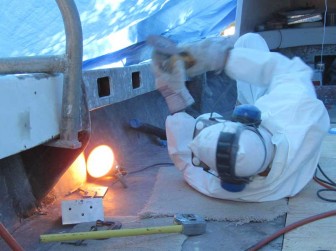
Gene was also suited up to make dust fly and was working with the grinder over on Fluke. The metal pieces on the deck are brackets to hold the hard tops and I believe Gene is smoothing the gusset face to fit the bracket.
Also on the grinding list for the day were areas around the fuel fill and along the port side of Fluke, transom patches on both boats, and small repairs up under the dodger on Fluke.
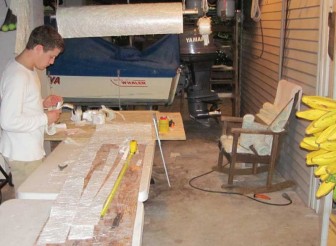
Lane and I were working on cutting the fiberglass to cover the decks over the fuel tanks. We had to steal an extra table from the job site and bring it over to our cutting area because some of the pieces needed were up to 14 feet long. Most of our prior repairs involved much smaller pieces. When we started cutting the long ones, I was surprised by how quickly the roll of mat began to disappear.
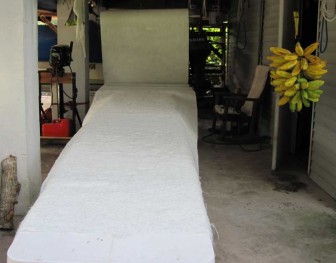
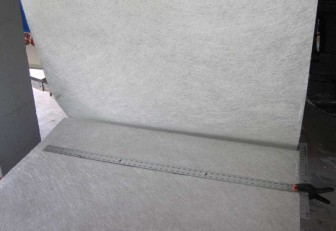
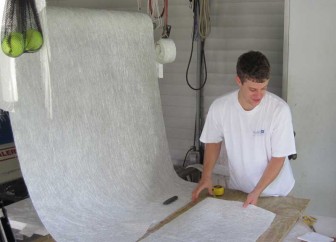
The picture shows the fiberglass mat draping over the side of the table, something that made it hard to roll up. We used a few plywood "slop" boards to extend the edges of the cutting surface so the pieces could lay flat for rolling.

A cutting tip for anyone who may have to take large pieces of fiberglass off of a roll: a drywall T-square makes a very handy tool for keeping the cuts perpendicular to the edges of the roll.
A piece of plywood is underneath the mat in the picture, but since plywood sheets are 48" wide and the roll was 50" wide it can't be seen. It was positioned very close to the right hand edge of the mat and hanging off the table a bit so that a large hand clamp could be used to hold the T-square, mat and plywood still for cutting.
Ensuring that the plywood did not protrude from underneath the mat allowed us to align the edge of the square with the edge of the mat, slide it to the cutting mark, clamp it off and run a razor knife along the square's edge. For a neat cut, finishing both ends with scissors was required, since there was no plywood backing for the razor knife to push against at either edge.
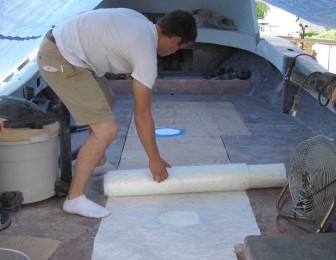
Lane and I cut the large pieces of mat to cover the fuel tank deck areas at slightly different sizes to taper the edge of the lamination and blend it into the existing deck edge, which was also ground to a beveled edge. In the picture at left, he is checking one piece for size on the deck of Pec.

Once the large pieces were cut, checked, labeled and rolled up, Lane and I launched into the area of fiberglass sculpture. The problem we faced was that the existing decks of both boats varied quite a bit in thickness. We had made the plywood panel patches level with the old plywood, but if we just put a few layers of mat on each deck, the unevenness would remain and be quite visible.
We cut a bunch of pieces to help taper the edges of the old deck into the new section. It is a lot easier to blend the uneven levels together than to try to make the problem invisible later with a grinder.
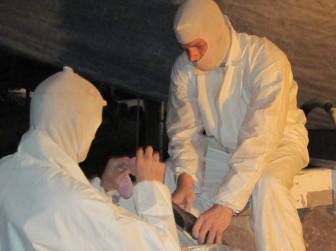
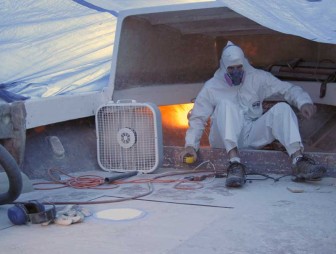
While we were busy with the cutting and organizing of fiberglass, Gene and Adam were over on the boats raising a cloud of dust, grinding and sanding surfaces in preparation for lamination. The last picture of the day shows them using a Shop Vac to clean the dust out of respirator filters.

November 15, 2012
We had found a couple of doors for the console compartments at the marine surplus store, but they were a bit too large for the existing holes. The doors we found were almost too big for the available space. In the picture at right, Gene is cutting out holes of the proper size.
The picture at left shows Gene doing some final shaping of the holes with a grinder to allow the doors to drop into place and remove any sharp fiberglass edges.

He then took the grinder over to continue the preparation for various fiberglass projects. In this photo the bow area of Fluke is lit by a work lamp so he could prepare the bulkhead tabbing for reinforcement. We were unimpressed with some of the existing tabbing on the forward bulkheads on both boats.
Lane and I had measurements for various needed pieces of fiberglass mat for the upcoming laminations and were busy cutting and labeling them.

After taping up the holes in the console shelf and a wipe with acetone, the new plywood core was ready to skin with fiberglass mat on the bottom side.
When Gene, Adam and Colton mixed up a batch of resin for their first repairs of the day, they mixed extra for me to use on the console core. I wound up with a little more than needed, but not enough to really be useful elsewhere. I poured the excess into the two holes and around the edges of the wood to help seal the core edges.

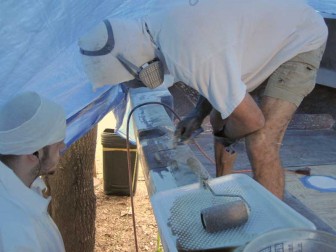
The depression in the deck for the fuel fill fitting needed a bit of filling and fairing and a short section of the port side of Fluke got a few layers of mat. The picture at right shows Gene smoothing in the repair with a bubble roller as Adam looks on. My pictures show another fairing type repair on the starboard corner of this boat at about the same time and Colton helping out Lane at the mixing table.
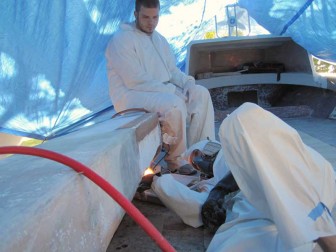
There was also some glassing left to do underneath the gunwale on Fluke. This is the area Gene was grinding earlier so he could be patching or fairing the gusset or possibly reinforcing the area where the ladder grabs the side of the boat when deployed.

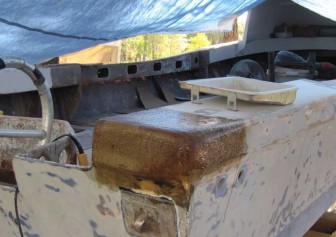
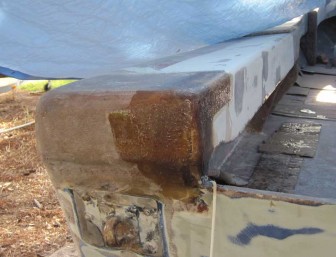
The starboard corner of Pec got a few wraps of fiberglass to smooth and reinforce it.
And the inside port corner repair done previously got smoothed in with some mat.


Leave a Reply
You must be logged in to post a comment.